6
Service Procedures
43
Revision 3
© Moffat Ltd, September 2009
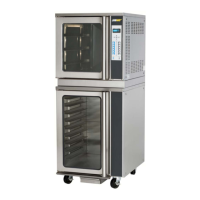
E32SUBC OVEN and PROOFER
6.4 Adjustment/Calibration
Figure 6.4.1
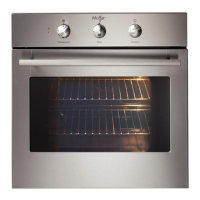
6.4.2 Oven Door Reversal
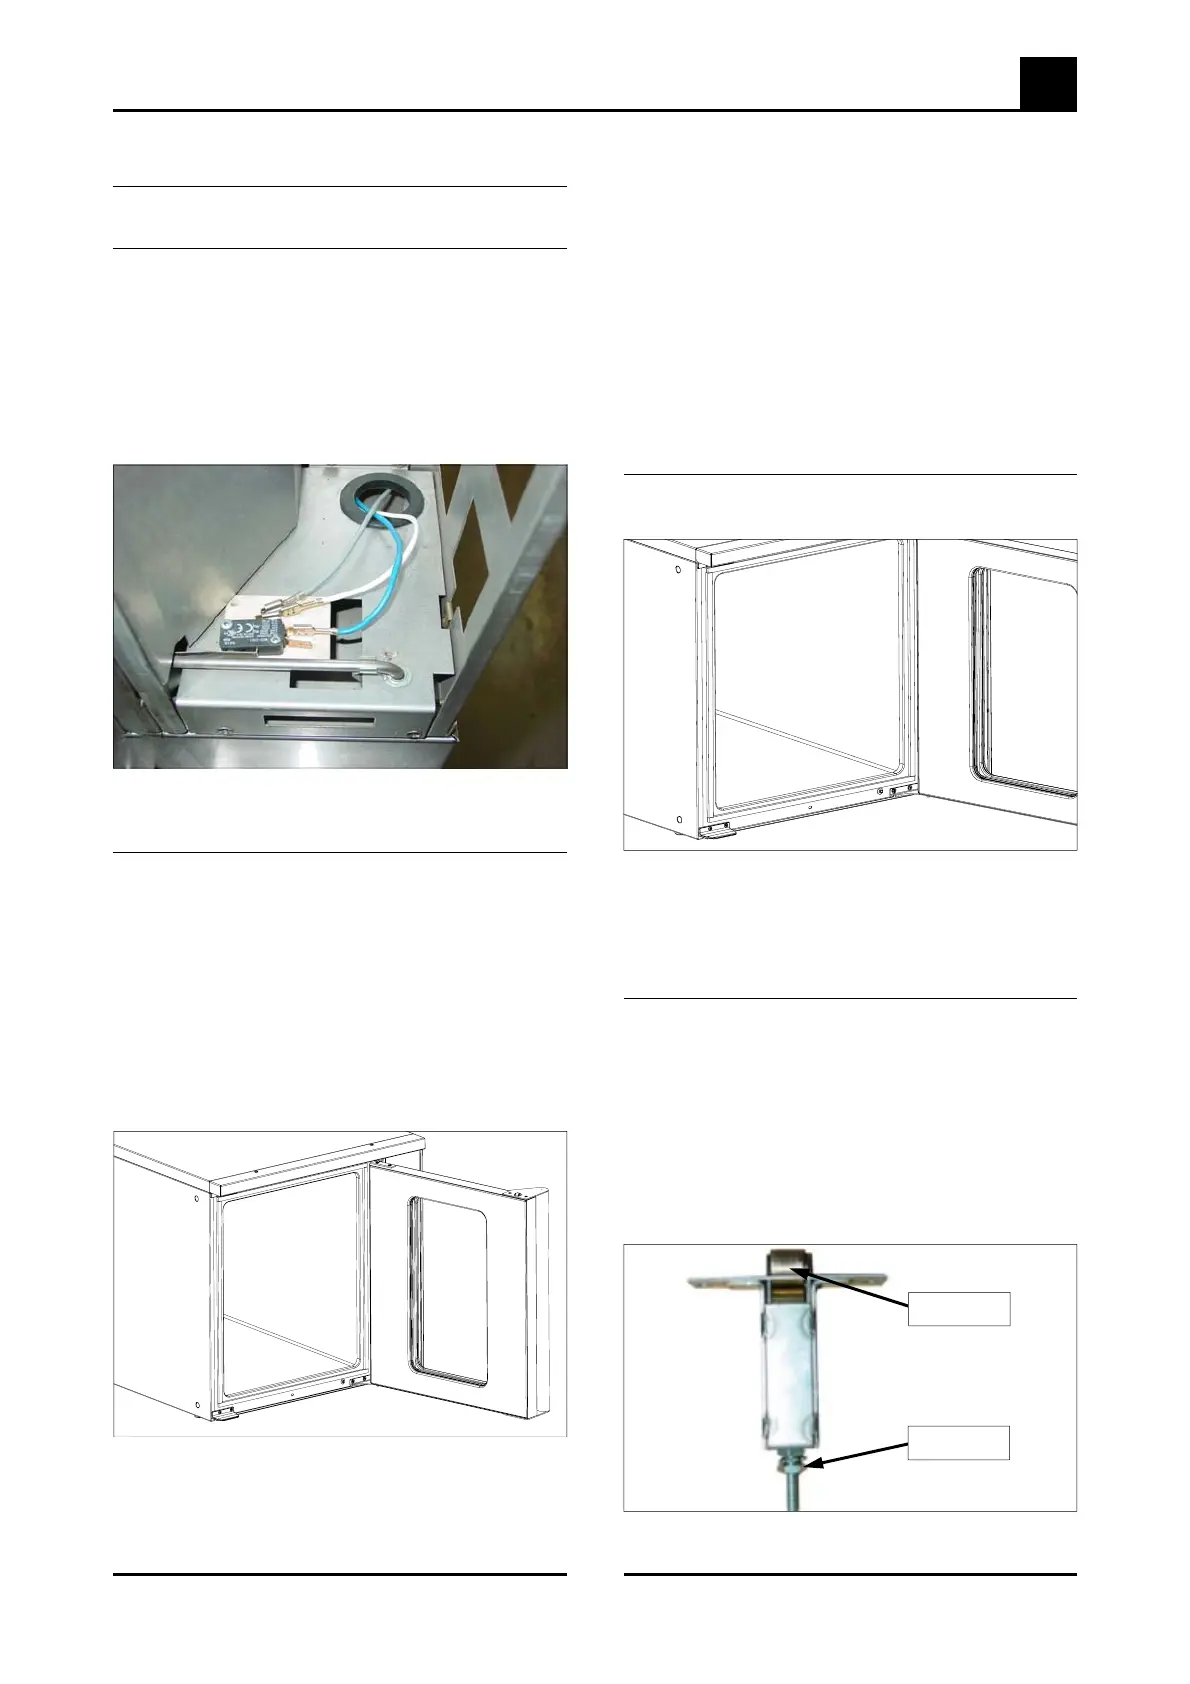
6.4.1 Microswitch Adjustment
1) Open oven door.
2) Open control panel (refer 6.1.1).
3) With fingers, bend actuator arm of
microswitch so that switch operates when
door is in closed position.
4) Refer Operation section P16 for display con-
firmation
If desired, a left hand hinged oven door can be
changed to a right hand hinged door (or vice
versa).
1) While supporting the door, undo the door
hinges from the oven. Remove the door.
2) The bottom right door catch plate should now
be transferred to the top left of the oven (a),
and the top right door catch plate transferred
to the bottom left of the oven (b).3)
Figure 6.4.2
3) Secure the door hinges and oven door to the
right hand side of the oven door opening.
Figure 6.4.4
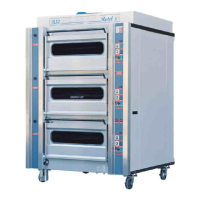
6.4.4 Door Roller Catch Adjustment
6.4.3 Door Alignment
Figure 6.4.3
4) If alignment of the door is necessary, the five
screws along the bottom of the oven can be
loosened, and the door moved a small
amount to ensure that it is square with the
oven. Tighten the screws when the correct
door position is attained.
5) If necessary the roller catches can be
removed from the door (after removing
handle on stainless steel doors) to adjust
height settings for correction of door catch
operation.
1) Loosen the five screws along the
bottom edge of the oven front.
2) Adjust the door position to ensure that it is
square with the oven. Tighten the screws.
1) Open the door.
2) Remove the two screws from top and bottom
securing the door handle and roller catchs to
the door and withdraw door handle and
catches.
3) Tighten or loosen the nuts on the catch
assembly to adjust the height of the roller.
4) Refit catch to door and check operation.
Adjust again if necessary.
Roller Catch
Adjustment