187
ɹ˂ʳʽʒʰʕʍʒɁႱࢠ
COOLANT UNIT PROBLEMS
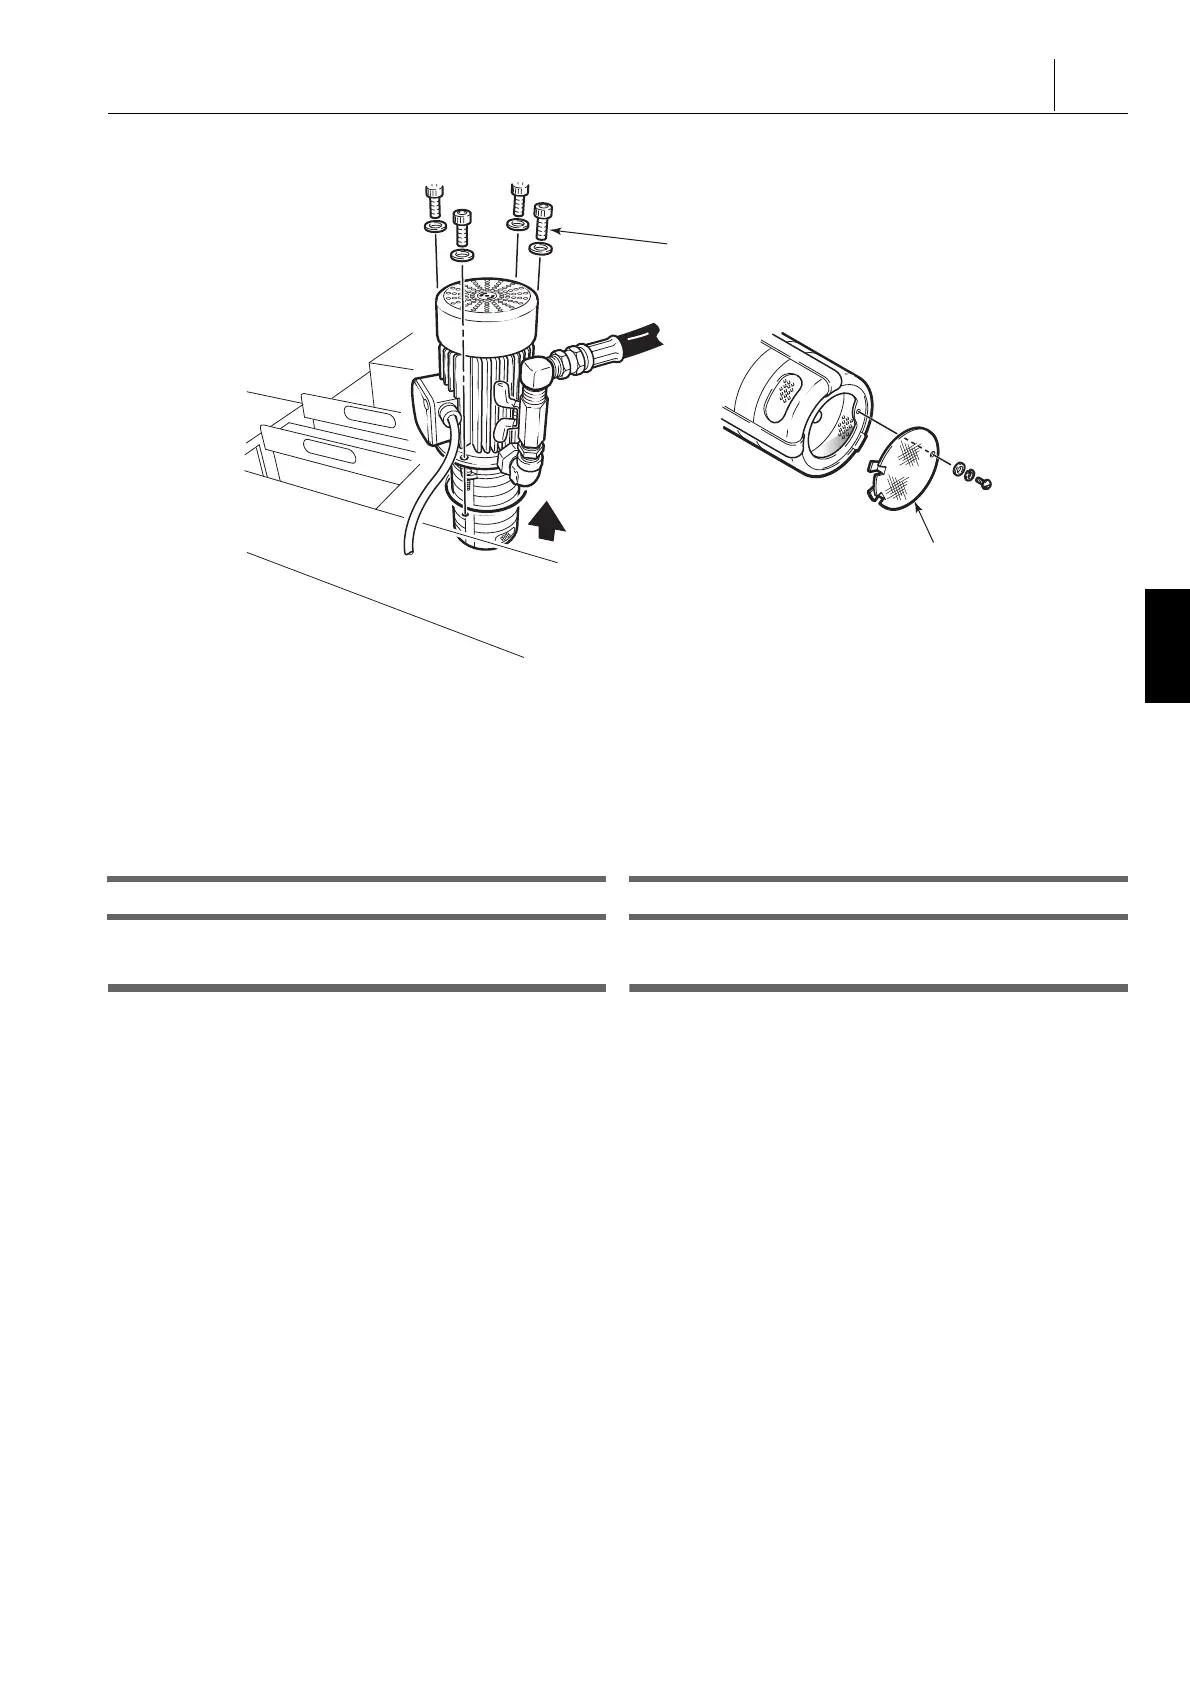
4) ʃʒʶ˂ʔɥɝ۶Ȭǿ 4) Remove the strainer.
5) ʃʒʶ˂ʔȟᄻᝇɑɝȪȹȗɞکնɂǾ๎Ȭɞǿ 5) If clogged, clean the strainer.
6) ʃʒʶ˂ʔʥʵʊȾҒɝȢȭȟໆɑȶȹȗɞکնɂǾȗ
ȲɰɲʃȺઝȠɞǿ
6) If chips have accumulated inside the strainer holder,
remove them with a clean and dry cloth.
7) ґᜓȻᣡɁᬲࣃȺጸɒȹɞǿ 7) Reverse the above procedure to reassemble the pump.
8) ɹ˂ʳʽʒʧʽʡɥͽӦȨȮȹǾɹ˂ʳʽʒȟվҋȬɞȦ
ȻɥᆬᝓȬɞǿ
8) Operate the coolant pump to confirm coolant is supplied.
ҏ࿎իᴥࡾщʥʵʊᴦɹ˂ʳʽʒʘʄʵɁᄻᝇɑɝ Turret (Tool Holder) Coolant Nozzle Clogging
8 ឬ֖ 8 WARNING
ൡಽໃɥȪɖȪȹȢȳȨȗǿ Turn OFF the main power.
ᴹᬲᴻ <Procedure>
1) ൡಽໃɥȪɖȬɞǿ 1) Turn OFF the main power.
2) ɹ˂ʳʽʒȟվҋȨɟȽȗɹ˂ʳʽʒʘʄʵɥِްȪȹȗ
ɞɀȫ 1 టɥфᜏʶʽʋȺɝ۶ȪǾɹ˂ʳʽʒʘʄʵɥ
ɝ۶Ȭǿ
2) Using a hex wrench, remove the single screw securing the
clogged coolant nozzle and remove coolant nozzle.
3) ᦉᦂȽȼጯȗɕɁɥࢃȪᣅɒǾɹ˂ʳʽʒʘʄʵȾᝇɑȶ
ȹȗɞҒɝȢȭɥɎȣȬǿ
3) Insert a thin wire into the coolant nozzle to remove chips
clogging the nozzle outlet.
4) ɹ˂ʳʽʒʘʄʵɥЫɁͱᏚȾȪǾɀȫȺِްȬɞǿ 4) Return the coolant nozzle to its original position and secure
it with the single screw.
5) ɹ˂ʳʽʒɥվҋȨȮǾᝇɑɝȟՍȨɟȲȦȻɥᆬᝓȬ
ɞǿ
5) Supply coolant to confirm that the clogging has gone.
M6 Hexagon Socket Head Cap Screws
Strainer
M6 фᜏሰȠʦʵʒ
ʃʒʶ˂ʔ
 Loading...