Disassembly/Assembly
54
Chassis Assembly
Reassembly
Before you assemble the main board to the chassis, make sure that the following steps are
done to the chassis.
1. Replace the O-ring. The tabs on the O-ring should reach into the chassis and point
down.
2. Stretch the O-ring to place it into the retaining pocket at the bottom end of the chassis.
NOTE: When properly assembled, the retainers on the O-ring
should align with the slots on the chassis. If this is not the
case, remove and replace the O-ring until it is aligned
with the chassis and completely seated in place around
the perimeter.
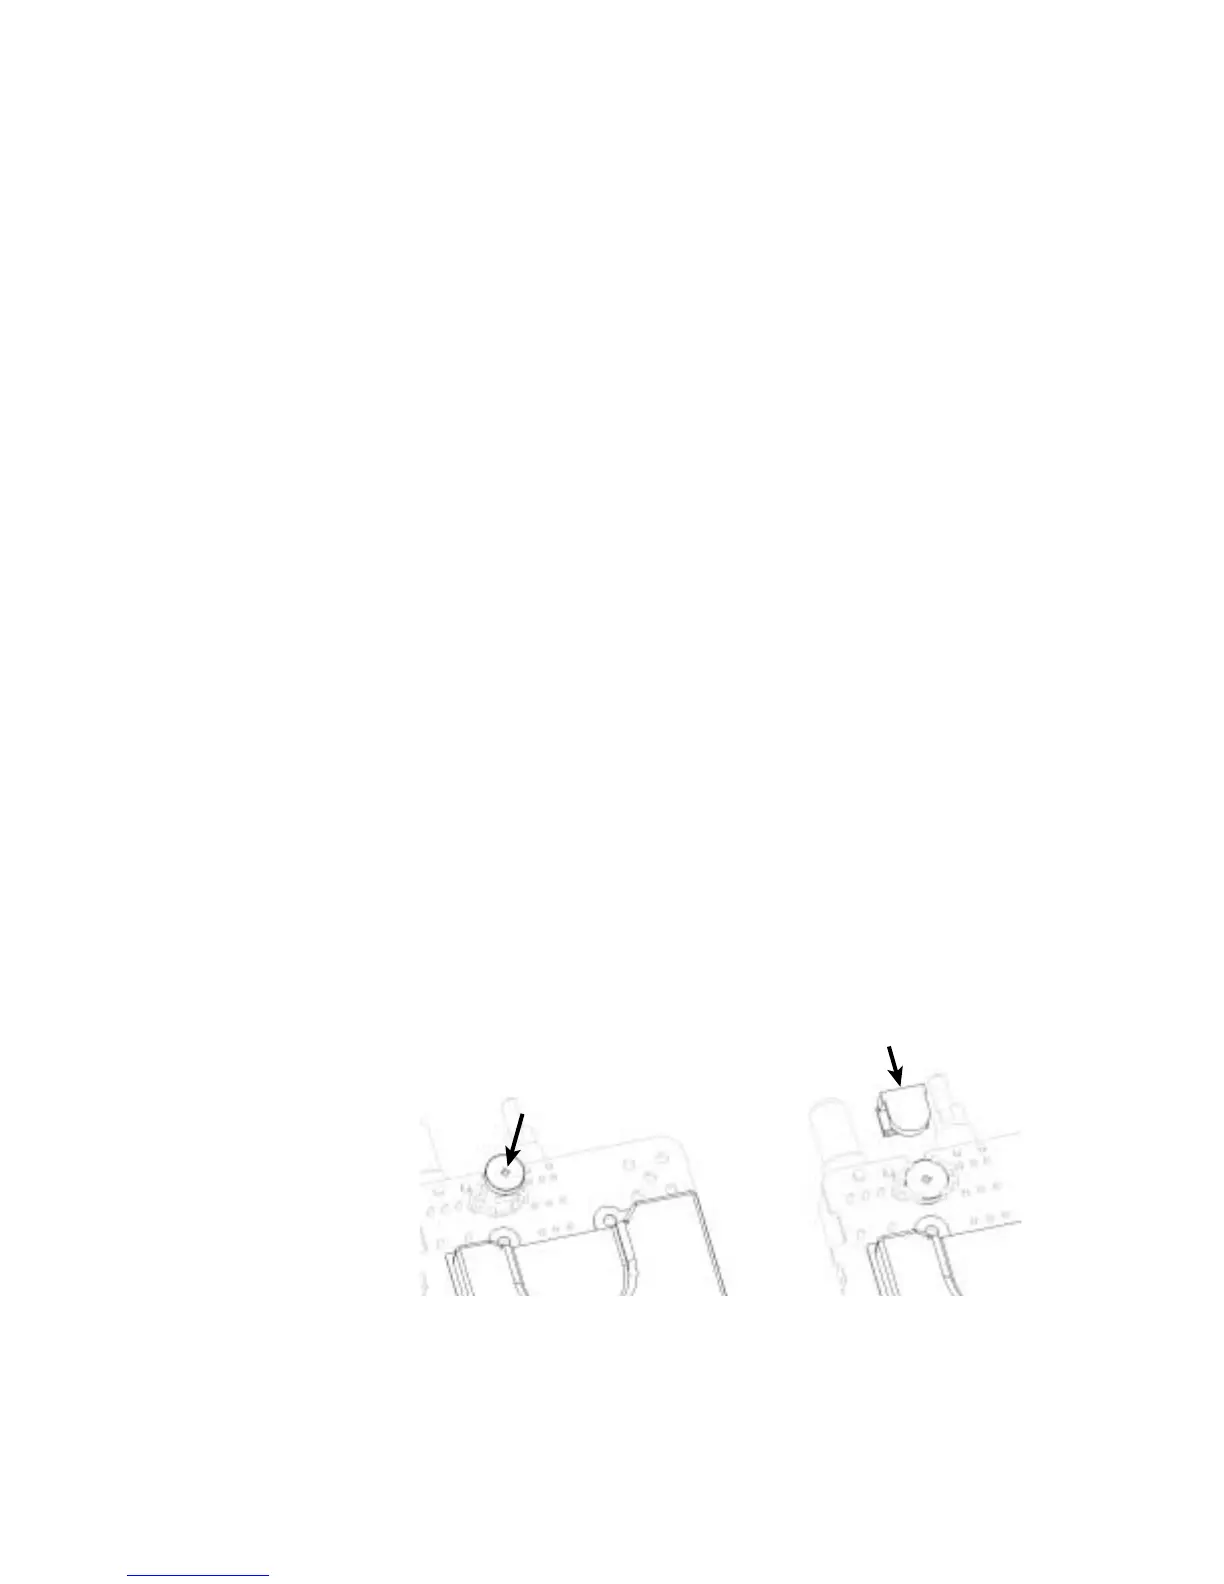
3. Replace the battery contact seal (if necessary) surrounding the battery contact.
NOTE: Be sure the battery contact seal protrudes through the
chassis and is not pinched under the chassis.
4. Make sure the thermal pad is placed on top of the RF Power Amplifier on the main
board.
5. Use the notch in the bottom of the main board and the protrusion at the bottom of the
casting to align the board to the casting. Place the board against the casting. Make
sure that the five screw holes are aligned.
6. Place the main shield assembly on the main board. Again, make sure that the five
screw holes are aligned.
7. Use the TORX T7-IP screwdriver to fasten the screws holding the main board and
shield to the chassis. Do not over torque. Torque limit is 4 inch-lbs.
8. Place the O-ring at the antenna connector over the antenna connector bushing.
Backup Battery
Reassembly
1. Insert the backup battery (positive side up) into the battery holder, as shown in Figure
40.
2. Replace the retaining clip by sliding it into its recess on the board.
Chassis and Front
Cover Reassembly
1. Align the chassis assembly end-to-end with the front cover assembly.
2. Insert the tails of the flex circuits into their respective connectors at the bottom of the
Figure 40. Reassemble the Backup Battery

 Loading...


