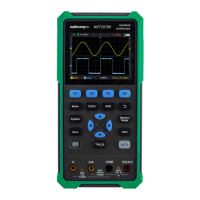
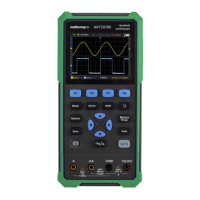
User Manual
How to Measure Automatically
Push the Measure button to display the menu for the settings of the Automatic
Measurements. At most 8 types of measurements could be displayed on the bottom left
of the screen.
The oscilloscopes provide 30 parameters for auto measurement, including Period,
Frequency, Mean, PK-PK, RMS, Max, Min, Top, Base, Amplitude, Overshoot, Preshoot,
Rise Time, Fall Time, +PulseWidth, -PulseWidth, +Duty Cycle, -Duty Cycle, Delay
A→B , Delay A→B
,
Cycle RMS, Cursor RMS, Screen Duty, Phase, +PulseCount,
-PulseCount, RiseEdgeCnt, FallEdgeCnt, Area, and Cycle Area.
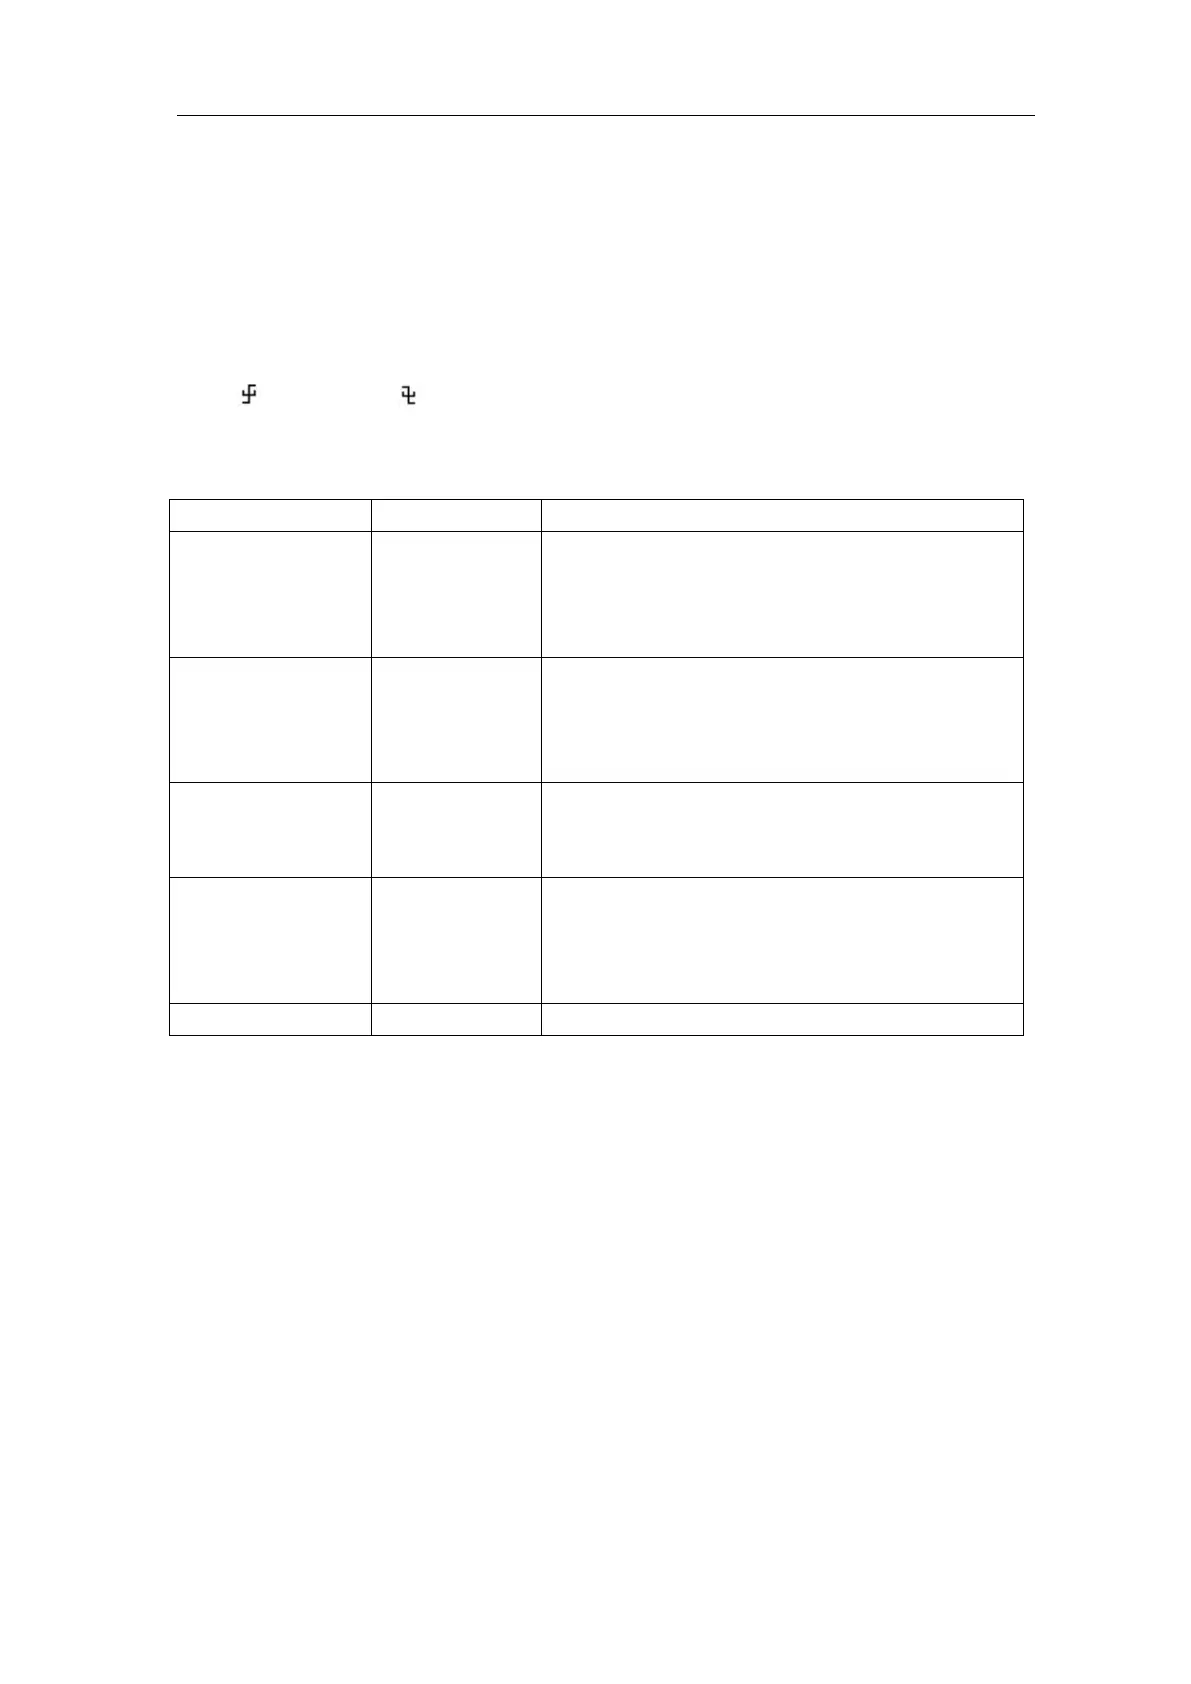
The "Automatic Measurements" menu is described as the following table:
AddCH1
Meas Type
(left menu)
Press to show the left menu, turn the M rotary
control to select the measur
AddCH1 again to add
the selected measure
type of CH1.
AddCH2
Meas Type
(left menu)
Press to show the left menu, turn the M rotary
control
to select the measure type, press
AddCH2 again to add
the selected measure
type of CH2.
Show
CH1
Hide the window of measures
Show all the measures of CH1 on the screen
Show all the measures of CH2 on the screen
Remove
Meas Type
(left menu)
Press to show the left menu, turn the M rotary
control to select the type need to be deleted,
press Remove again to remove the selected
Measure
Only if the waveform channel is in the ON state, the measurement can be performed.
The automatic measurement can not be performed in the following situation: 1) On the
saved waveform. 2) On the Dual Wfm Math waveform. 3) On the Video trigger mode.
On the Scan format, period and frequency can not be measured.
Measure the period, the frequency of the CH1, following the steps below:
1. Push the Measure button to show the right menu.
2. Select AddCH1 in the right menu.
3. In the left Type menu, turn the M rotary control to select Period.
4. In the right menu, select AddCH1. The period type is added.
5. In the left Type menu, turn the M rotary control to select Frequency.
6. In the right menu, select AddCH1. The frequency type is added.