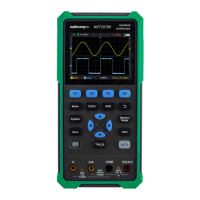
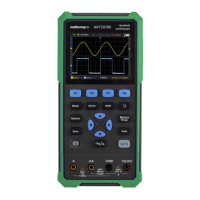
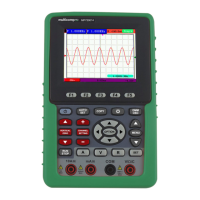
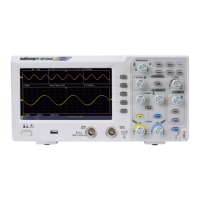
User Manual
How to Set the Vertical System
The VERTICAL CONTROLS includes three menu buttons such as CH1, CH2 and
Math, and four rotary controls such as Vertical Position, Vertical Scale for each
channel.
Setting of CH1 and CH2
Each channel has an independent vertical menu and each item is set respectively
based on the channel.
To turn waveforms on or off (channel, math)
Pushing the CH1, CH2, or Math buttons have the following effect:
• If the waveform is off, the waveform is turned on and its menu is displayed.
• If the waveform is on and its menu is not displayed, its menu will be displayed.
• If the waveform is on and its menu is displayed, the waveform is turned off and its
menu goes away.
The description of the Channel Menu is shown as the following list:
Coupling
AC
Pass both AC and DC components of the input signal.
Block the DC component of the input signal.
Disconnect the input signal.
Inverted
Display inverted waveform.
Display original waveform.
Probe
10X
100X
Match this to the probe attenuation factor to have an
accurate reading of vertical scale.
MeasCurr
Yes
No
If you are measuring current by probing the voltage
drop across a resistor, choose Yes.
A/V
or mA/V
V/A
or mV/A
Turn the M rotary control to set the Amps/Volts
ratio. The range is 100 mA/V - 1 KA/V.
Amps/Volts ratio = 1/Resistor value
Volts/Amp ratio is automatically calculated.
Limit (only
for
MP720011)
20M
Get full bandwidth.
Limit the channel bandwidth to 20MHz to reduce
display noise.
1. To set channel coupling
Taking the Channel 1 for example, the measured signal is a square wave signal
containing the direct current bias. The operation steps are shown as below: