9 of 62
www.NabcoEntrances.com GT1175StandardandPocketedSlideDoorsInstallaonManual;withOpusController
Rev.11-12-20 P/NC-00370
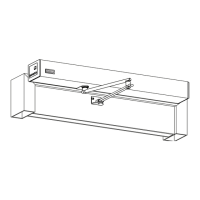
5. Secure the Transom Horizontal onto the Transom Vercals with #8 x 1 inch Pan Head screw.
DN 2144
Horizontal Transom
#8 x 1”
Pan Head Screw
Top of Header
1/4-20 x 1”
Phillips Head Screw
Ver cal
Transom
Figure 7
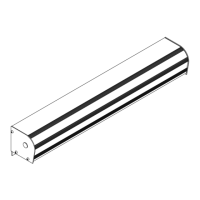
Note: Each Glass Stop is precut at the NABCO Factory according to placement and height of the Transom Vercal.
Note: Glass Panels can be installed before or aer the Door Frame is secured to the rough opening.
DN 2134
Example Shown:
Fixed Sidelite
1/4” Glass
Base Glass Stop
Exterior
1” Tall, 3/8” Glass
1” Tall, 5/8” Glass
1” Tall, 7/8” Glass
1” Tall, 1/4” Glass
1” Tall, 1/2” Glass
1” Tall, 3/4” Glass
1” Tall, 1” Glass
Header
Example Shown:
Full Open
1” Glass
Base Glass Stop
Exterior
Header
Figure 8
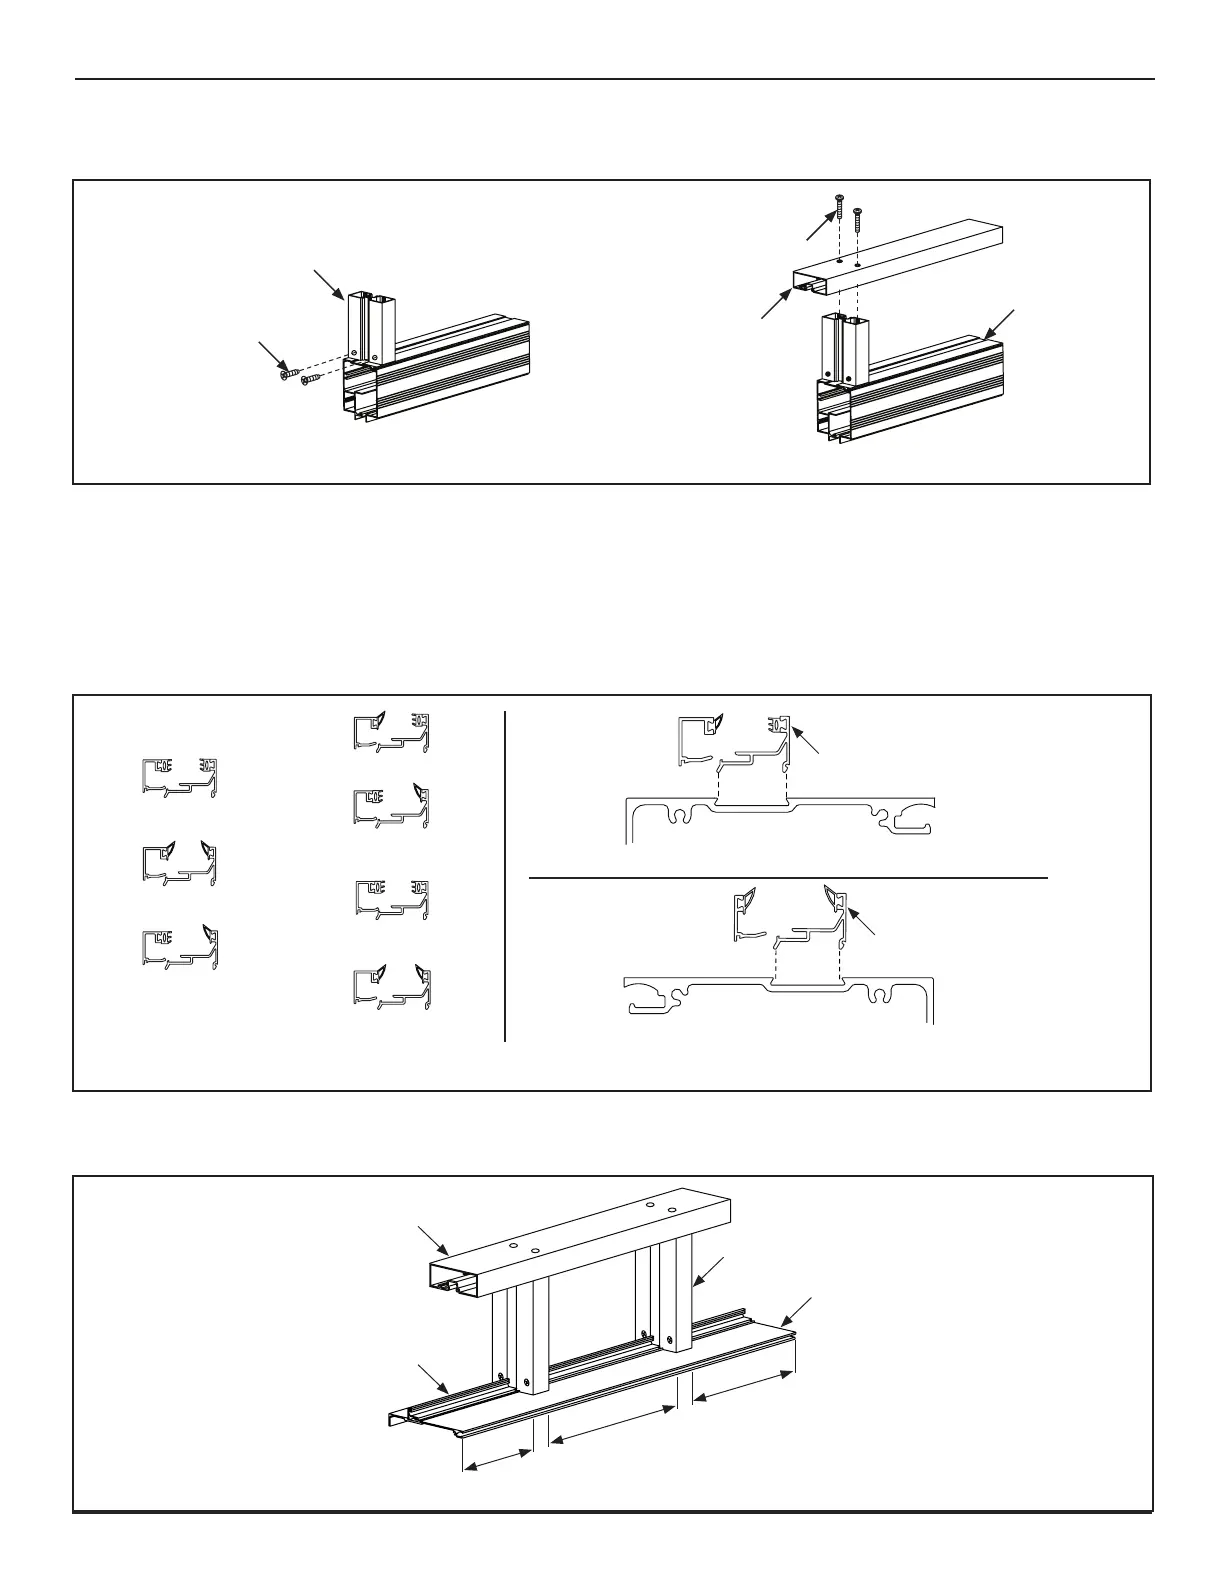
1. Go to the top of Header. Snap-In the Base Glass Stops between each Transom Vercal.
a. Ensure the tall back of Base Glass Stops face the Exterior side of building.
DN 2156
Measure full width of each Base Glass Stop
Transom Ver cal
Top of Header
Base Glass Stop
Transom Horizontal
Figure 9
 Loading...