1-12 | ni.com
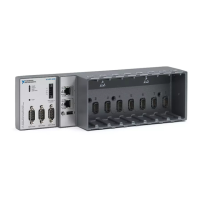
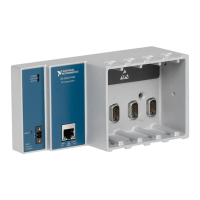
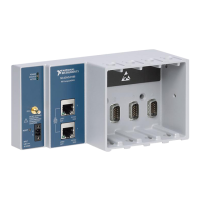
Chapter 1 Getting Started with the cDAQ Chassis
3. Set up your real-time controller hardware and install software to it as instructed in the
getting started or quick start document for the real-time controller.
4. For cRIO and IC controllers, perform a custom installation of the NI-DAQmx feature to the
controller. In MAX, expand Remote Systems»Real-Time Controller and use the
Add/Remove Software option. Select the custom installation option and the NI-DAQmx
feature, then follow the prompts to complete the installation.
5. Connect one end of the Ethernet cable to an Ethernet port on the chassis, and the other end
to a switch or network connection on the same subnet as your real-time controller, or
directly to an open network port on your real-time controller. For more information about
the recommended configurations for networking the cDAQ chassis in a real-time system,
refer to the Topology Options section of Chapter 2, Networking.
6. Power the chassis using the included power supply or the included power connector with
an external 9 V DC to 30 V DC power source.
7. To add the chassis to the software configuration on the real-time target, open NI MAX on
the host computer. In the MAX configuration tree, expand Remote Systems»Real-Time
Controller»Devices and Interfaces»Network Devices.
8. Click Add Network Device, and then Find Network NI-DAQmx Devices.
9. In the Find Network NI-DAQmx Devices dialog box that opens, do one of the following:
• Check the box that corresponds to your chassis in the Hostname column
• If you know the chassis IP address—such as 192.168.0.2—enter it into the
Add Device Manually field, and click the + button
• Enter the hostname of the chassis; the default hostname is cDAQ918x-<serial
number>, where the x represents the last digit of your cDAQ chassis model number
If your chassis does not appear in Available Devices, click Refresh List. If the chassis still
does not appear, contact your system administrator to confirm that the network is working
and that a firewall is not interfering with discovery. For additional troubleshooting
resources for the cDAQ chassis, refer to the Troubleshooting Chassis Connectivity section
of this manual and the Finding a Network DAQ Device in MAX topic in the Measurement
& Automation Explorer Help for NI-DAQmx.
10. Click Add Selected Devices. The cDAQ chassis is added under the real-time controller in
the MAX configuration tree.
Table 1-2. cDAQ Chassis NI-DAQmx Software Support
cDAQ Chassis Earliest NI-DAQmx Version Support
cDAQ-9185 NI-DAQmx 17.1
cDAQ-9189 NI-DAQmx 17.1
Artisan Technology Group - Quality Instrumentation ... Guaranteed | (888) 88-SOURCE | www.artisantg.com