© National Instruments | 1-23
cDAQ-9185/9189 User Manual
• (cDAQ-9189) NI 9905 panel mounting kit, 779558-01
– Panel mounting plate
– M4x23 screws (x3)
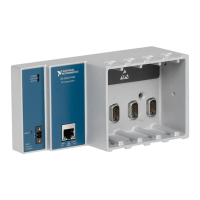
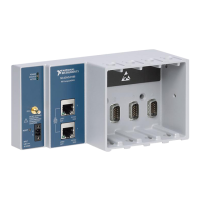
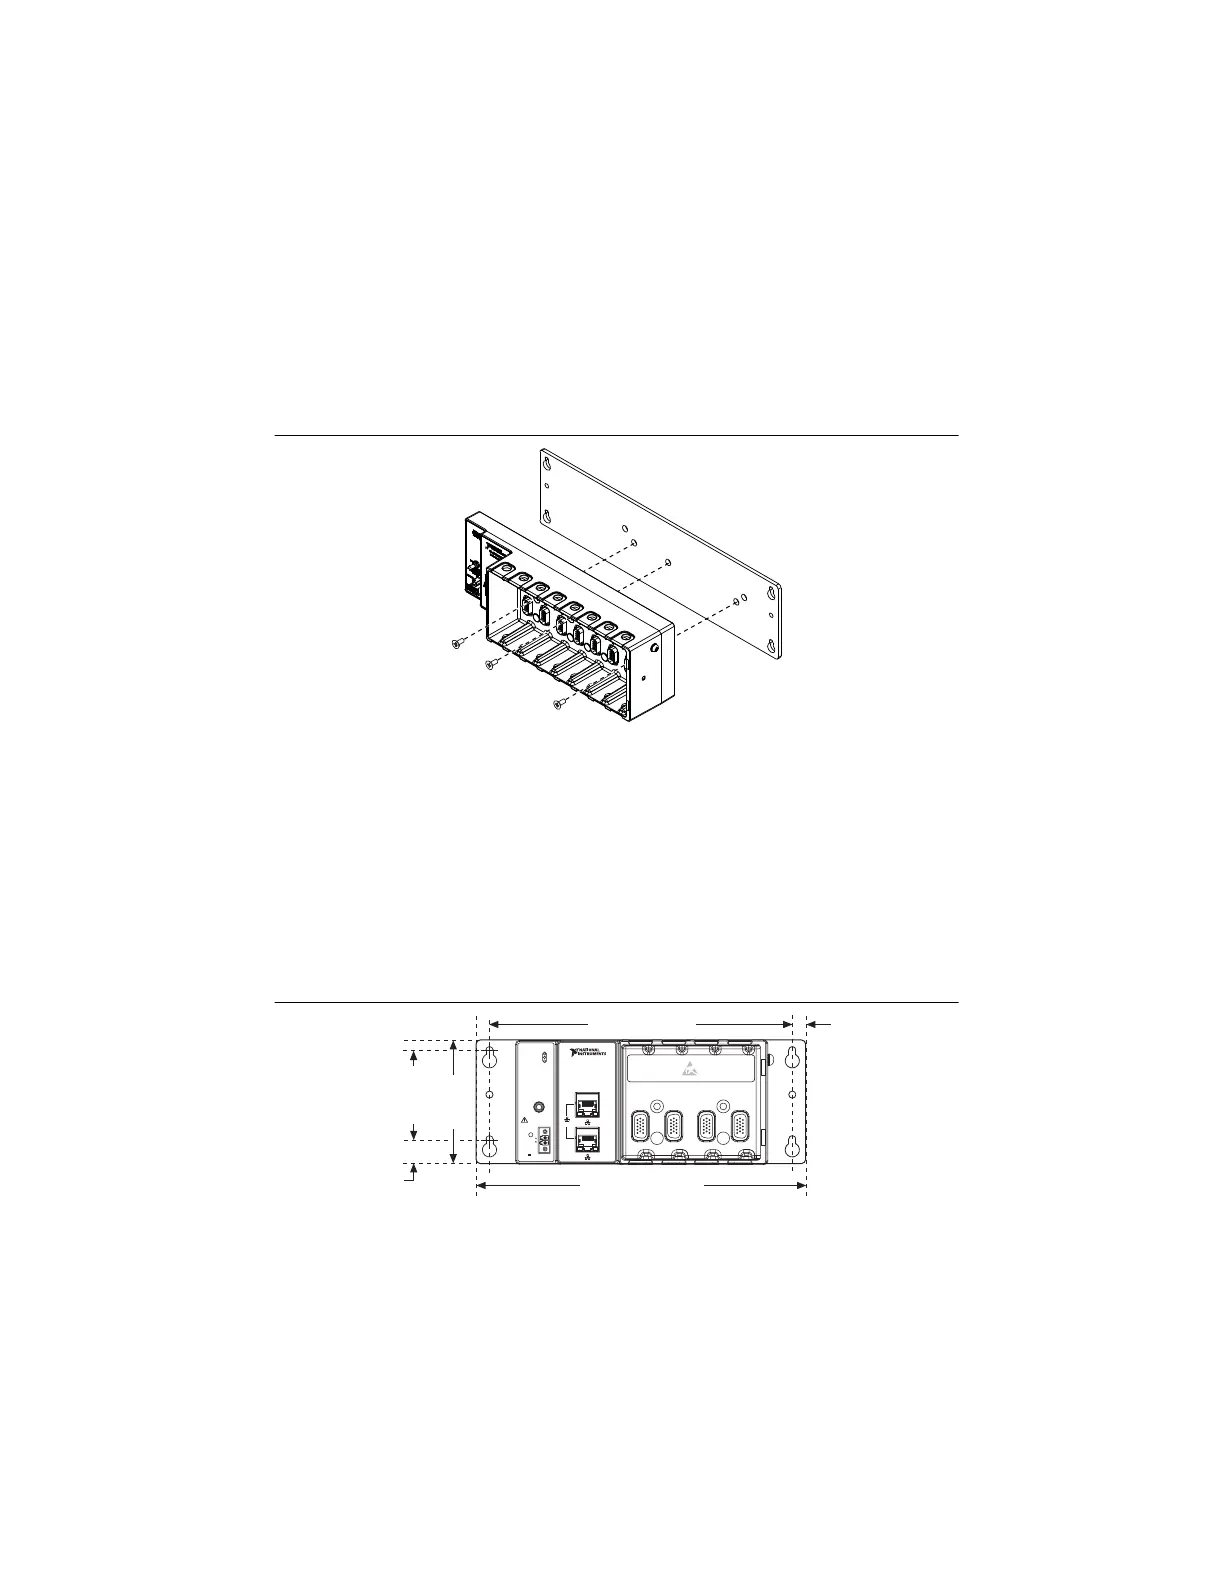
Complete the following steps to mount the cDAQ chassis on a panel.
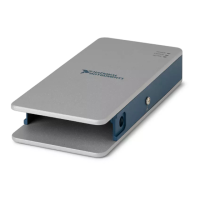
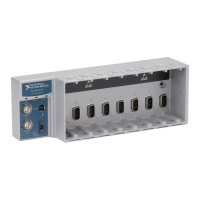
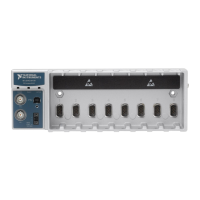
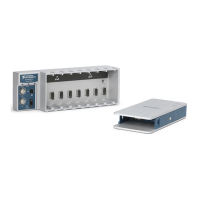
Figure 1-20. Mounting the Chassis on a Panel (cDAQ-9189 Shown)
1. Align the cDAQ chassis and the panel mount plate.
2. Fasten the panel mounting plate to the cDAQ chassis using the screwdriver and screws.
Tighten the screws to a maximum torque of 1.3 N · m (11.5 lb · in.).
(NI 9904) Use two M4x25 screws, included in the kit.
(NI 9905) Use three M4x23 screws, included in the kit.
3. Fasten the panel mounting plate to the surface using the screwdriver and screws that are
appropriate for the surface. The maximum screw size is M5 or number 10.
The following figures show the panel mounting dimensions for the cDAQ-9185 and
cDAQ-9189.
Figure 1-21. cDAQ-9185 Panel Mounting Dimensions
216 mm (8.5 in.)
235 mm (9.25 in.)
17.4 mm
(0.69 in.)
9.5 mm
(0.38 in.)
88 mm
(3.5 in.)
63.5 mm
(2.5 in.)
NI CompactDAQ
NI cDAQ-9185
POWERPOWER
STATUSSTATUS
PFI 0PFI 0
RESETRESET
DO NOT SEPARATEDO NOT SEPARATE
CONNECTORSCONNECTORS
WHEN ENERGIZEDWHEN ENERGIZED
IN HAZARDOUSIN HAZARDOUS
LOCATIONSLOCATIONS
21
ACTIVEACTIVE
43
INPUTINPUT
9-30 V9-30 V
16 W MAX16 W MAX
LINK/LINK/
ACTACT
10/100/10/100/
10001000
1
2
LINK/LINK/
ACTACT
10/100/10/100/
10001000
SYNC
Artisan Technology Group - Quality Instrumentation ... Guaranteed | (888) 88-SOURCE | www.artisantg.com
 Loading...