© National Instruments | 1-25
cDAQ-9185/9189 User Manual
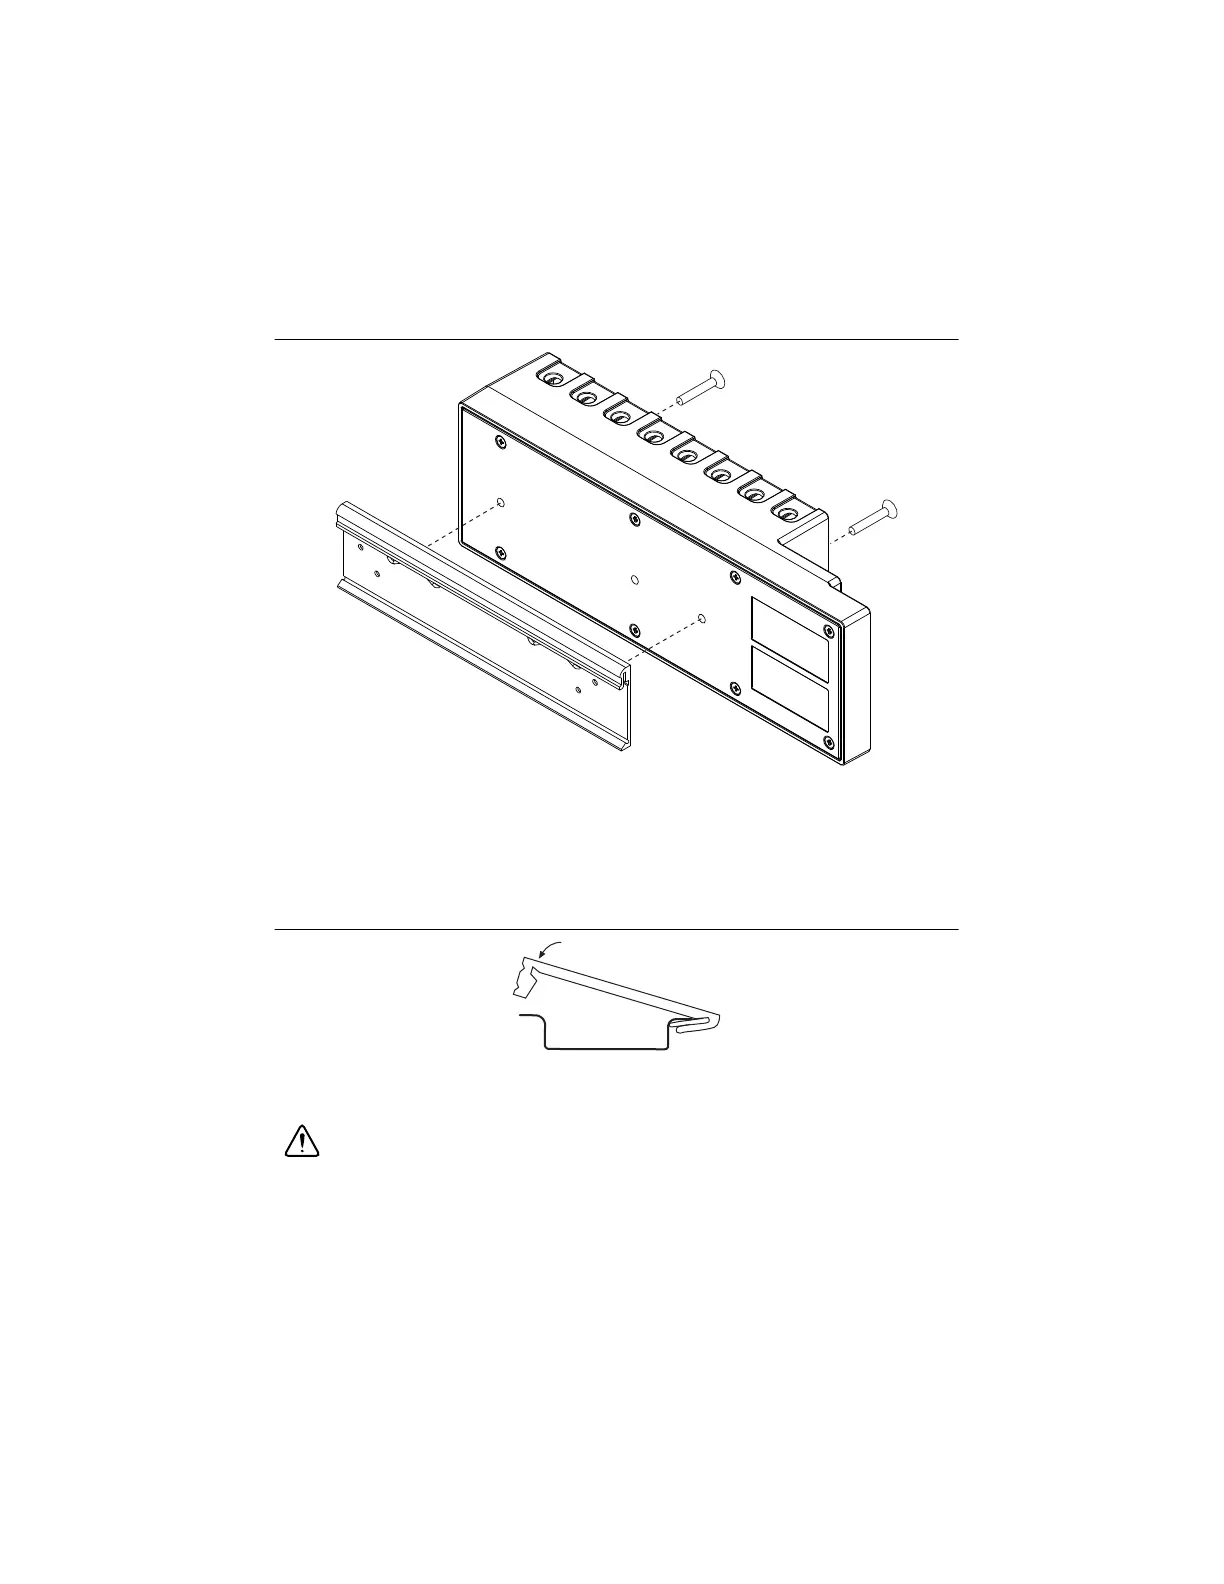
Complete the following steps to mount the cDAQ chassis on a DIN rail.
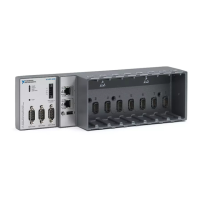
Figure 1-23. Attaching the Chassis to a DIN Rail Clip (cDAQ-9189 Shown)
1. Align the cDAQ chassis and the DIN rail clip.
2. Fasten the DIN rail kit to the cDAQ chassis using the screwdriver and M4x25 screws.
Tighten the screws to a maximum torque of 1.3 N · m (11.5 lb · in.).
You must use the screws provided with the NI DIN rail kit because they are the correct
depth and thread for the DIN rail clip.
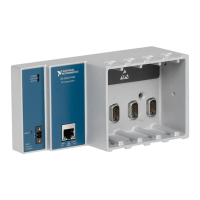
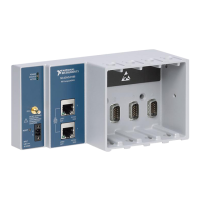
Figure 1-24. Clipping the Chassis on a DIN Rail
3. Insert one edge of the DIN rail into the deeper opening of the DIN rail clip.
4. Press down firmly to compress the spring until the clip locks in place on the DIN rail.
Caution Ensure that no C Series modules are in the cDAQ chassis before removing
it from the DIN rail.
Artisan Technology Group - Quality Instrumentation ... Guaranteed | (888) 88-SOURCE | www.artisantg.com