Section 1: Installing the Cabinets
1-18 Section 1: Installing the Cabinets Aspila EX Hardware
INSTALLING AN EXPANSION CABINET
Expansion Cabinet
The Expansion Cabinet uses an expansion bracket which attaches to the top cover of the Main Cabinet.
An Expansion Cabinet cable is also required to connect the Main Cabinet NTCPU to the Expansion
Cabinet. The following parts are supplied with the expansion kit:
Expansion interface PCB (EXIFU)
Expansion cable (NTCPU-EXIFU)
4 way DC power cable (BATT2)
Expansion bracket & 4 screws (to join the cabinet together)
Note: Only one cabinet should be wall mounted. Two cabinets may result in too much
weight to be safely mounted together. The weight of a two cabinet system can be up to 50kg.
Before Installing an Expansion Cabinet
1. Power down the Main Cabinet.
2. Remove the Main Cabinet from the wall (if necessary).
3. Remove the front and side covers from the Main Cabinet. Refer back to Figure 1-1 and Figure
1-2 if necessary.
4. Remove the front and side covers of the Expansion Cabinet.
Expanding a Floor System (Figure 1-18 - Figure 1-26)
It is strongly recommended to secure the expansion cabinet to the wall.
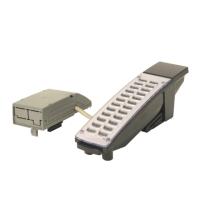
1. Remove the two screws from the expansion bracket.
Figure 1-18: REMOVING THE SCREWS FROM THE BRACKET
 Loading...
