Section 2: PCB Installation and Startup
2-14 Section 2: PCB Installation and Startup Aspila EX Hardware Man-
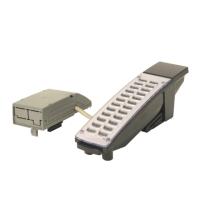
Expansion (EXIFU) PCB (Figure 2-5)
The EXIFU PCB provides a connection from the main cabinet to the expansion cabinet. This connec-
tion is required with any 2-cabinet setup. Included with the EXIFU PCB is a proprietary cable which
must be used to connect the main cabinet and expansion cabinets together.
To install an EXIFU PCB:
1. Ensure that both the Main and expansion cabinets are powered off.
2. Install the EXIFU into the CPU/EXP slot in the expansion
cabinet.
Note that the white PCB Pull Tab should always be positioned closest to the top of the
cabinet.
3. Install the EXIFU cable to the CN2 connector on the EXIFU PCB. Connect the opposite end
to the CN6 connector on the NTCPU.
Figure 2-5: EXIFU PCB INSTALLATION
 Loading...
