18
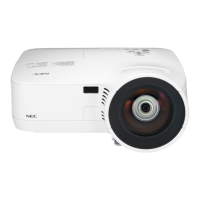
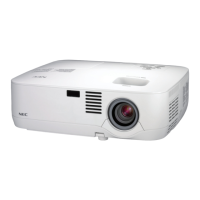
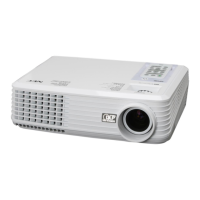
2. Installation and Connections
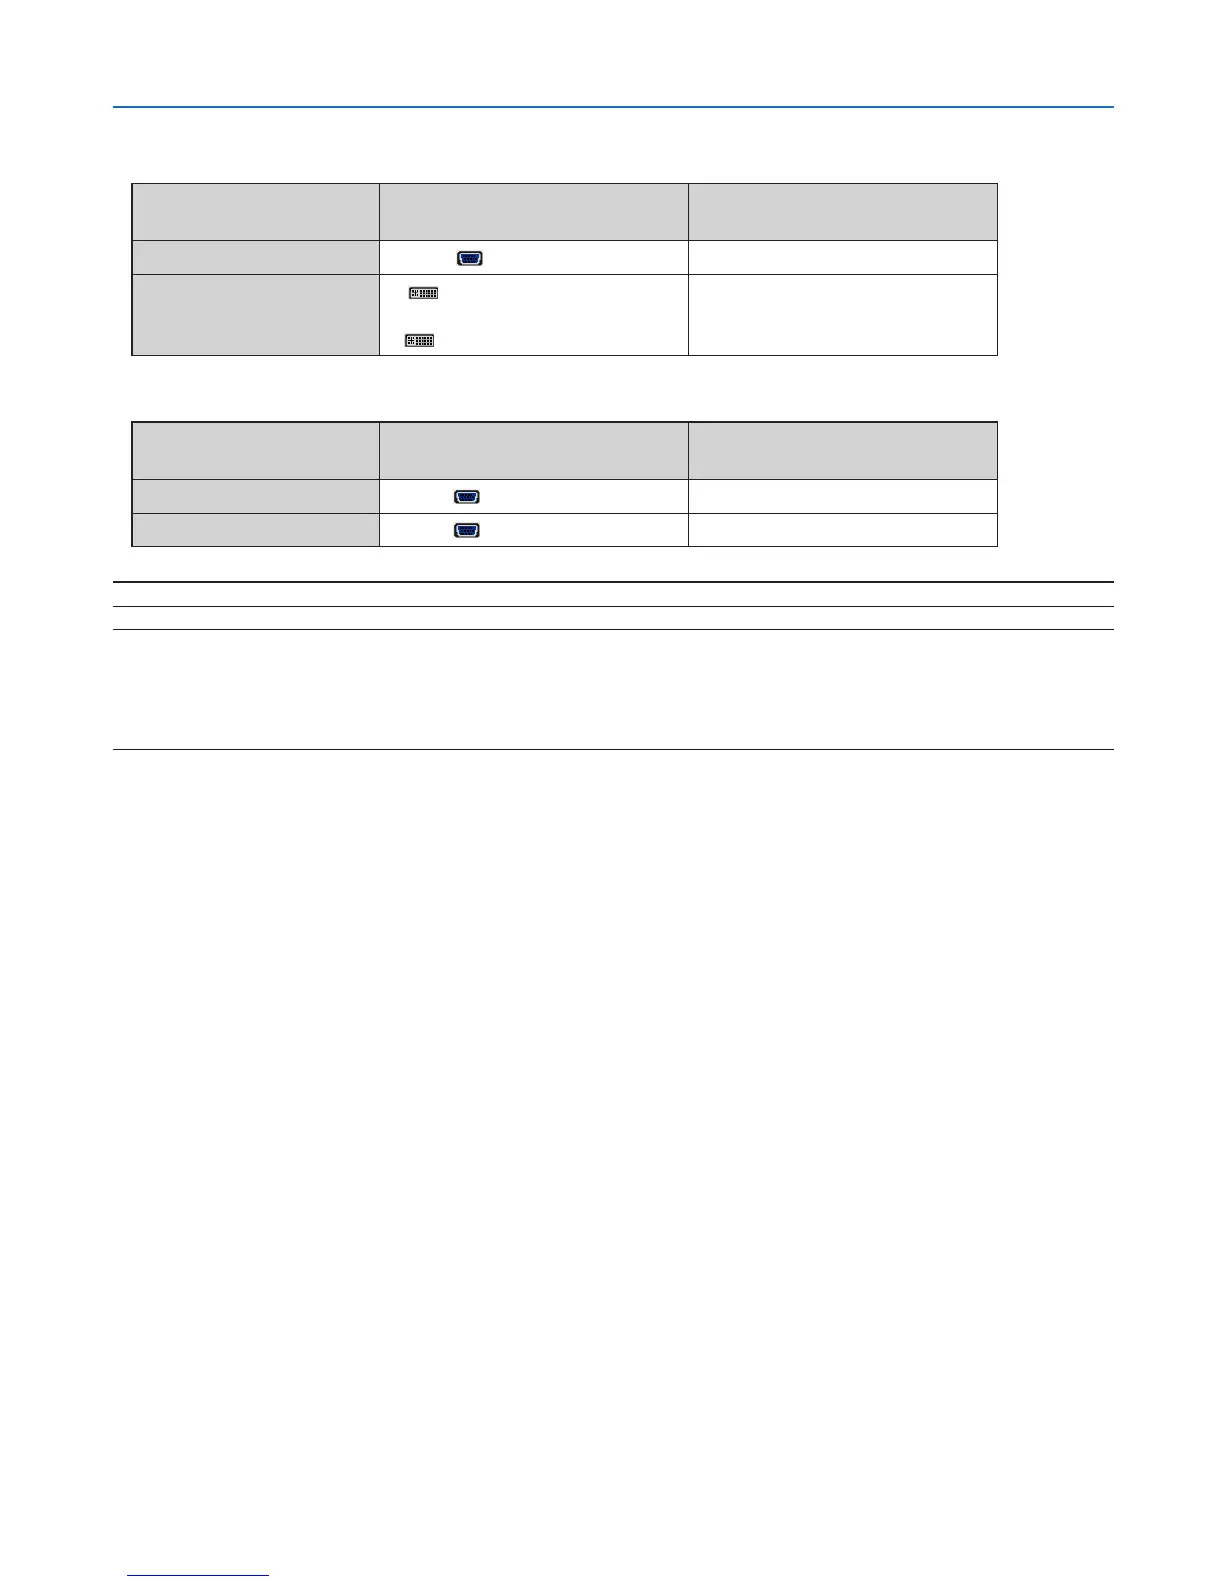
• Selectthesourcenameforitsappropriateinputconnectorafterturningontheprojector.
[NP610/NP510/NP410/NP310/NP510W/NP410W/NP610S/NP510WS]
Inputconnector
SOURCEbuttonontheprojector
cabinet
Buttonontheremotecontrol
COMPUTER1IN COMPUTER1 (COMPUTER1)
COMPUTER2(DVI-I)IN
COMPUTER2(DIGITAL)
or
COMPUTER2(ANALOG)
(COMPUTER2)
[NP405/NP305]
Inputconnector
SOURCEbuttonontheprojector
cabinet
Buttonontheremotecontrol
COMPUTER1IN COMPUTER1 (COMPUTER1)
COMPUTER2IN COMPUTER2 (COMPUTER2)
NOTE:TheprojectorisnotcompatiblewithvideodecodedoutputsoftheNECISS-6020switcher.
NOTE: An image may not be displayed correctly when a Video or S-Video source is played back via a commercially available scan
converter.
This is because the projector will process a video signal as a computer signal at the default setting. In that case, do the following.
* When an image is displayed with the lower and upper black portion of the screen or a dark image is not displayed correctly:
ProjectanimagetollthescreenandthenpresstheAUTOADJ.buttonontheremotecontrolortheprojectorcabinet.