IBMVGAorCompatibles(Notebook
type)orMacintosh(Notebooktype)
VGA signal cable (supplied)
To mini D-Sub 15-pin connector on
the projector. It is recommended that
you use a commercially available
distribution amplifier if connecting a
signal cable longer than the cable
supplied.
NOTE:ForolderMacintosh,useacommerciallyavailable
pinadapter(notsupplied)toconnecttoyourMac’svideo
port.
Audio cable
(not supplied)
Making Connections
NOTE: When using with a notebook PC, be sure to connect the projector and notebook PC while the projector is in standby mode
and before turning on the power to the notebook PC.
In most cases the output signal from the notebook PC is not turned on unless connected to the projector before being powered up.
* Ifthescreengoesblankwhileusingyourremotecontrol,itmaybetheresultofthecomputer’sscreen-saverorpowermanage-
ment software.
Enabling the computer’s external display
DisplayinganimageonthenotebookPC’sscreendoesnotnecessarilymeanitoutputsasignaltotheprojector.
WhenusingaPCcompatiblelaptop,acombinationoffunctionkeyswillenable/disabletheexternaldisplay.
Usually,thecombinationofthe“Fn”keyalongwithoneofthe12functionkeysgetstheexternaldisplaytocomeon
oroff.Forexample,NEClaptopsuseFn+F3,whileDelllaptopsuseFn+F8keycombinationstotogglethrough
external display selections.
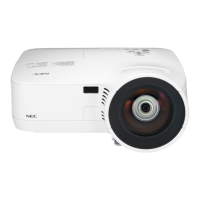
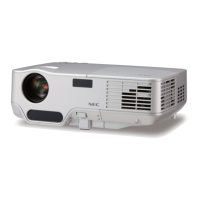
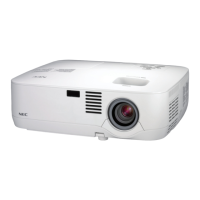
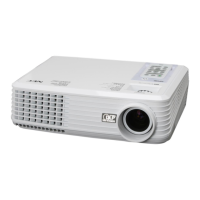
Connecting Your PC or Macintosh Computer
NOTE:SignalssupportedbyPlug&Play(DDC2)
Model
INPUT
COMPUTER 1 IN COMPUTER 2 IN
analog analog digital
NP610/NP510/NP410/NP310/
NP510W/NP410W/NP610S/NP510WS
Yes Yes Yes
NP405/NP305 Yes Yes —
NP405/NP305