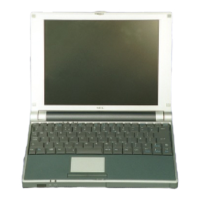
3-10 Disassembly and Reassembly
If the system you are servicing has both the screw (
A
) and hard disk drive lever
(
B
) as shown in the previous illustration you have a user replaceable hard disk
drive. Continue the disassembly process by going to the next set of instructions.
If the system does not have both of these items you have a system with a non-
user replaceable hard disk drive. Skip to the section titled, “Disassembly of a
Non-User Replaceable Hard Disk Drive.”
Note:
The system model number, on the back of the
system, can identify a system with a user-replaceable hard
disk drive. If the model number has the letter “A” in the next
to last position of the number, the unit has a user-
replaceable hard disk drive.
Disassembly – User Replaceable Drive System
Use the following procedures to disassemble the user-replaceable hard disk
drive system.
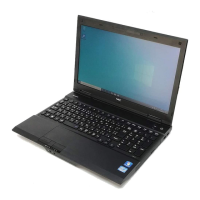
CPU Assembly
Remove the CPU assembly as described below. It is recommended to use a
special insertion/extraction tool to remove the CPU assembly. For information
about this tool contact your Intel representative.
1.
Remove two screws (
A
) from the CPU bay cover on the bottom of the NEC
Versa as shown in the following figure.
A
– CPU Bay Cover Screws
2.
Remove the CPU cover.
 Loading...