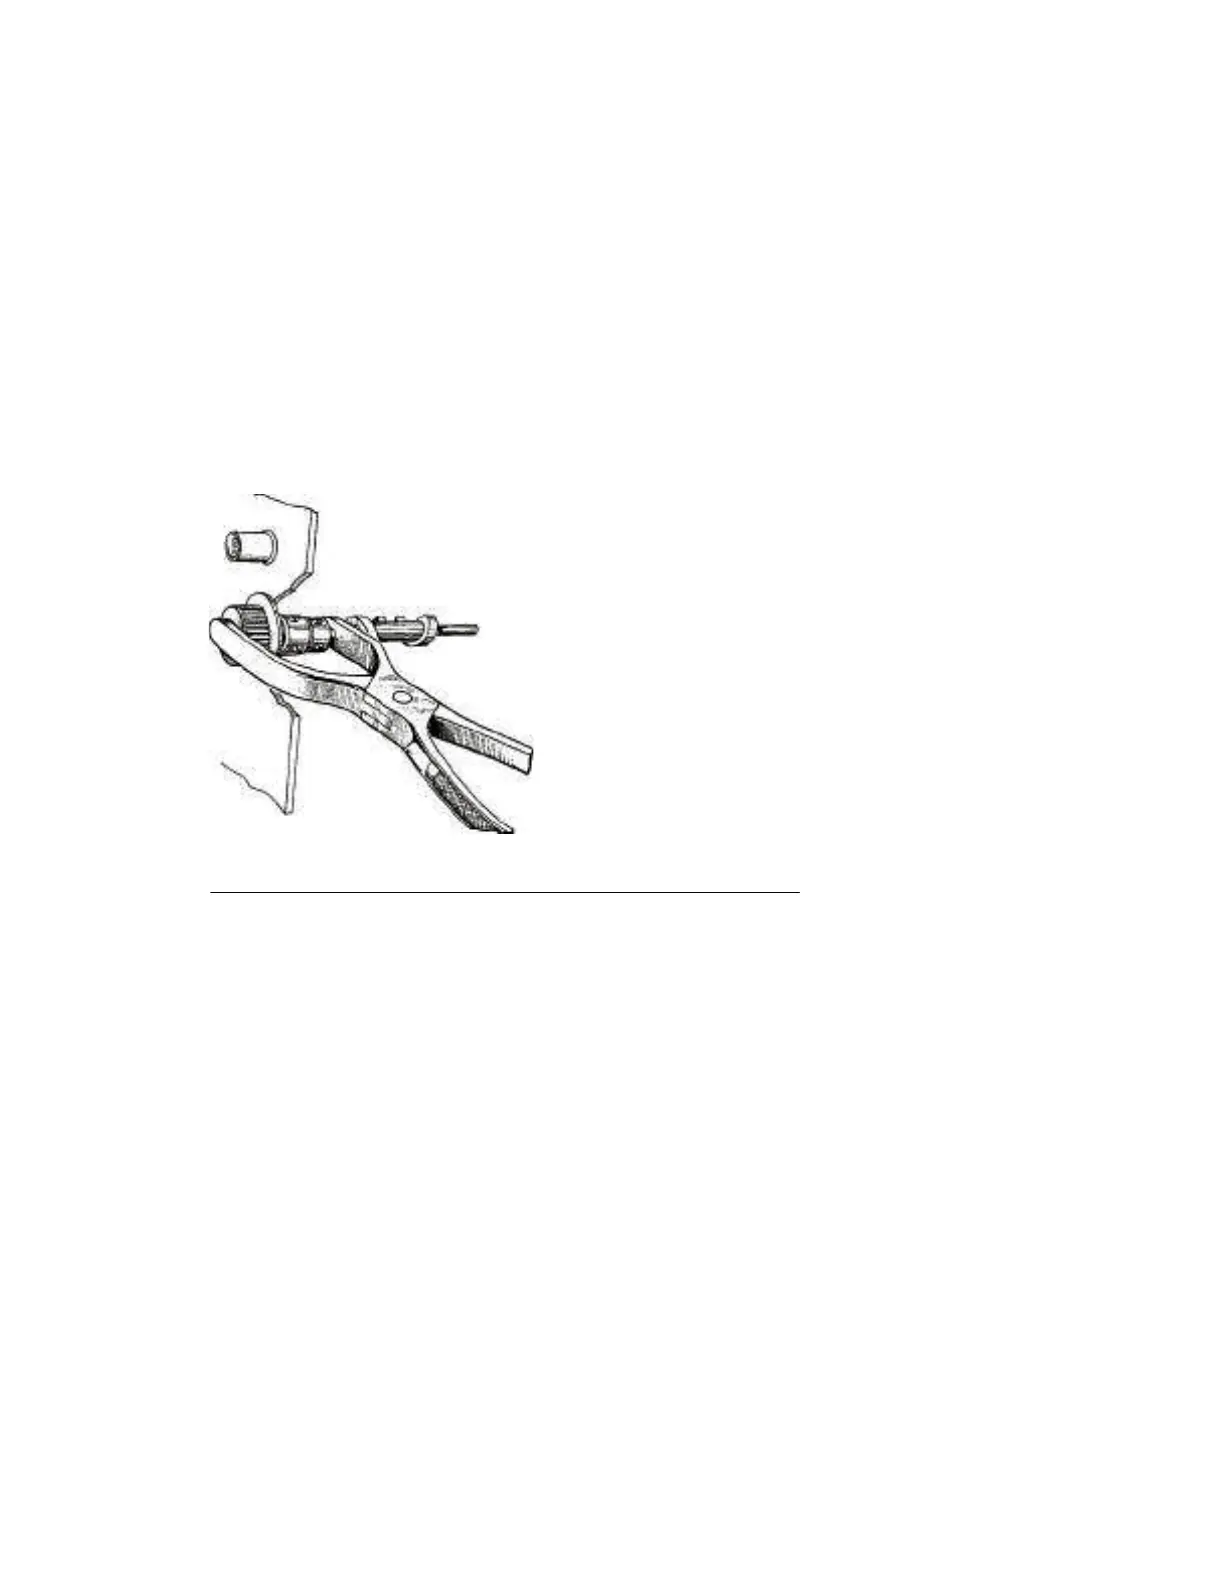
Press together stitch length regulating knob " 12 " and bushing
" 9 " with a special pair of pliers (see Fig. 78). While pressing these
parts together, tighten the two screws " 8 " and then two screws
" 10 " which fasten the bushing " 9 " to the center pin of the stitch
length regulating knob.
After this adjustment it is absolutely necessary to check in accor-
dance with the general rules in chapter, “Adjustment of Stitch
Length Regulating Knob and Regulating Shaft ».
If the stitch length regulating knob turns too hard, it is necessary
to reduce the pressure between the two spring washers (see
Fig. 77).
Fig. 78
- Zero Position of the stitch length regulating knob.
Check whether the zero sign on the stitch length regulating
knob coincides exactly with the square mark on the machine
arm, when the knob is turned completely to the left
(counter-clockwise). This position must be correct and is
indispensable in order to obtain the maximum stitch length at
position " 4 " of the knob (about 5/32").