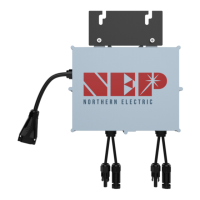
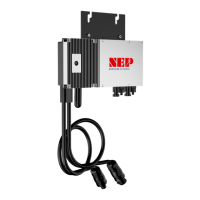
4.6 Attach BDM-800 to the Racking
● Mark the approximate center points between your modules as a mark for where to mount your
microinverters.
WARNING: ALLOW A MINIMUM OF 2.75 INCHES BETWEEN THE TOP OF THE ROOF AND THE BOTTOM OF BDM-800. WE ALSO
RECOMMEND THAT YOU ALLOW .50 INCHES BETWEEN THE BACK OF THE PV MODULE AND THE TOP OF BDM-800. DO NOT MOUNT
BDM-800 IN A LOCATION THAT ALLOWS LONG-TERM EXPOSURE TO DIRECT SUNLIGHT.
● Mount one microinverter at each of these locations using the hardware recommended by the module racking
vendor. Attach the microinverter to the racking system or the adapter plate using the provided mounting
holes. Ensure that the microinverter is securely fastened and level.
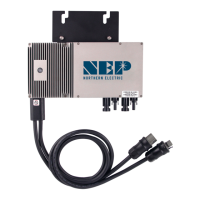
4.7 Connect the BDM-800 Trunk Cable
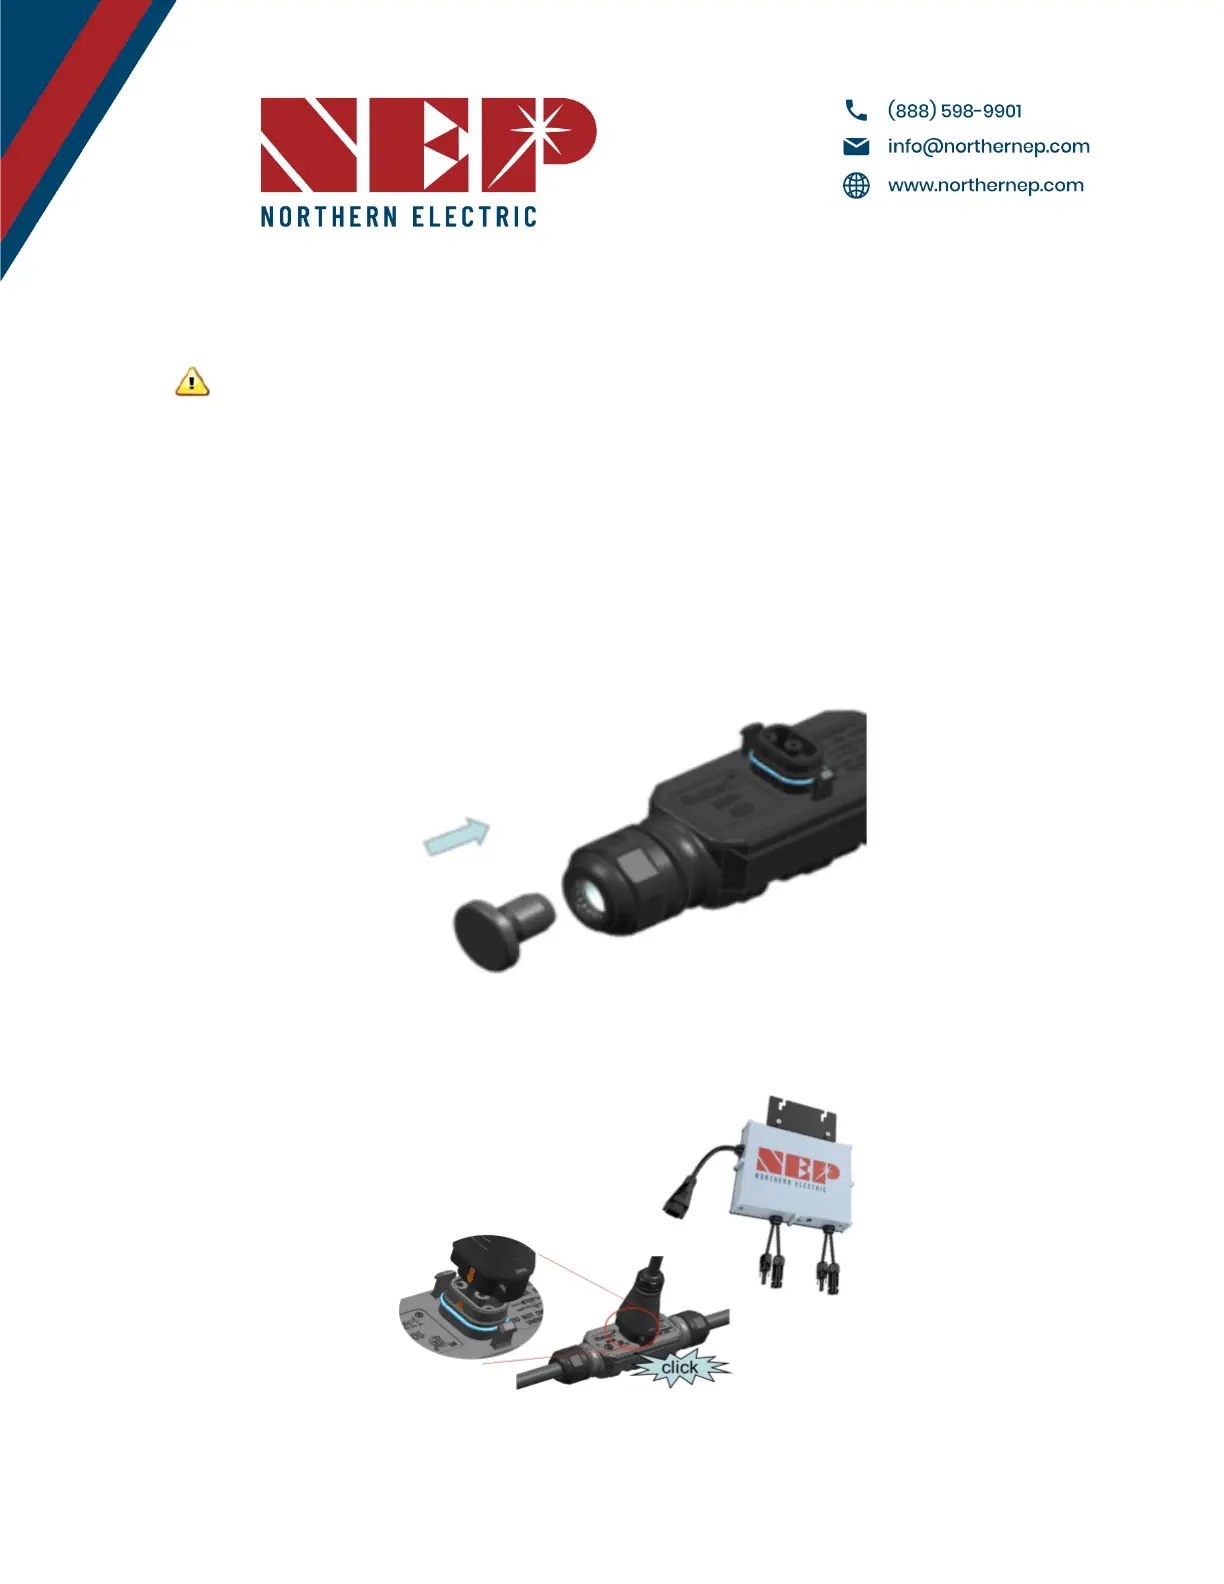
4.7.A Seal one end of trunk with an endcap
4.7.B Connect BDM-800 to trunk cable
● Push down until you hear an audible “Click”. The Cable will be hard to remove once inserted for added
water-tightness
Modified 04/13/2023 by JMB