88
88
8
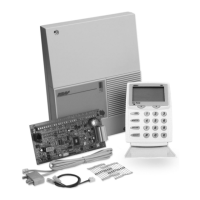
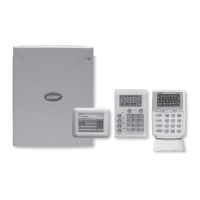
NESS D16 (V4.6) CONTROL PANEL - INSTALLER MANUAL
MONITORED ZONES
The Ness D16 has 18 separate monitored inputs.
• 16 x Fully programmable Zone inputs
• 2 x 24 hour Tamper input
ZONE INPUTS
Each zone input must be terminated with a 2K2 (2200 ohm) or 4K7 if Zone Split
end-of-line resistor as supplied. All inputs must be sealed with an EOL resistor
even if unused.
If there are two detection loops being used for any single zone input, then
cable security may be provided on both loops as shown in the series Zone
diagram below. Note: Each pair of zones share a common terminal.
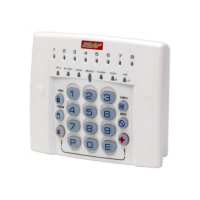
For wiring details of Keypads, Keyswitches, Panic Buttons and Warning
devices, see the wiring diagrams in the wiring section of this manual.
TAMP - Tamper Input
The TAMP input must also be sealed with a 2K2 end of line resistor. This input
is always a 24hr input.
AC INPUT TERMINALS
These terminals are for the connection of the Ness plug-pack. The Ness D-8
requires an AC transformer rating of 1.4 Amps @ 17 Vac minimum. (Ness Part
No. POW215)
BATTERY
These terminals are for the connection of a sealed lead-acid rechargeable
12Volt battery. Charge current is limited to 350mA. The charge voltage is
factory preset at 13.8 V and does not need changing. Note: A 12 Volt sealed
lead acid rechargeable battery must be connected for correct panel operation.
Observe correct Polarity when connecting the battery.
(Ness Part Number BAT210 12V 7Ah battery)
EARTH
For maximum protection against damage caused by lightning strikes, connect
a good earth to this terminal. Alternatively use the Earth lead from the plug
pack.
PROG/TAMP - Program Link & Internal Tamper Input
The PROG/TAMP link appears on the two pin J1 header.
The PROG/TAMP link has two purposes:
1. To enter Installer Program Mode on initial power up. Power-up with
the PROG link OFF. The PROG link (or Box Tamper lead) must be ON in
operating mode.
2. Box Tamper. When used with the Internal Tamper Lead (supplied),
PROG/TAMP serves as the 24hr tamper input for the panel’s internal
tamper switch.
Replace the PROG Link with the Box Tamper Lead. Connect the Internal
Tamper Lead spade terminals directly to the terminals of the internal
tamper switch (supplied). An end-of-line resistor is NOT required on this
input.
When PROG/TAMP is used for Internal Tamper, powering up with the
panel’s cover open will enter Installer Program Mode.
INPUTS
Technical Manuals Online! - http://www.tech-man.com