15
be searched and filtered to display only specific data, which can aid
in troubleshooting. You can also customize folders in which to
organize and categorize your test results by location, event, job, or
other information. Link-Live can then generate and print reports for
communicating job status or documenting completion.
To start, create a user account at Link-Live.com and sign in. After
creating a new account, you will be prompted to Claim your first
testing device. Follow the on-screen instructions to claim your
LinkRunner AT.
Once your LinkRunner AT is claimed in Link-Live, and you have
configured it to upload to Link-Live rather than save to internal
memory, test results upload automatically as soon as you connect to
the internet.
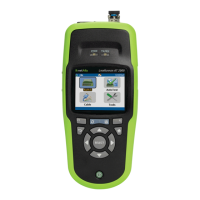
The Cloud icon displays in the upper right corner of the
LinkRunner AT’s test results screens (such as AutoTest)
when the tester is able to upload to Link-Live Cloud Service.
If no connection is available, the Tester will queue up to 10 tests
before overwriting previous results.
You can also configure uploading and notification settings on the Link-
Live Cloud Service web site. For more information about Link-Live,
click Support > Questions at the top right of the Link-Live web page
at Link-Live.com.
 Loading...