26
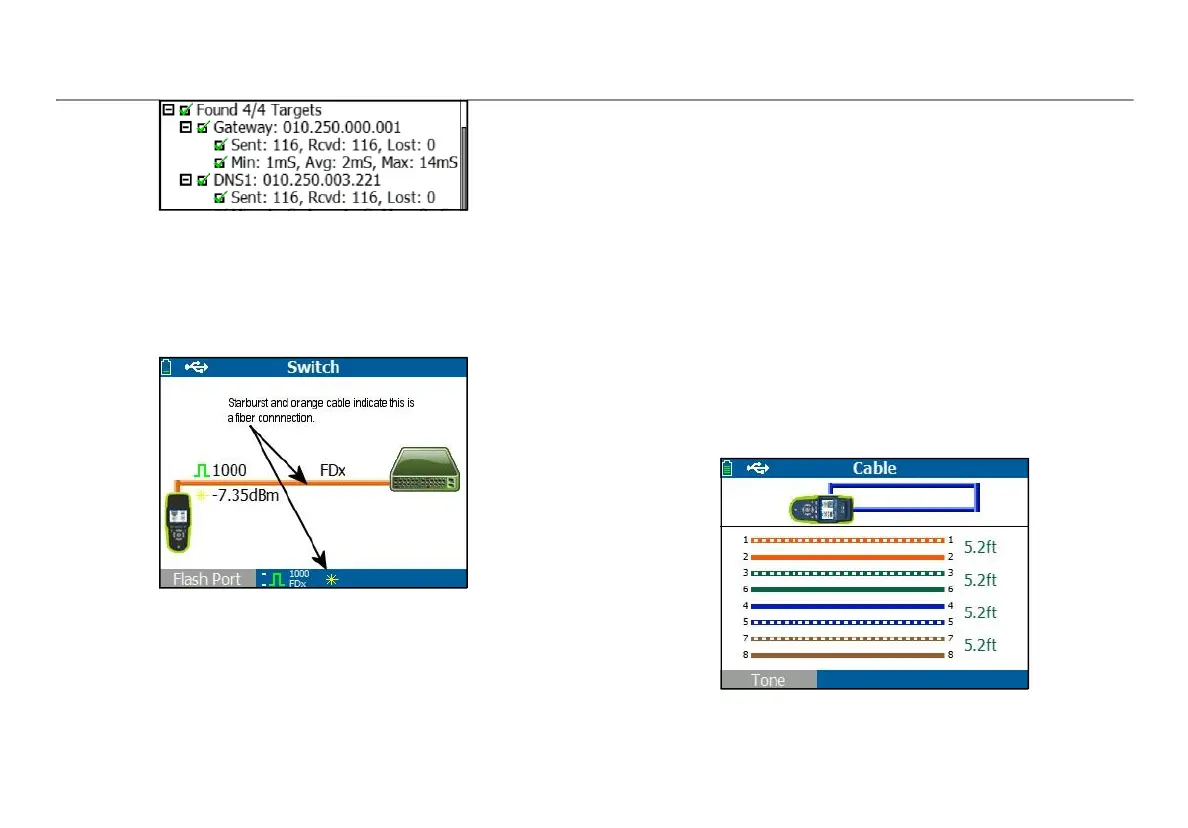
Figure 16. Expanded Test Results
Using the Nearest Switch Test
The Switch test screen displays the nearest switch. The nearest
switch is discovered by locating the “port advertisement” on the first
few packets seen by LR-AT.
Figure 17. Nearest Switch Results
Select Flash Port to stimulate the switch to flash the LED on the port
that the LR-AT is connected into. This can help locate the switch port
in the closet. Set the Flash Port flash rate from slow to fast to
differentiate from the other switch port LED flash rates.
Using AutoTest, Switch, and Cable Test
Using the Cable Test
There are three use models for using the Cable screen:
• Connect a cable from the top LinkRunner AT RJ-45 connector
into the side cable test RJ-45 connector to measure length
and wire mapping.
• Connect an open cable (non-terminated) into the top LR-AT
RJ-45 connector and measure length. An unterminated cable
can also be traced using an IntelliTone
TM
Probe and the Tone
function.
• Connect a cable into the top LR-AT RJ-45 connector and select
Tone. Using the IntelliTone
TM
Probe, you can trace the wire or
locate it in the switch closet.
 Loading...