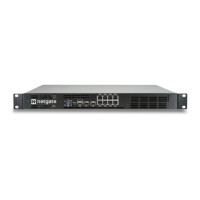
Security Gateway Manual Netgate-4200
2.4.3 Connect to the Console
The installation process is interactive and utilizes the console. Follow the directions under Connect to the console to
configure and use the console.
2.4.4 Boot the Installation Media
1. Insert the memstick into the USB port on the right side and boot the device.
2. Wait for the BIOS prompt to appear.
3. Press Esc to enter the BIOS.
4. Use the left/right arrow keys to select the “Save & Exit” header.
5. Use the up/down arrow keys to move into the Boot Override section.
6. Select the entry for the USB memstick
The entry is likely at or near the bottom of the list. The name of the entry varies by brand/make/model of the
USB memstick.
2.4.5 Determine Target Drive
During the installation process the installer will prompt to select a target drive. The installer will then write pfSense
®
Plus to the chosen drive.
• On devices with only MMC storage, the only choice is da0.
• On devices with multiple drives, such as MAX variants, take care to choose the correct intended target. The
correct choice is always going to be the NVMe storage (nda0).
2.4.6 Install pfSense Plus Software
The installer will automatically launch and present several options. On Netgate appliances, choosing Enter for the
default options will complete the installation process in most cases.
Tip: There are options on the Welcome screen of the installer which can recover configuration data from a previous
installation or from a USB drive.
See also:
For a complete walkthrough of the installation process, see Installation Walkthrough.
When the installation is complete, remove the USB drive from the USB port.
Important: If the USB drive remains attached, the device may boot into the installer again.
See also:
For information on restoring from a previously saved configuration, go to Backup and Restore.
© Copyright 2024 Rubicon Communications LLC 46