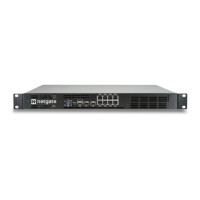
Security Gateway Manual Netgate-4200
2.10.3 Installation Procedure
The installation procedure has many steps which are broken down into related groups in the remainder of this document.
Follow all steps in the procedure carefully.
Take a Backup
If the system contains an existing configuration which should be carried over to the SSD, then the first step is to take a
backup of that configuration.
If the existing configuration is not necessary, this section may be skipped.
There are numerous backup options covered in the pfSense software documentation section on Backup and Restore.
For the purposes of reinstalling and restoring, the easiest method is to take a local backup.
Download the Installer
Before proceeding further, download a copy of the Netgate Installer amd64 memstick image using a Netgate Store
Account and write the installer to a USB memstick. For details, see Reinstalling pfSense Plus Software.
Wipe the eMMC
To ensure the old installation of pfSense software on the eMMC does not interfere with the new installation of pfSense
software on the SSD, the metadata on the eMMC must be wiped.
Warning: Do not skip this procedure or it may result in installation failures, upgrade failures, or other unpredictable
behavior from having two conflicting installations present.
1. Connect to the serial console
2. Boot the Netgate Installer
3. Choose the option to start a Rescue Shell when prompted
4. Follow the rest of the procedure for wiping the disks in the pfSense software documentation at https://docs.
netgate.com/pfsense/en/latest/troubleshooting/multiple-disks.html
Note: The eMMC storage device will appear as da1 in most cases when booting the installer via USB. When following
the procedure to wipe the disks, use that device and not da0 which is likely the installer memstick in the rescue shell.
To confirm the correct device, run the command geom disk list from the rescue shell. One device description will
include Ultra HS-COMBO and that device is the eMMC storage.
After wiping the eMMC, run the command shutdown -p now from the rescue shell to cleanly shut down and power
off the device.
© Copyright 2024 Rubicon Communications LLC 78