Security Gateway Manual XG-7100
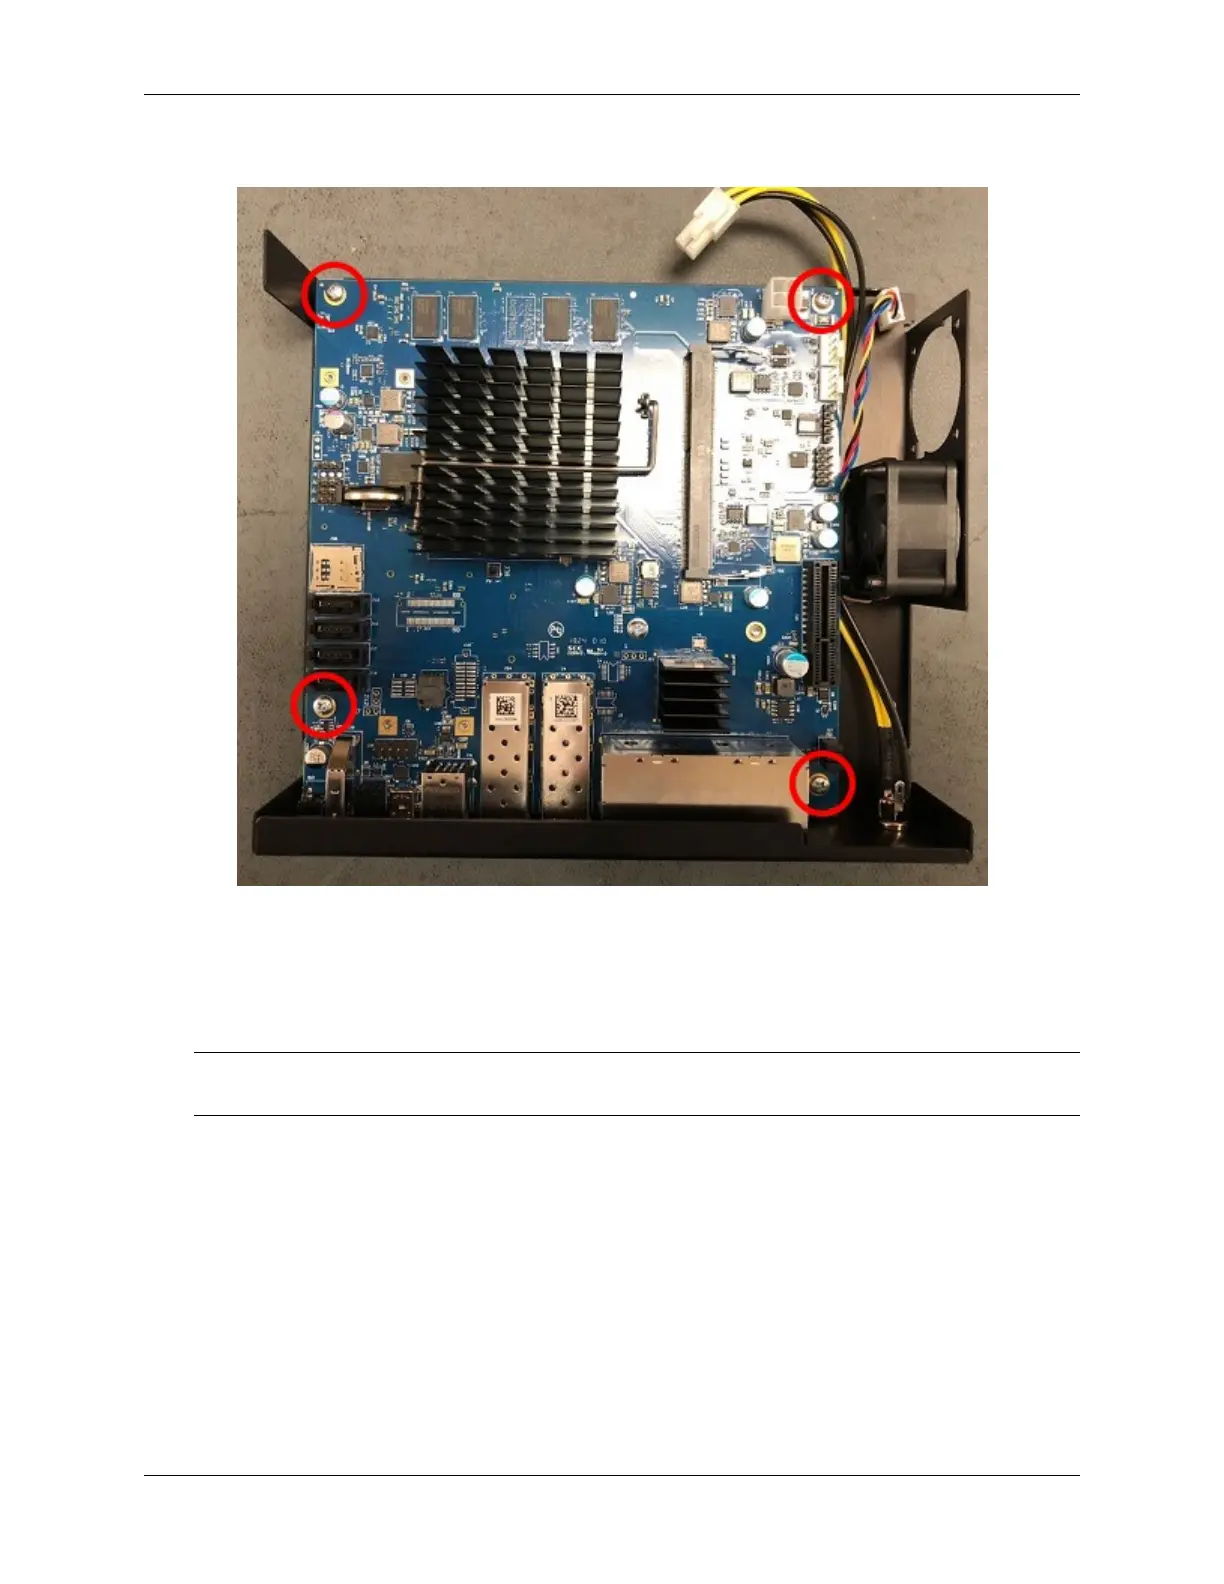
board is free.
Fig. 13: Board Screw Locations
5. Turn the board over and locate the M.2 SATA slot.
6. Insert the gold leads of the M.2 SATA drive into the slot at the angle shown.
Note: Be sure the drive label is facing up and can be seen. The drive slot is keyed and the drive can only go in
one way. Do not force the drive into the slot.
7. Push the M.2 SATA drive down until it is parallel with the system board and use the screw to secure the M.2
SATA drive in place.
8. Turn the board over and place it into the chassis. Secure the system board with four (4) board screws.
9. Replace the power supply connector and fan connectors.
10. Slide the base back into the lid of the cace, and replace the case screws. Use a hand screwdriver and be careful
not to crossthread the screws.
11. Reinstall the pfSense
®
Plus software on the new M.2 SATA drive.
See also:
Reinstalling pfSense Plus Software
© Copyright 2024 Rubicon Communications LLC 68