Extender Network Settings
29
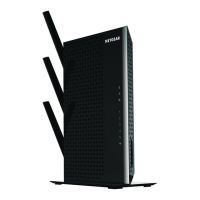
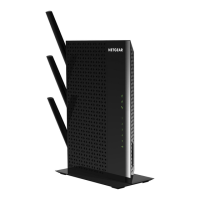
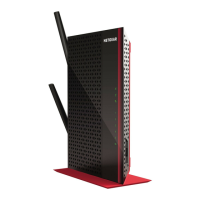
AC1900 Nighthawk WiF Mesh Extender
- Android devices. http://<extender’s IP address> (for example,
http://192.168.1.3)
For information about how to find the extender’s IP address, see Find Extender’s
IP Address on page 69.
A login page displays.
3. Enter your admin email address and password and click the LOG IN button.
The Status page displays.
4. Click the Menu icon
.
The extender menu displays.
5. Select Settings > W
iFi.
The WiFi Settings page displays.
6. In each W
iFi Speed menu, select a speed.
7. Click the SA
VE button.
Your settings are saved.
Use WPS to Add a Computer to the Extender’s WiFi
Network
WPS (WiFi Protected Setup) lets you connect a computer or WiFi device to the extender’s
network without entering the WiFi network passphrase or key. Instead, you use a WPS button
or enter a PIN to connect.
If you use the push button method, the WiFi device that you are trying to connect must
include a physical push button or a software button. If you use the PIN method, you must
know the PIN of the WiFi device that you are trying to connect.
WPS supports WPA and WPA2 WiFi security. If your extender network is open (no WiFi
security is set), connecting with WPS automatically sets WP
A + WPA2 WiFi security on the
extender network and generates a random passphrase. You can view this passphrase on the
WiFi Settings screen (for more information, see View WiFi Settings on page 25).
For information about using WPS to connect the extender to a WiFi network during setup,
see Install the Extender as an Access Point on page 18.
Use WPS with the Push Button Method
To use the Push Button method to connect a WiFi device to the extender’s WiFi network, the
WiFi device that you are trying to connect must have a physical push button or a software
push button.