Configure Switching
136
Insight Managed 8-Port Gigabit Ethernet Smart Cloud Switch with 2 SFP Fiber Ports
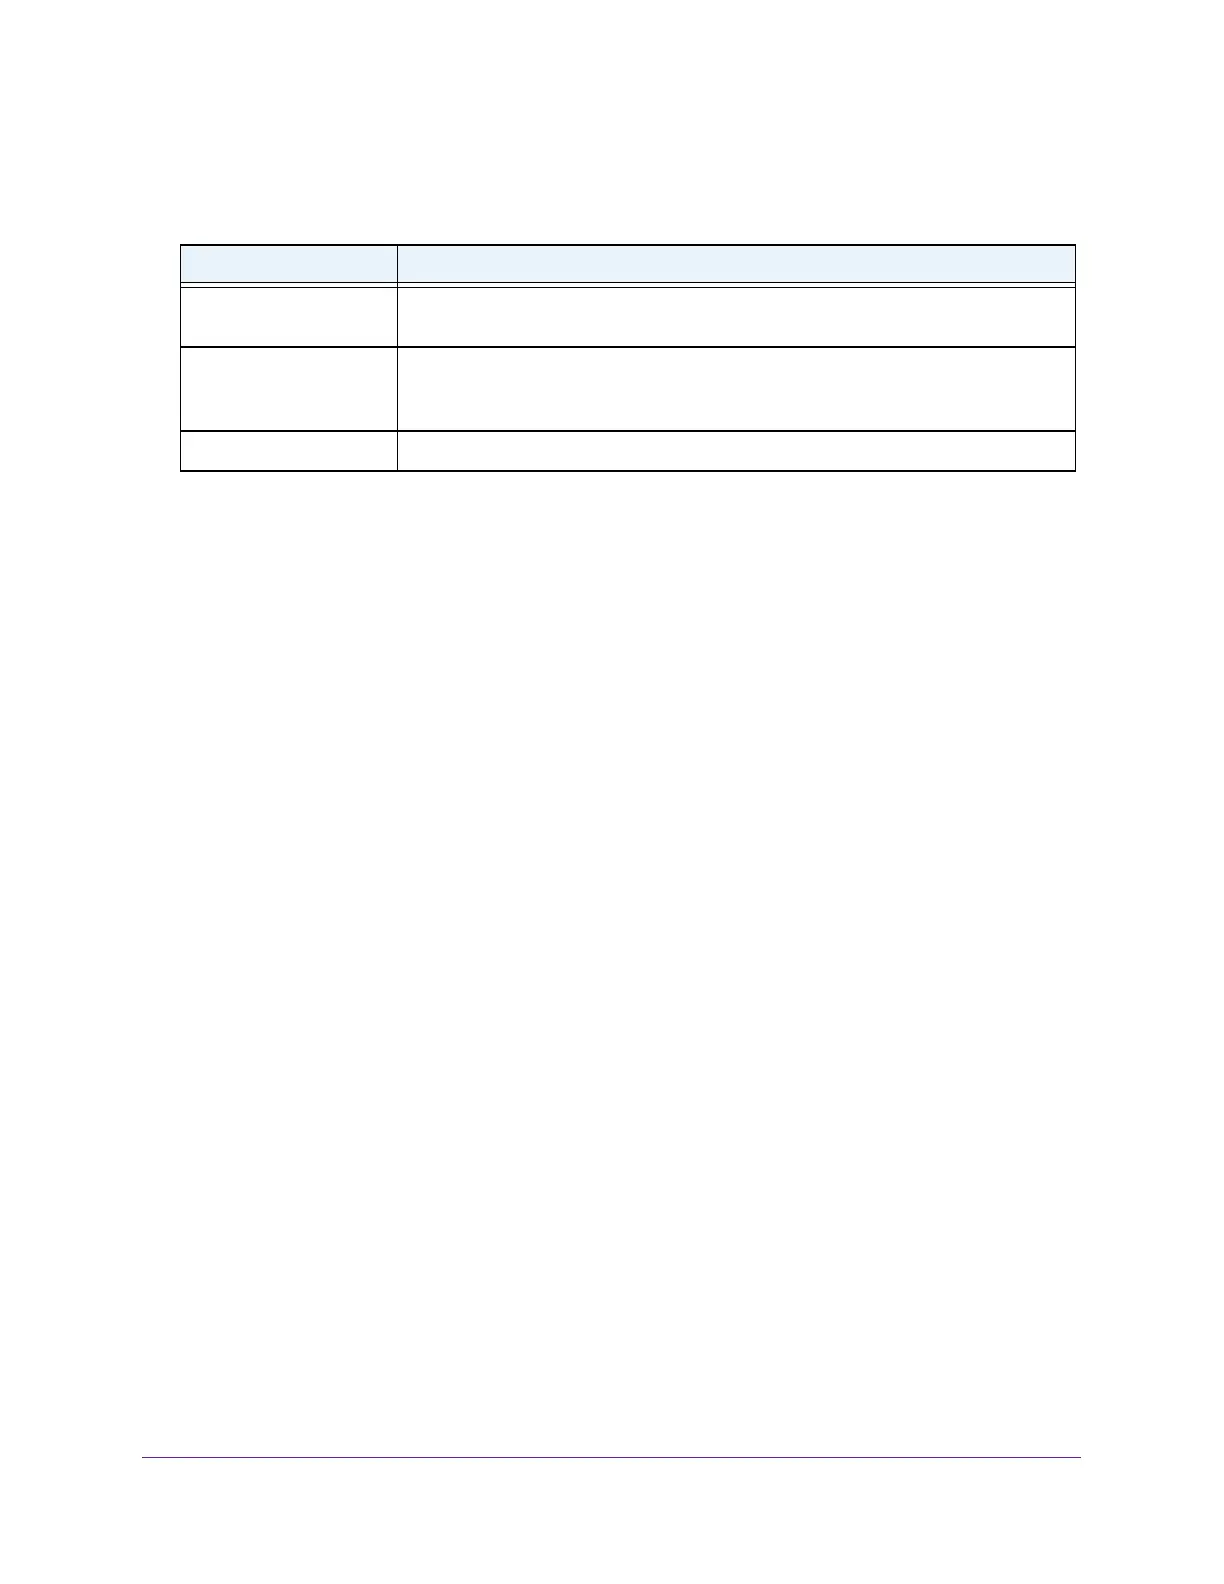
The following table describes the MFDB Statistics fields.
Table 39. MFDB Statistics information
Field Description
Max MFDB Table Entries The maximum number of entries that the Multicast Forwarding Database table can
hold.
Most MFDB Entries Since
Last Reset
The largest number of entries that were present in the Multicast Forwarding
Database table since last reset.
This value is also known as the MFDB high-water
mark.
Current Entries The current number of entries in the Multicast Forwarding Database table.
Configure the Auto-Video Settings
You can configure the auto-video settings for multicast traffic.
To the configure auto-video settings:
1. Connect your computer to the same network as the switch.
You can use a WiFi or wired connection to connect your computer to the network, or
connect directly to a switch that is of
f-network using an Ethernet cable.
2. Launch a web browser.
3. In the address field of your web browser
, enter the IP address of the switch.
If you do not know the IP address of the switch, see Access the Switch on page 11.
The login window opens.
4. Enter the switch’
s password in the password field.
The default password is password. If you added the switch to a network on the Insight
app before and you did not yet change the password through the local browser interface,
enter your Insight network password.
The System Information page displays.
5. Select Switching> Multicast >
Auto-Video.
The Auto-Video Configuration page displays.
6. Select one of the following radio buttons:
• Select the Disable radio button to globally disable the Auto-Video mode for the
switch.
• Select the Enable radio button to globally enable the
Auto-Video mode for the switch.
The Auto-Video VLAN field shows the ID for the Auto-Video VLAN. By default, the VLAN
ID is 4089.
7. Click the Apply button.
Your settings are saved.