Configure Quality of Service
231
Insight Managed 28-Port Gigabit Ethernet Smart Cloud Switch with 2 SFP 1G & 2 SFP+ 10G Fiber Ports
logic is a Boolean logical AND for this criteria. After creating a class, click the class link to the
Class page.
Create and Configure a DiffServ Class
To create and configure a DiffServ class:
1. Connect your computer to the same network as the switch.
You can use a WiFi or wired connection to connect your computer to the network, or
connect directly to a switch that is off-network using an Ethernet cable.
2. Launch a web browser.
3. In the address field of your web browser, enter the IP address of the switch.
If you do not know the IP address of the switch, see Access the Switch on page 13.
The login window opens.
4. Enter the switch’s password in the password field.
The default password is password. If you added the switch to a network on the Insight
app before and you did not yet change the password through the local browser interface,
enter your Insight network password.
The System Information page displays.
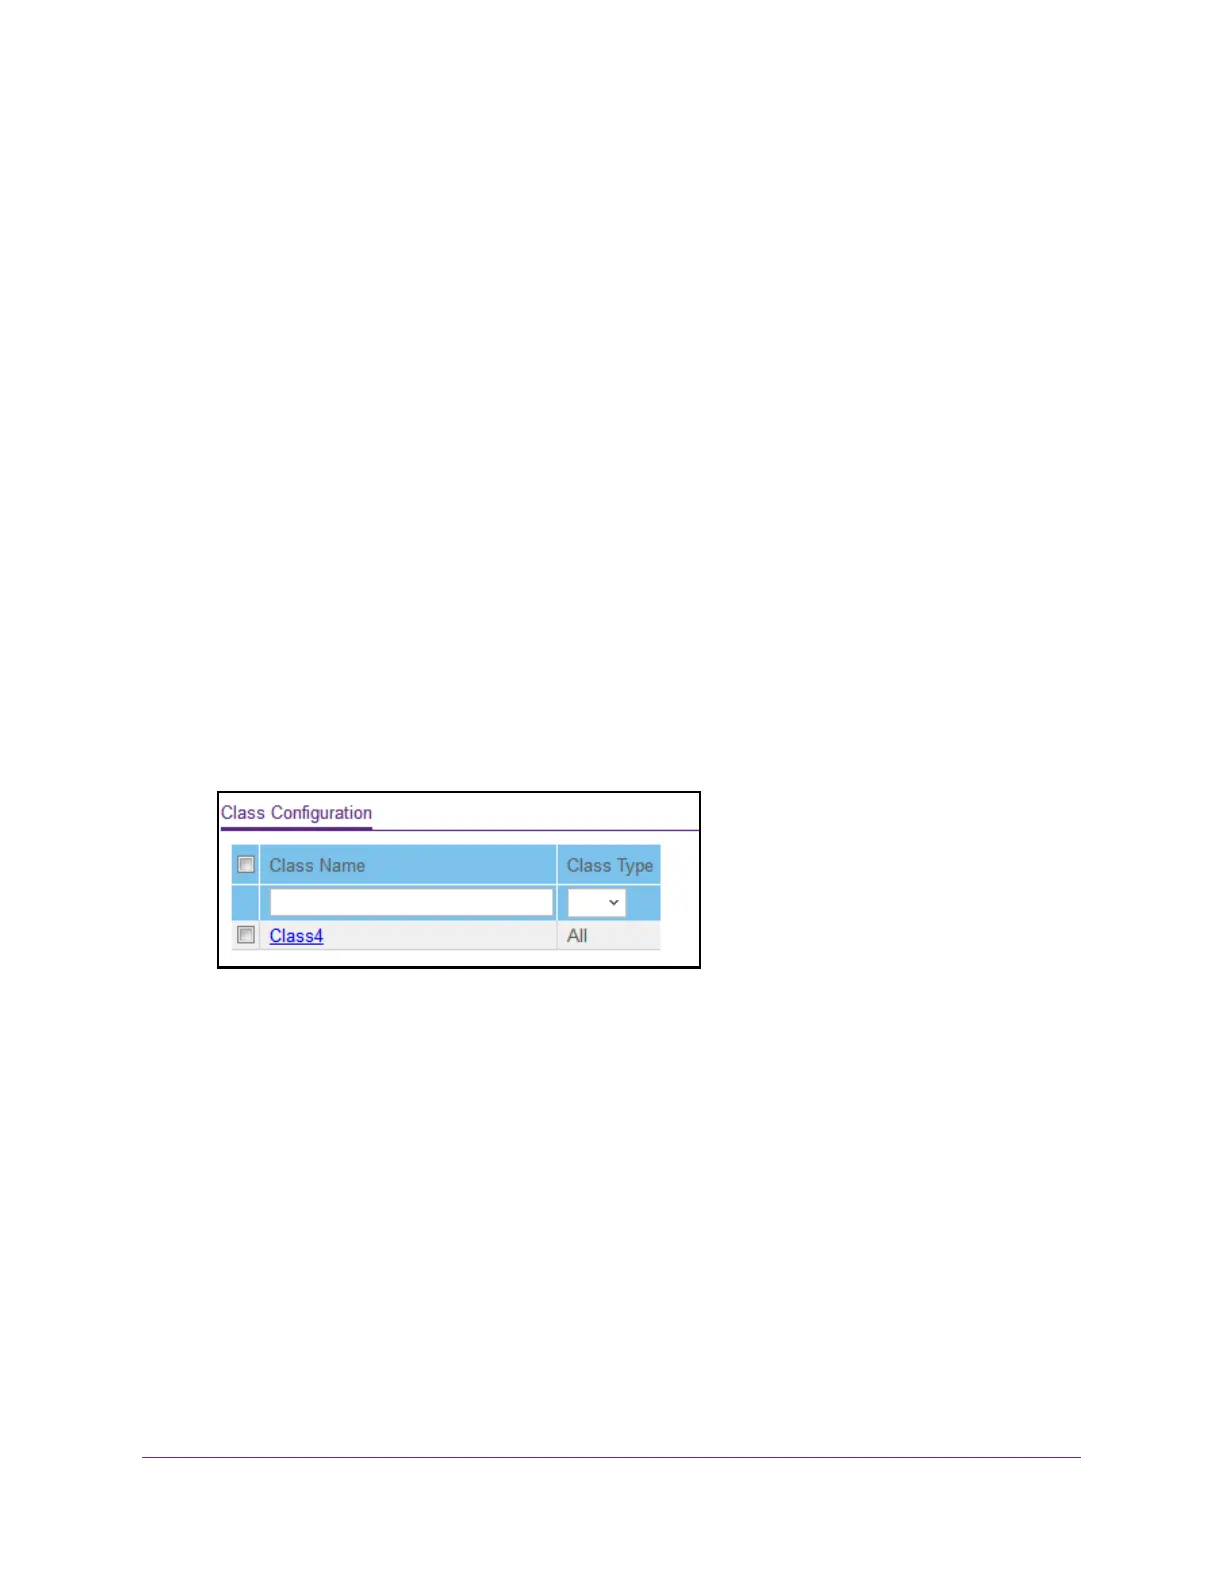
5. Select QoS > DiffServ > Advanced > Class Configuration.
6. In the Class Name field, enter a class name.
The Class Name field also lists all the existing DiffServ class names, from which you can
select one for modification or deletion. The class name can be 1 to 31 alphanumeric
characters in length.
7. From the Class Type menu, select the class type.
The switch supports only the class type value All, which means that all the various match
criteria defined for the class are satisfied for a packet match. All signifies the logical AND
statement of all the match criteria. You can select the class type only when you are
creating a new class. After the class is created, the Class Type field becomes
nonconfigurable.
8. Click the Add button.
The new class is added.
9. After creating the class, click the class name.
 Loading...