Configure System Information
60
Insight Managed 28-Port Gigabit Ethernet Smart Cloud Switch with 2 SFP 1G & 2 SFP+ 10G Fiber Ports
10. To remove a DNS server from the list, select its check box and click the Delete button.
If you click the Delete button without selecting a DNS server, all the DNS servers are
deleted.
11. Click the Apply button.
Your settings are saved.
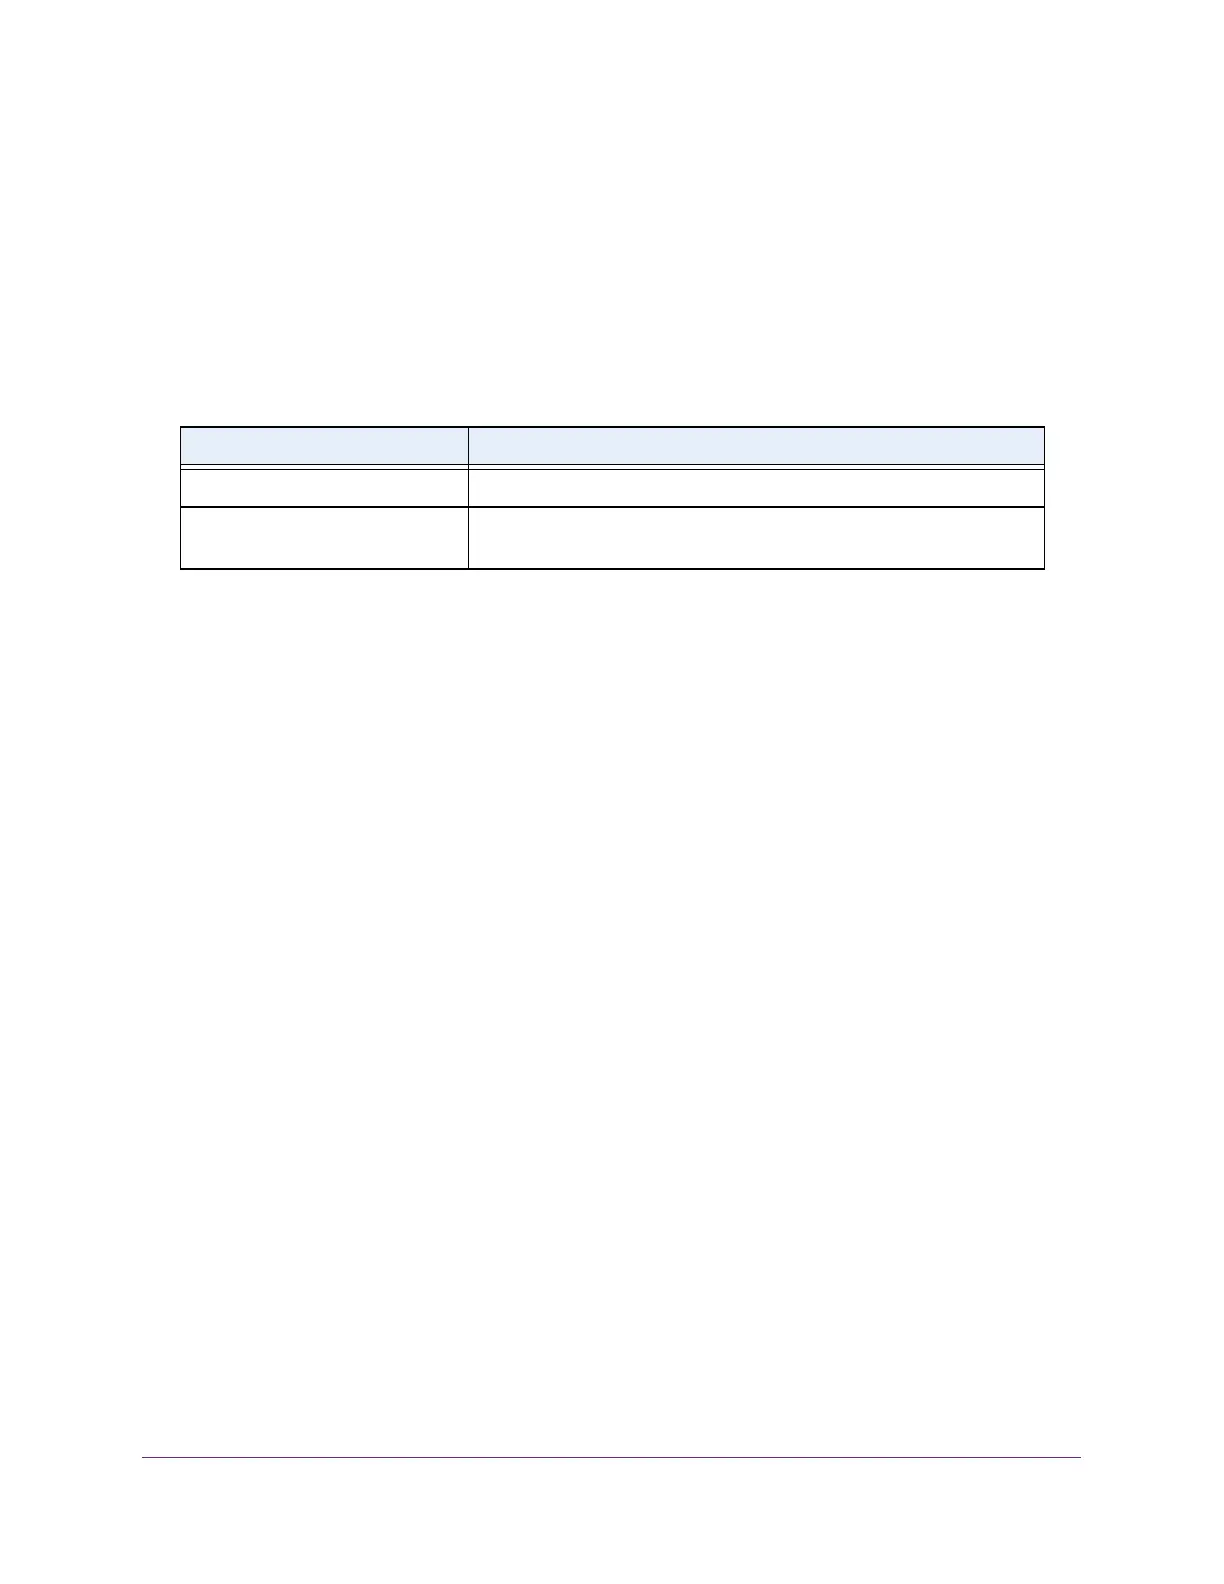
The following table displays DNS Server Configuration information.
Configure and View Host Name-to-IP Address Information
You can manually map host names to IP addresses or view dynamic host mappings.
Add a Static Entry to the Dynamic Host Mapping Table
To add a static entry to the local dynamic host mapping table:
1. Connect your computer to the same network as the switch.
You can use a WiFi or wired connection to connect your computer to the network, or
connect directly to a switch that is off-network using an Ethernet cable.
2. Launch a web browser.
3. In the address field of your web browser, enter the IP address of the switch.
If you do not know the IP address of the switch, see Access the Switch on page 13.
The login window opens.
4. Enter the switch’s password in the password field.
The default password is password. If you added the switch to a network on the Insight
app before and you did not yet change the password through the local browser interface,
enter your Insight network password.
The System Information page displays.
5. Select System > Management > DNS > Host Configuration.
The Host Configuration page displays.
6. In the Host Name (1 to 255 characters) field, specify the static host name to add.
Its length cannot exceed 255 characters and it is a required field.
7. In the IPv4/IPv6 Address field, enter the IP address to associate with the host name.
Table 13. DNS Server Configuration information
Field Description
ID The identification of the DNS Server.
Preference Shows the preference of the DNS server. The preferences are
determined by the order in which they were entered.
 Loading...