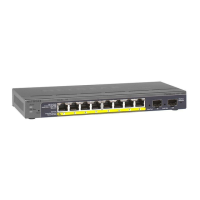
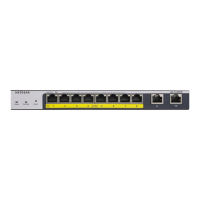
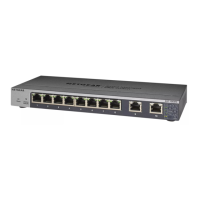
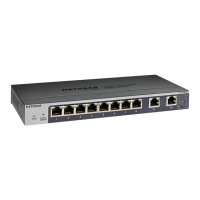
To check the package contents:
1.
Place the container on a clean flat surface, and cut all straps securing the container.
2.
Unpack the hardware from the boxes by carefully removing the hardware and placing
it on a secure and clean surface.
3. Remove all packing material.
4.
Verify that the package contains the following items:
•
Model GS110TUP switch.
•
DC power adapter with a detachable power cable (varies by region).
•
Two large rack-mount installation brackets.
•
One plastic bag that contains the following rack-mount installation screws and
washers:
-
Eight small screws to attach the brackets to the switch (four small screws for
each side).
-
Four large screws and four washers to attach the brackets to the rack (two
screws and two washers for each side).
-
Four additional large screws of a different size to attach the brackets to the
rack, allowing you to select the most suitable set of screws for the rack.
•
Another plastic bag that contains the following items:
-
Rubber feet for desktop or table installation.
- Two wall-mount installation anchors.
- Two wall-mount installation screws.
•
Installation guide.
5.
If any item is missing or damaged, contact your local NETGEAR reseller for
replacement.
Hardware Installation Guide30Installation
10-Port Gigabit Ethernet Ultra60 PoE++ Smart Managed Pro Desktop and Rackmount Switches
 Loading...


