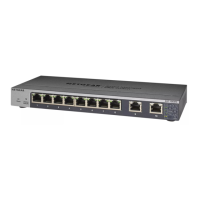
You can mount the switch with the back panel facing down (the cables will be at the
bottom). The following figure shows the top panel of the switch, with the VESA holes
at the bottom shown transparently.
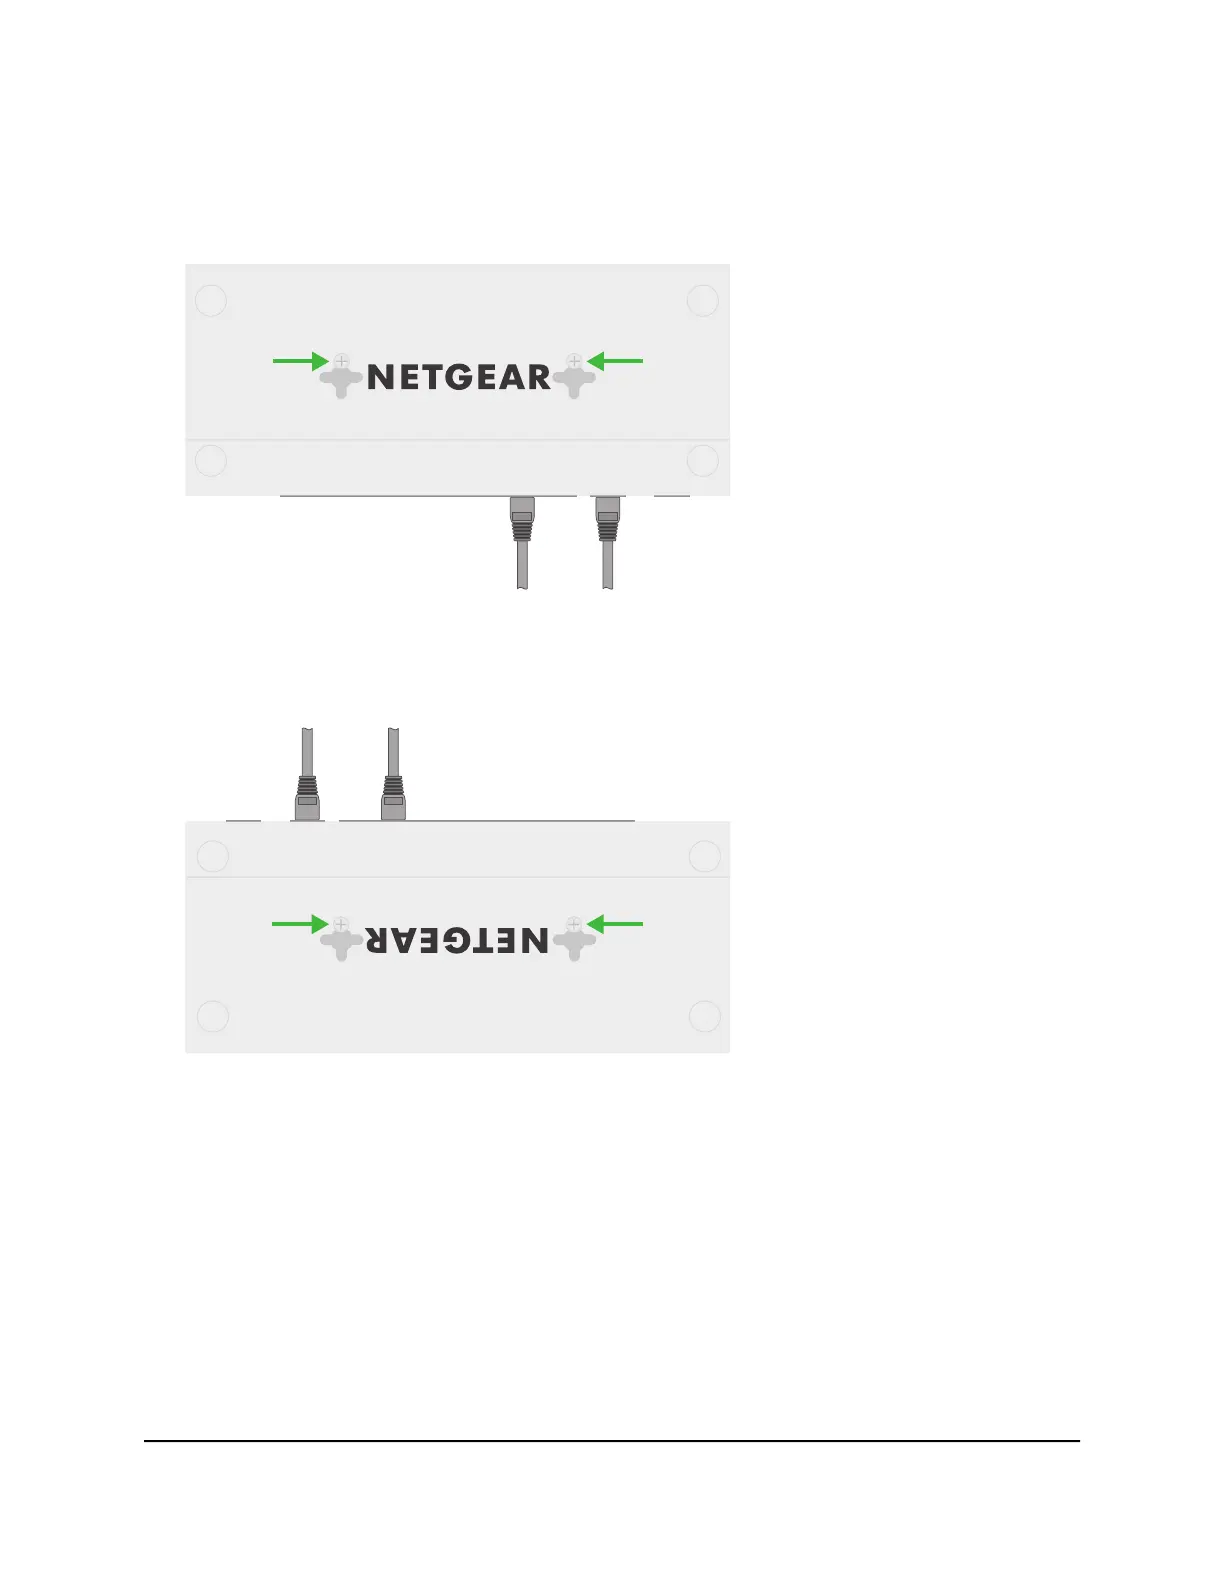
You can also mount the switch with the back panel facing up (the cables will be at
the top). The following figure shows the top panel of the switch, with the VESA holes
at the bottom shown transparently.
Wall-mount model GS110TUP vertically You can mount model GS110TUP
vertically to a wall, either with the back panel facing left (the cables will be on the left)
or facing right (the cables will be on the right).
To mount model GS110TUP vertically to a wall:
1.
Locate the two holes on the bottom panel of the switch.
2. Mark the two mounting holes on the wall where you want to mount the switch.
The two mounting holes must be at a precise horizontal distance of 2.95 in. (75 mm)
from each other.
3.
Drill holes into the wall for two anchors in which you will insert M4 x L25 mm screws.
Hardware Installation Guide35Installation
10-Port Gigabit Ethernet Ultra60 PoE++ Smart Managed Pro Desktop and Rackmount Switches