NETGEAR USB Multifunction Printer Server PS121v2 User Manual
2-6 Installation and Setup
v2.0, April 2007
1. Power on your computer, let the operating system boot up completely, and log in as needed.
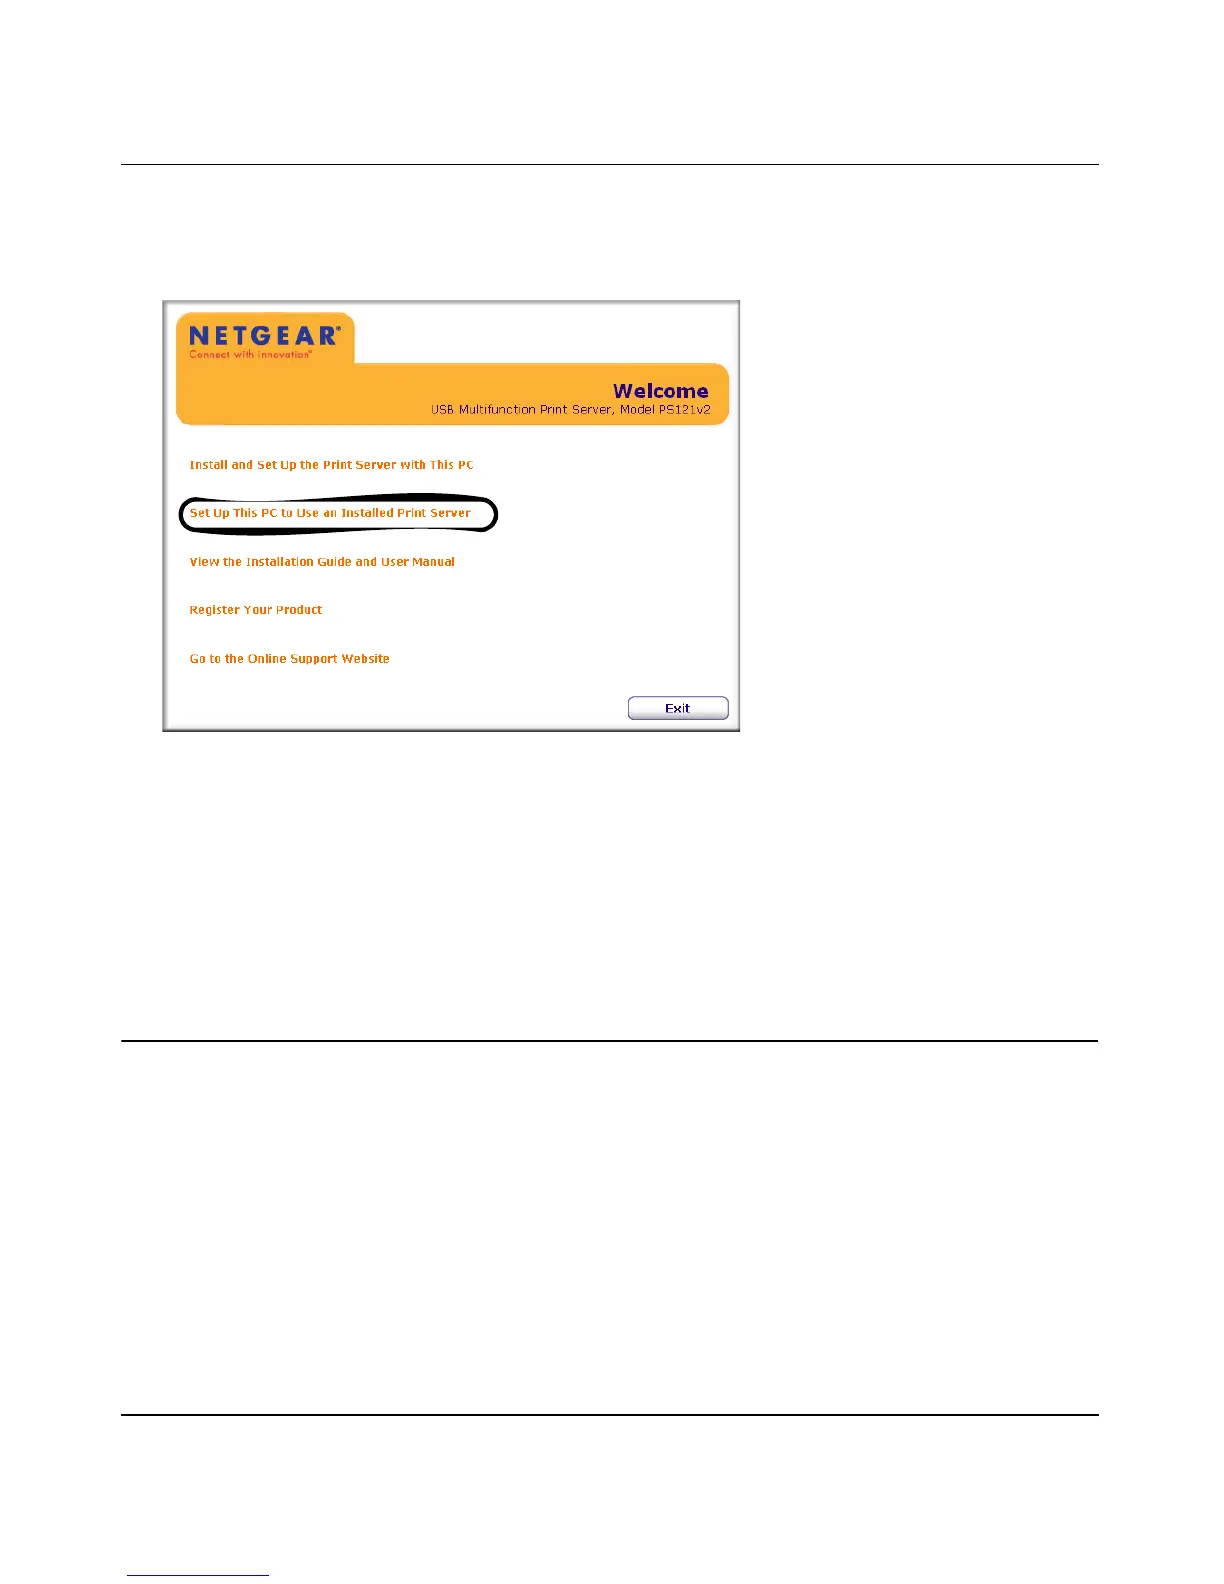
2. Insert the Resource CD into your CD drive. The CD main page opens.
3. Click Set Up the PC to Use an Installed Print Server to install the SmartWizard, which will
allow you to print via the print server.
Your USB Multifunction Print Server is now ready to use. For instructions on using the
multifunction feature, refer to “Reserving a Multi-Function Printer to Scan, Copy, or Fax” on
page 3-1.
Installation for TCP/IP LPR Printing
First, connect the print server. Then follow the instructions for the Windows Add Printer Wizard
for your operating system.
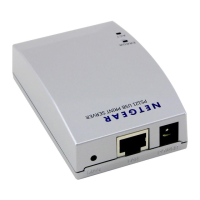
Connect the Print Server
To use TCP/IP LPR printing:
1. Connect your Print Server to your network configuration.
Figure 2-4