NETGEAR USB Multifunction Printer Server PS121v2 User Manual
3-8 Managing the Print Server
v2.0, April 2007
5. Edit the IP address, IP subnet mask, and gateway IP address, as desired, and then click Apply.
6. To change the print server name, click Configure Server in the main menu, edit the name in the
Print Server Name text box, and click Apply.
Changing the Password
If you want to restrict access to the print server setup, you can change the password as follows:
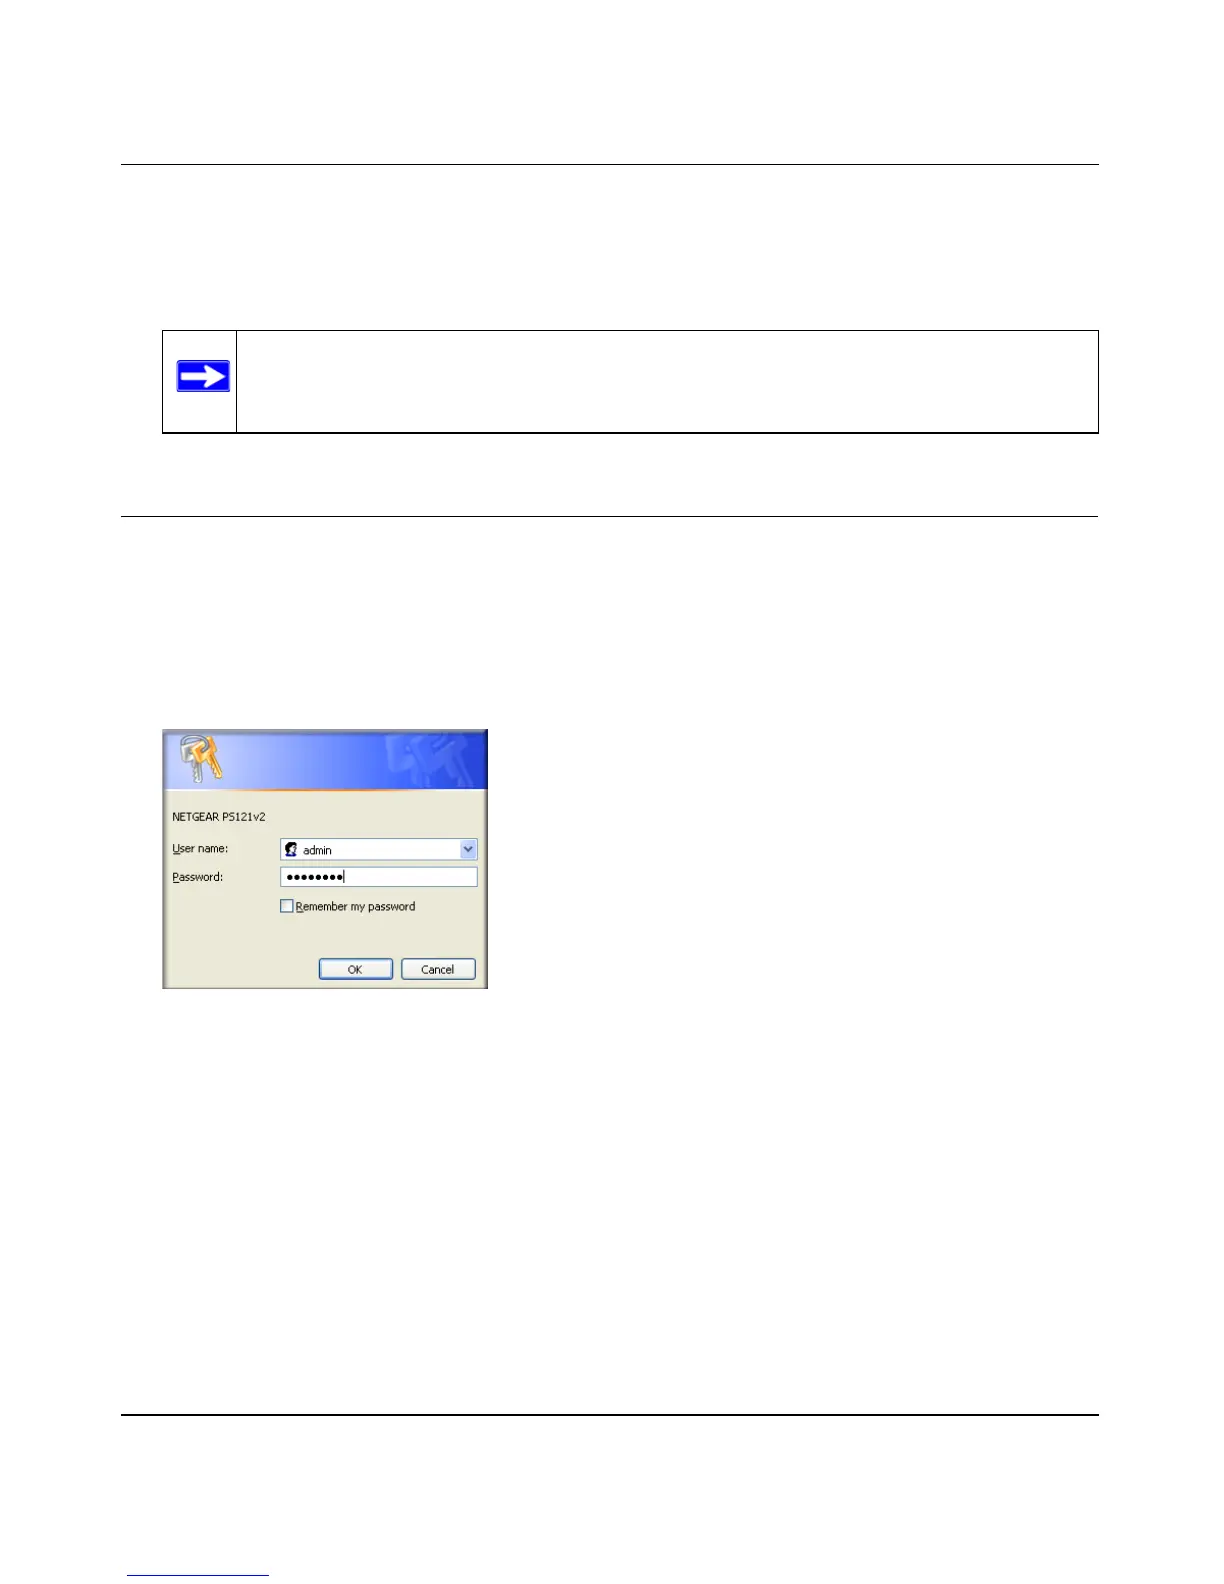
1. Open your Web browser and type in the IP address of the print server in the browser’s Address
text box.
The browser opens a pop-up window prompting you for the user name and password.
2. For the user name, type admin. If you have previously assigned a password enter it in the
password box. If you have not changed the password, type the default value of password.
Note: The print server name must not contain any spaces.
Figure 3-10