GEO S12 HARDWARE SETUP PROCEDURE
Page 40 / 95 System Manual GEOS12 LS18
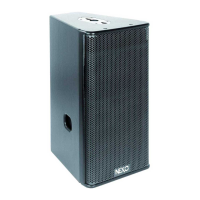
6.4.2 Single GEO S12 on speaker stand or on LS18 horizontally
Required items
- 1 x “U” Bracket for single horizontal GEO S12 (GPT-SSBRK);
- 1 x Speaker stand diameter 35mm (K&M 213 or equivalent)
- Or NEXO PS pole stand (VXT-PLSTD) for mounting on top of LS18
IMPORTANT
Speaker stand must be rated for assembly weight (40kg rated load min)
Speaker stand must always be installed on a horizontal surface
Stand height and footprint must be defined to prevent assembly from collapsing
Ensure that public is not allowed within a safety area which radius is equal or higher than assembly height.
IMPORTANT
NEXO PLSTD pole stand only should be used for mounting on top of NEXO LS18
LS18 must always be installed on a horizontal surface
Ensure that public is not allowed within a safety area which radius is equal or higher than assembly height
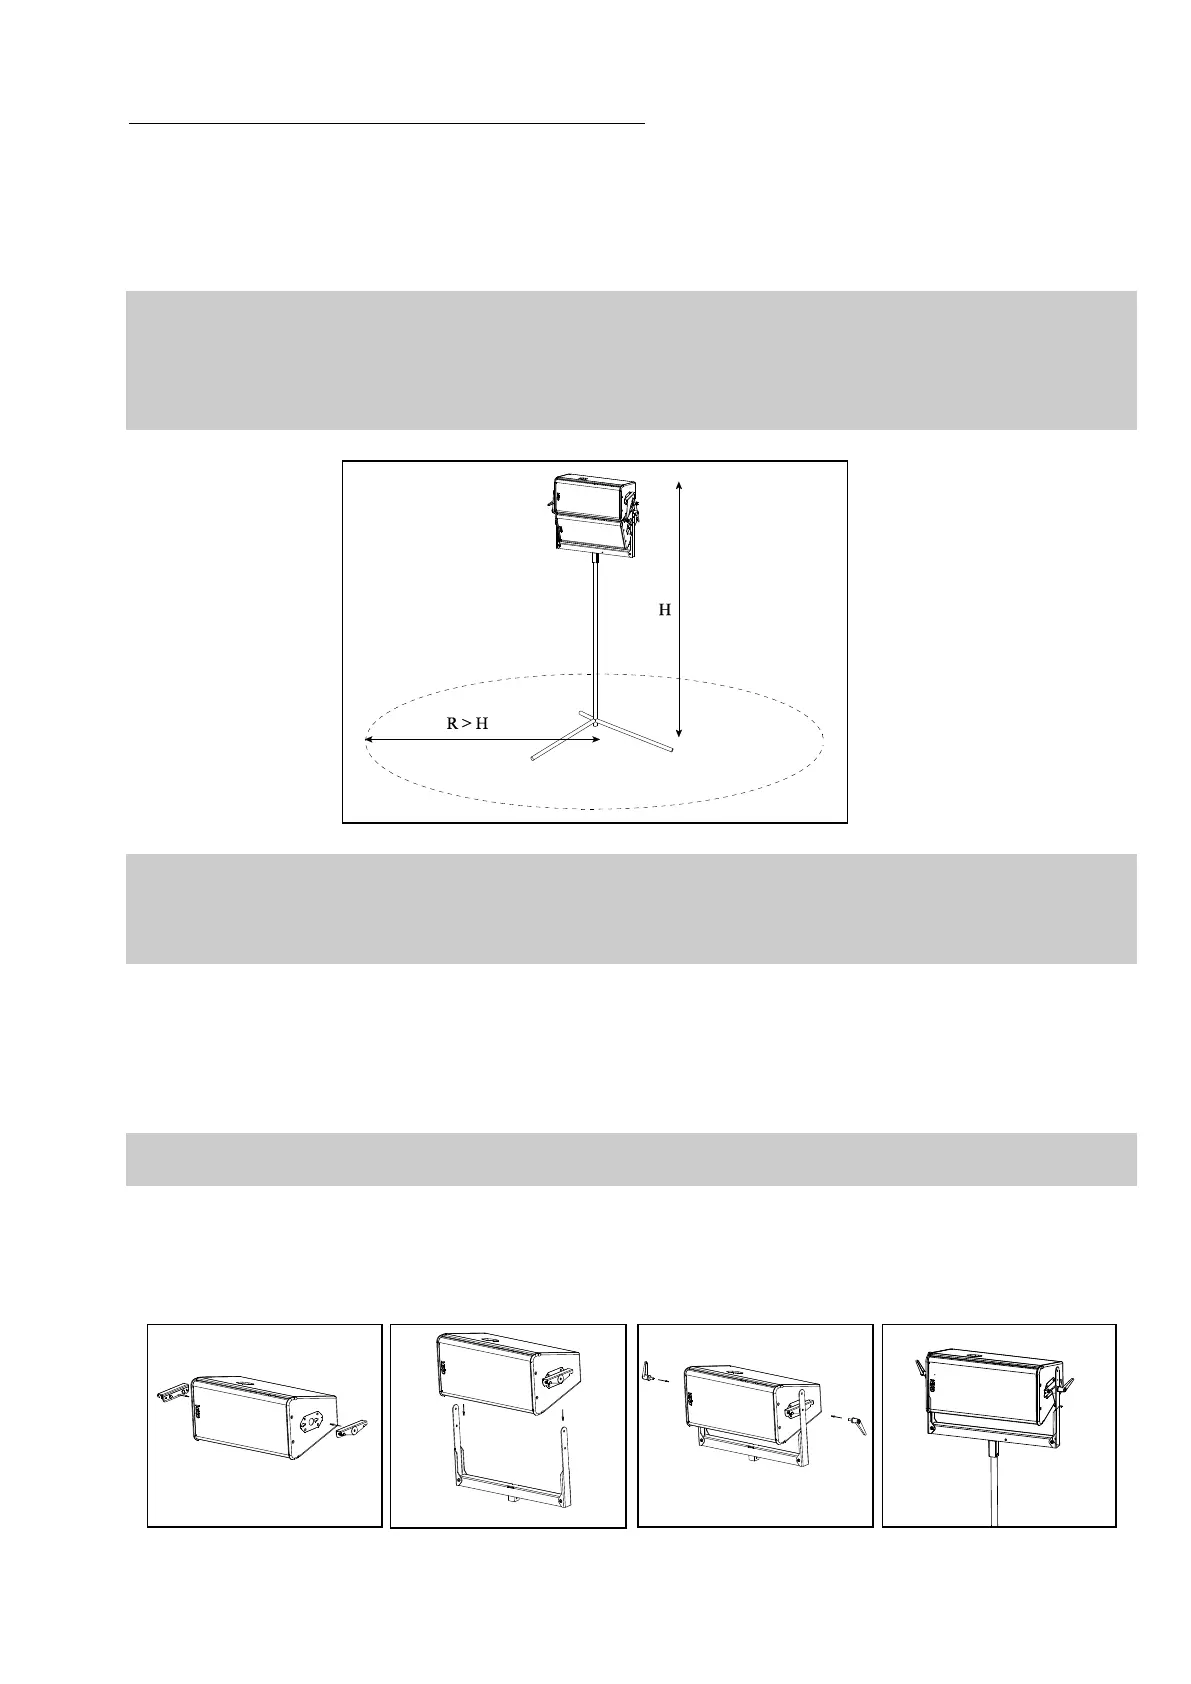
Procedure
- Slide GPT-SSBRK side plates into GEO S12 connecting plate oblong holes
- Lock safety pins into GEO S12 connecting plate
IMPORTANT
Ensure that safety pins are properly locked into GEO S12 connecting panels.
- Position “U” bracket over these side plates, align centre holes
- Insert adjustment handles, adjust vertical angle and tight the handles to prevent GEO S12 from rotating around “U” bracket
 Loading...