PS SERIES HARDWARE SETUP PROCEDURE
System Manual PSR2 Series Page 39 / 109
6.3.2 PS rigidly mounted on a wall or a ceiling (vertical or horizontal)
Required items
- 1 x VNI-UBRK(8/10/12) (allows all angles to be implemented)
- 4 x 12mm diameter screws (not provided)
IMPORTANT
Ensure that the surface – wall or ceiling – is strong enough to hold 4 times PS weight and that the four
screws 12mm diameter and corresponding plugs required to fix the “U” bracket on the wall or under the
ceiling are properly dimensioned.
Procedure
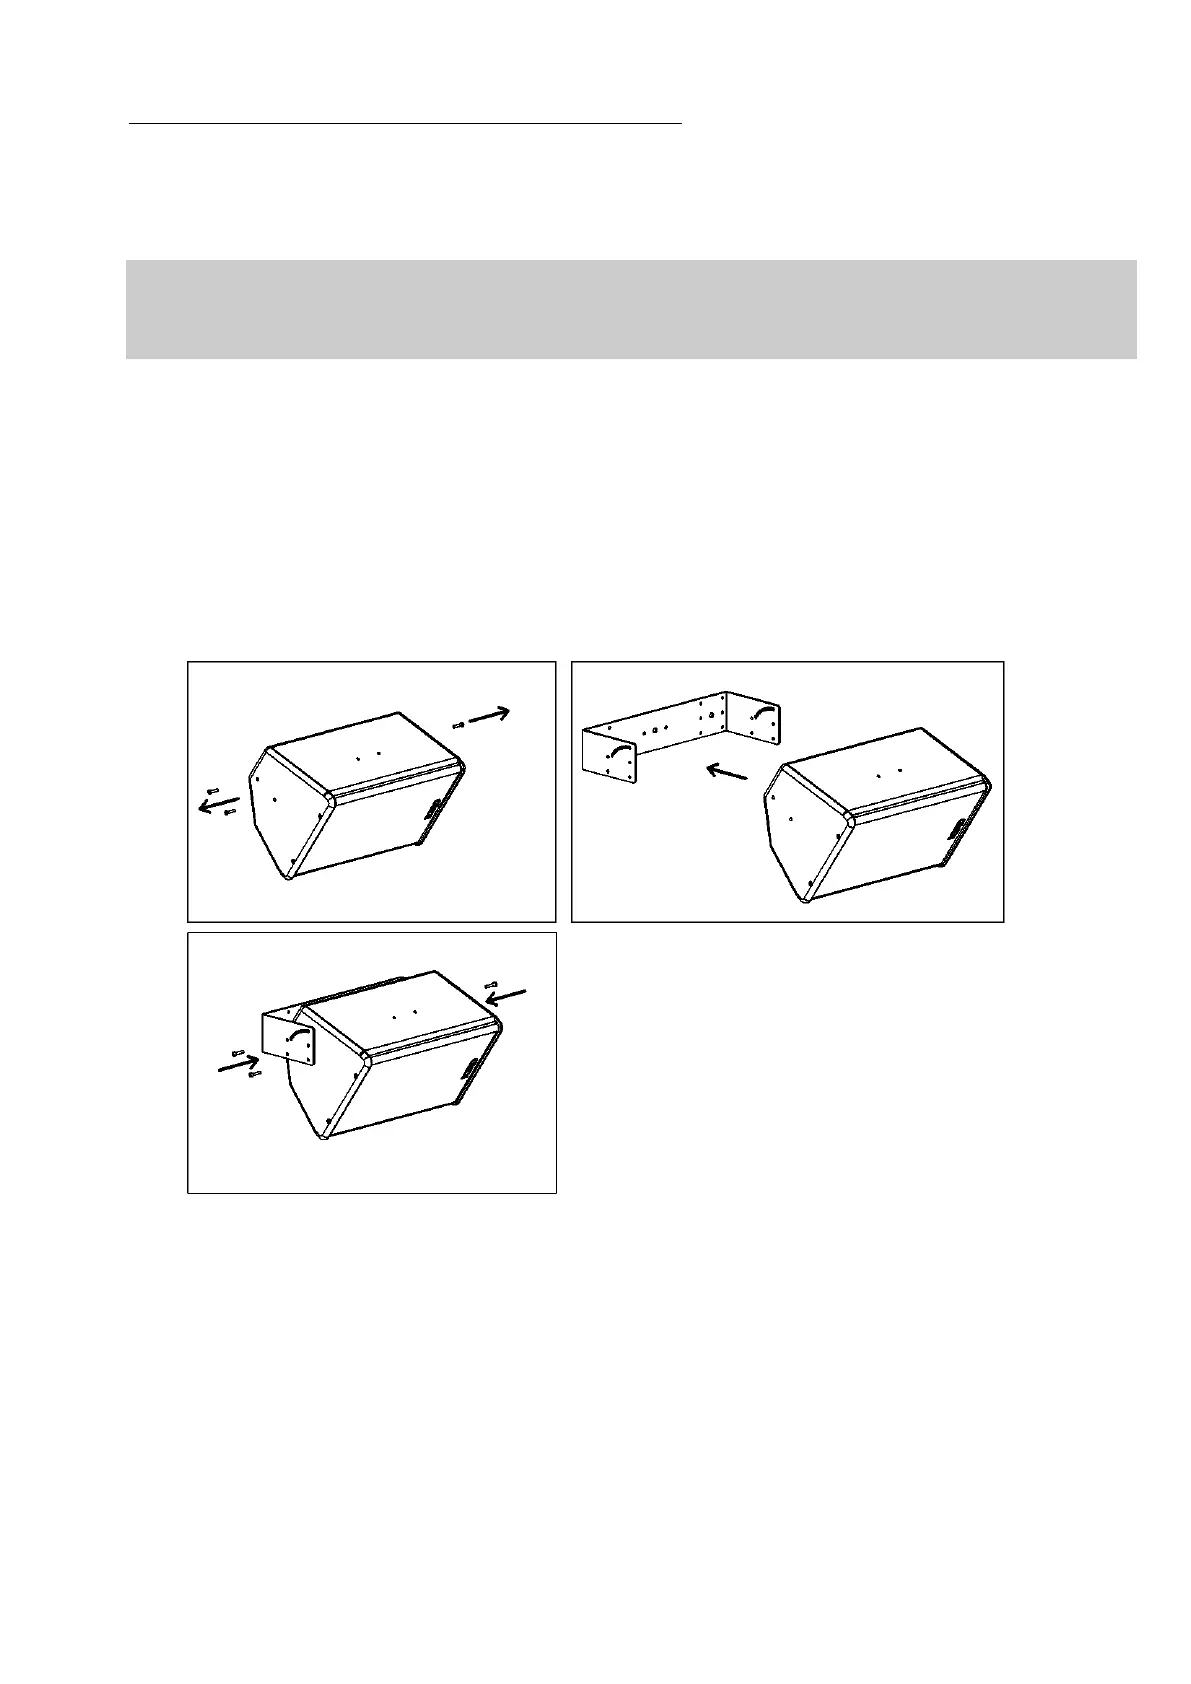
- PS8: remove the two screws on the upper side and 1 screw on the lower side of PS8
- PS15R2: remove the four screws holding connector plates on both sides of PS15R2
- Fill each screw hole with Loctite 243 or equivalent
- Position the PS inside the “U” Bracket to desired angle; “U” bracket oblong holes must be properly aligned with panels holes
- Use the screws and washers from VNI-UBRK kit to connect “U” bracket to cabinet
“U” BRACKET MOUNTING PROCEDURE FOR PS8
 Loading...