EasyManuals Logo

Nextav NX-H100 User Manual

Default Icon
62 pages
To Next Page IconTo Next Page
To Previous Page IconTo Previous Page
Page #9 background imageLoading...
Page #9 background image
9
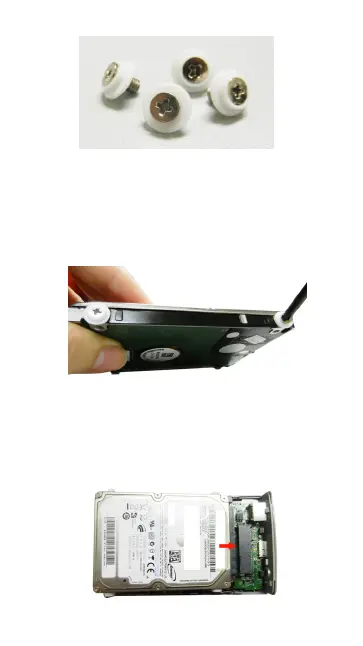
3. After installing the screws together with the rubber
shock mounts, carefully align and slide the hard drive
in an angle into the SATA connector. Push the hard
drive all the way in to properly secure it in place. See
the image below.
4. The screws should properly align and seated on
the screw mounts on the bottom of the enclosure.
5. Align the top cover into the grooves of the bottom
enclosure and snap it in place. Please see the image
below.

Table of Contents

Questions and Answers:

Question and Answer IconNeed help?

Do you have a question about the Nextav NX-H100 and is the answer not in the manual?

Nextav NX-H100 Specifications

General IconGeneral
BrandNextav
ModelNX-H100
CategoryDC Drives
LanguageEnglish