© National Instruments | 1-5
NI cDAQ-917x User Manual
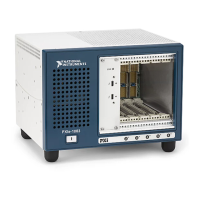
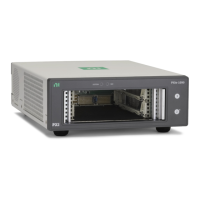
Installing the cDAQ Chassis
The cDAQ chassis and C Series I/O module(s) are packaged separately. For an interactive
demonstration of how to install the cDAQ chassis, go to
ni.com/info and enter
cdaqinstall. Refer to Figure 1-1, 1-2, or 1-3 while completing the following assembly steps.
1. Install the application software (if applicable), as described in the installation instructions
that accompany your software.
2. Install NI-DAQmx. For more information, download the Read Me First: NI-DAQmx and
DAQ Device Installation Guide.
Note The NI-DAQmx software is included on the disk shipped with your kit and is
available for download at
ni.com/support. The documentation for NI-DAQmx is
available after installation from Start»All Programs»National Instruments»
NI-DAQ. Other NI documentation is available from
ni.com/manuals.
Table 1-1 lists the earliest NI-DAQmx support version for each cDAQ chassis.
3. (Optional) Mount the cDAQ chassis to a panel, wall, or DIN rail as described in the
Mounting the cDAQ Chassis section.
4. Attach a ring lug to a 1.31 mm
2
(16 AWG) or larger wire. Connect the ring lug to the chassis
ground terminal on the side of the cDAQ chassis using the chassis grounding screw as
shown in Figure 1-4. Attach the other end of the wire to the grounding electrode system of
your facility. Refer to the Chassis Grounding Screw section for more information about
making this connection.
Note If you use shielded cabling to connect to a C Series I/O module with a plastic
connector, you must attach the cable shield to the chassis grounding terminal using
1.31 mm
2
(16 AWG) or larger wire. Use shorter wire for better EMC performance.
Table 1-1. NI cDAQ Chassis NI-DAQmx Software Support
cDAQ Chassis NI-DAQmx Version Support
NI cDAQ-9171 NI-DAQmx 9.4 and later
NI cDAQ-9174 NI-DAQmx 9.0.2 and later
NI cDAQ-9178 NI-DAQmx 9.0.2 and later