21
OpenSPR 1-Channel Operation Manual V4.1.01
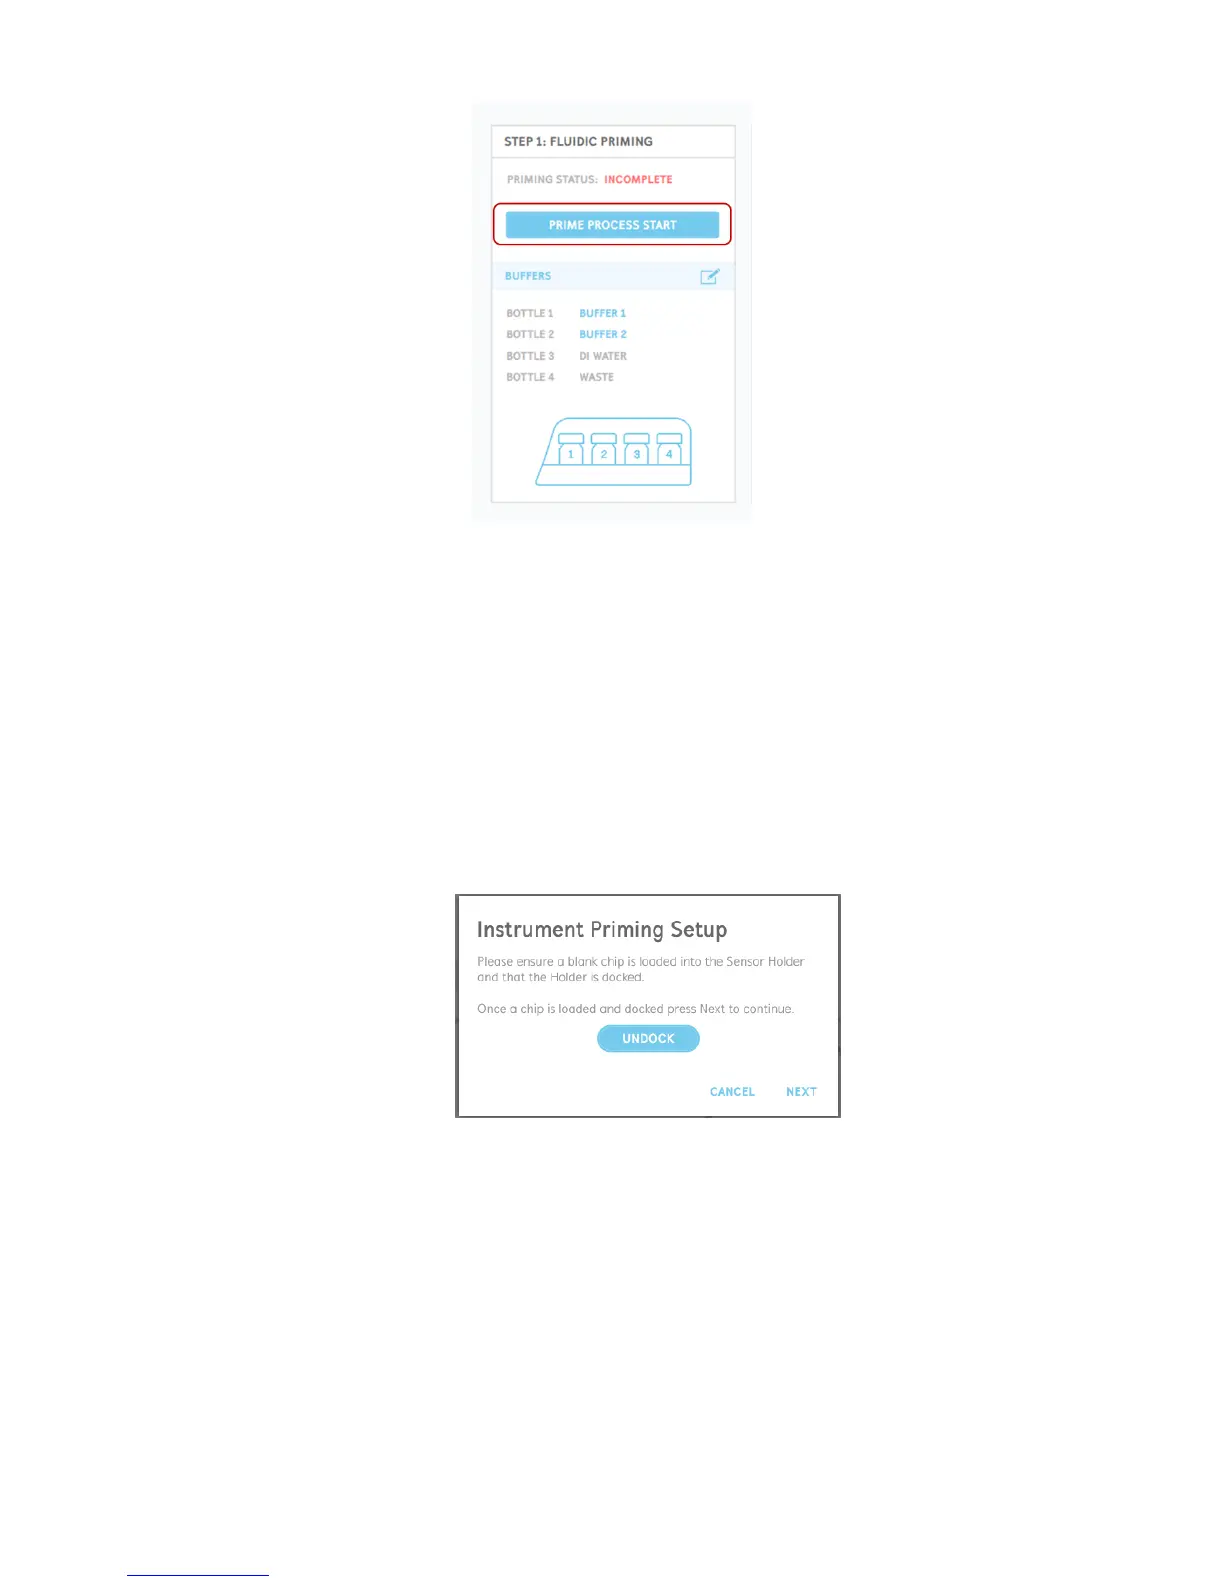
Figure 2.10 Prime Process Start button.
The prompts will guide you though setting up the hardware to perform the priming procedures,
detailed below:
1. To setup the instrument for priming, ensure that a chip (either a blank chip or a sensor
chip) is installed in the sensor holder and docked in the system. The OpenSPR will come
pre-installed with a blank chip for your convenience upon receiving. In the prompt, you
will be able to undock the sensor stage in order to insert or change a chip if necessary
[Figure 2.11]. Instructions for placing a chip into the system can be found in Section 2.4.1.
Do not install the sensor to be used for your experiment at this stage to perform the
priming. When a chip is docked in the system, select “Next” to proceed.
Figure 2.11 Setup the instrument for priming by having a chip installed in the system.
2. Select which running buffer and bottle you would like to use for priming using the radio
buttons next to the bottle names [Figure 2.12]. The user will have the option to select the
buffer in bottle 1, bottle 2, or to use DI water (for cleaning/rinsing procedures). The user
can also input the names of the running buffers located in the bottles at this stage. Once
your desired bottle has been selected, click “Next” to proceed.