50
OpenSPR 1-Channel Operation Manual V4.1.01
through the steps to prepare the instrument for shutdown. Full details are provided in
Section 2.6.3.
2.6.2 Standby Mode
When the user has ended testing for the day, it is important to place the OpenSPR into standby
mode for proper maintenance of the OpenSPR. Standby mode will set up the instrument under
a constant low flow rate (5 µL/min) which will prevent any buildup or blockages in the fluidic
lines. To prepare the instrument for standby mode, the software will guide the user through
several steps to prepare the instrument. The steps are outlined below:
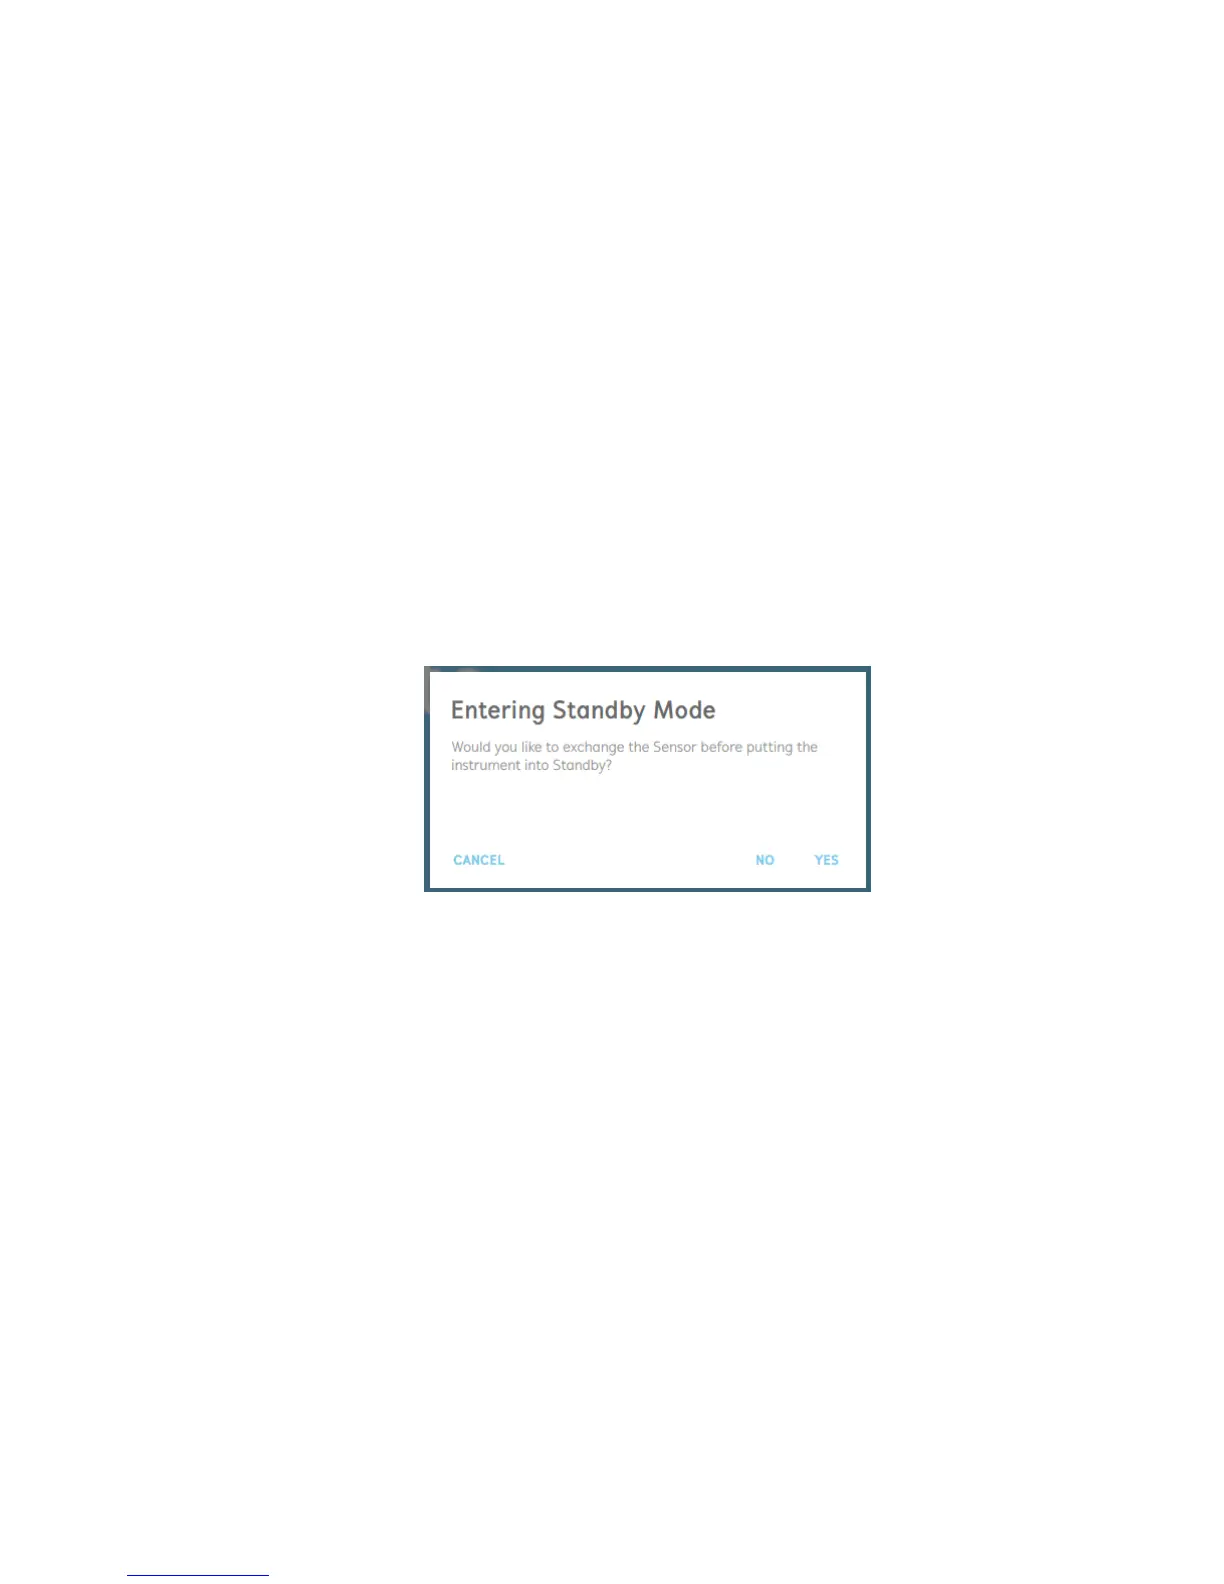
1. The user will first be asked if they would like to exchange the sensor prior to placing the
instrument into standby mode [Figure 2.68].
If the user would like to continue using the same sensor for analysis in subsequent tests,
it is recommended to leave the sensor installed in the OpenSPR during standby mode.
If the sensor is no longer going to be used for subsequent testing, it can be removed and
replaced with a blank chip at this time. If the user selects this option, they will be guided
through the process of replacing the sensor chip.
Figure 2.68 Entering standby mode option to change the sensor chip.
2. Next, the user will be prompted to select the bottle and buffer solution in which they
would like to use in the instrument while in standby mode [Figure 2.69].
If the user is keeping a functionalized sensor within the OpenSPR for subsequent testing,
it is recommended to place the instrument into Standby Mode with the biological running
buffer.
Otherwise, if a blank chip is installed in the instrument or if the sensor is no longer going
to be used, DI Water should be used for standby mode.