16
OpenSPR 1-Channel Operation Manual V4.1.01
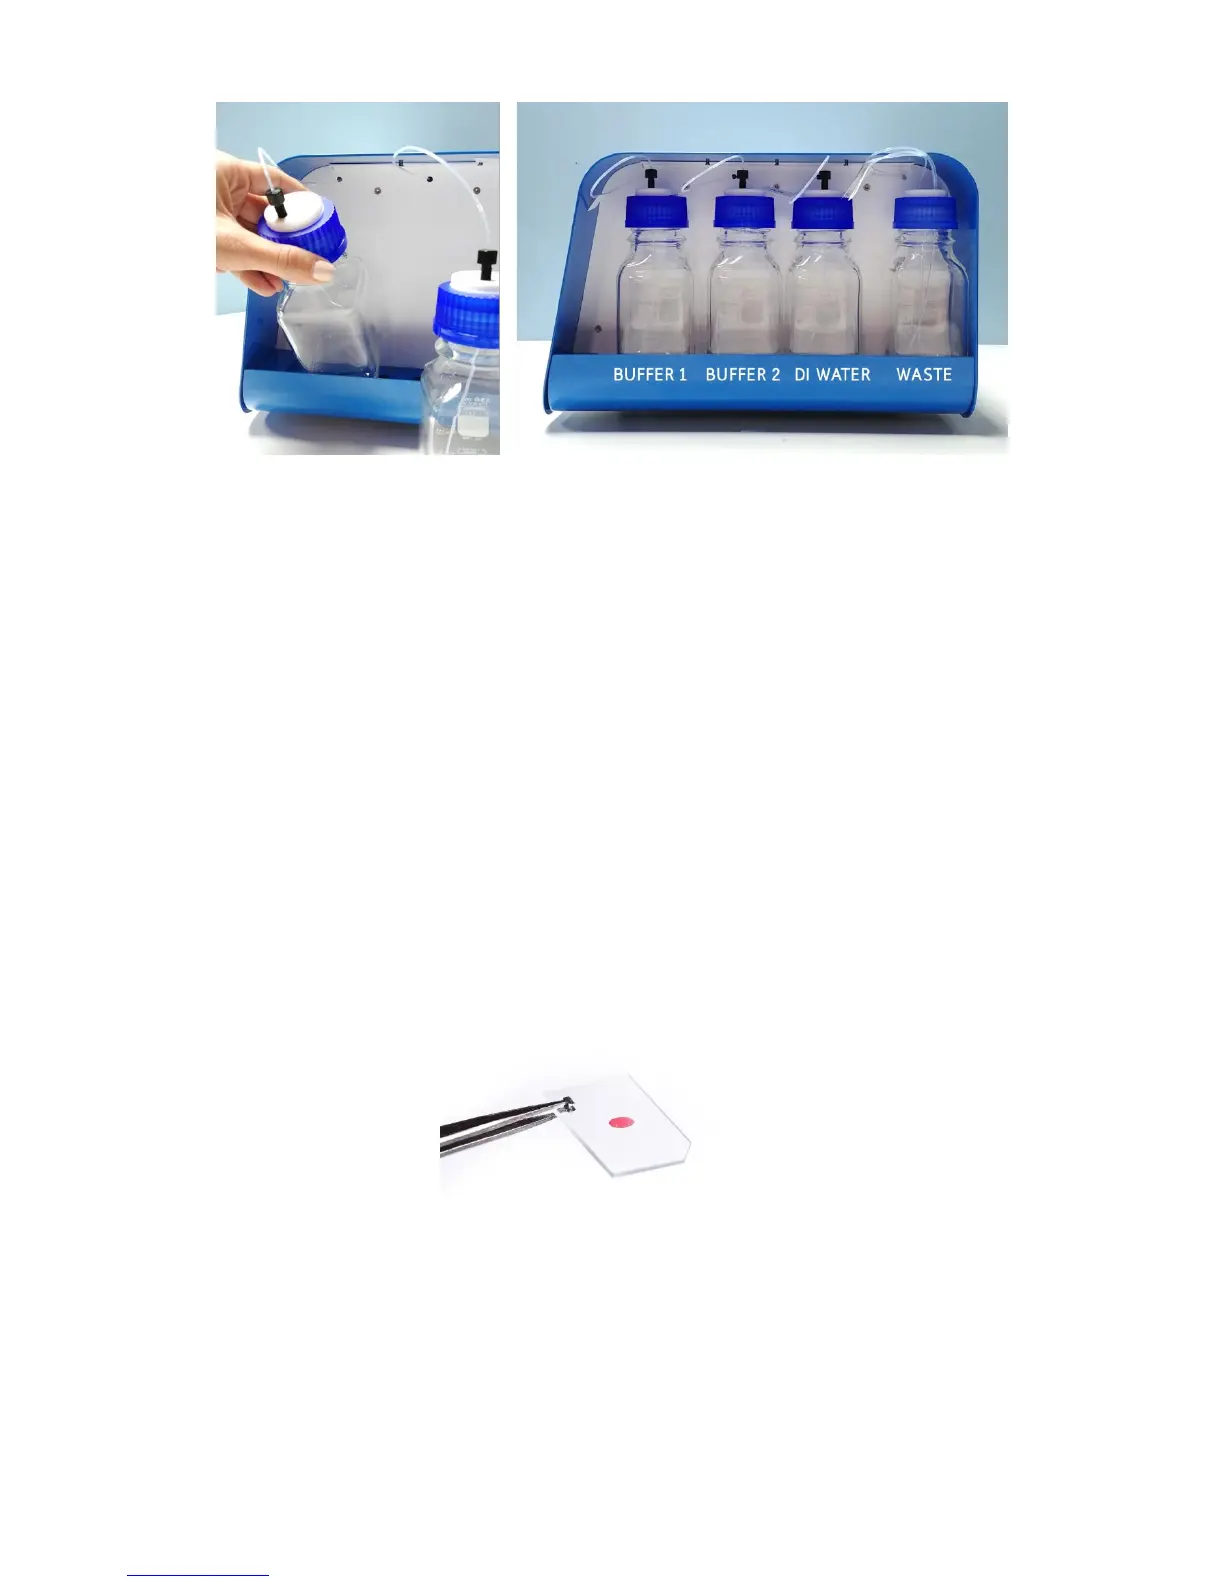
Figure 2.2 Left: Insert the bottles into the tray base-first and tilted. Right: Proper positioning of all bottles installed in the
OpenSPR.
*Notes:
• For most experiments, only one running buffer may be required. If this is the case, it is
recommended to prepare the buffer in the Bottle 1 Position. The inlet tube for Bottle 2
may be left in an empty bottle to prevent dust accumulation.
• It is recommended to keep at least 50 mL of each running buffer in a separate container
to use to rinse the injection port during your experiment.
2.1.3 Optical Setup
The 1-Channel OpenSPR comes pre-installed with a Cool Light LED for analysis using any standard
OpenSPR Sensor Chips (red sensor spot) [Figure 2.3]. The 1-Channel OpenSPR is not compatible
with Nicoya’s High Sensitivity Sensors as a different optical setup is required. For use of the High
Sensitivity Sensors upgrade packages are available – please contact a Customer Success scientist
for more details.
Figure 2.3 OpenSPR Standard Sensor.