27
OpenSPR 1-Channel Operation Manual V4.1.01
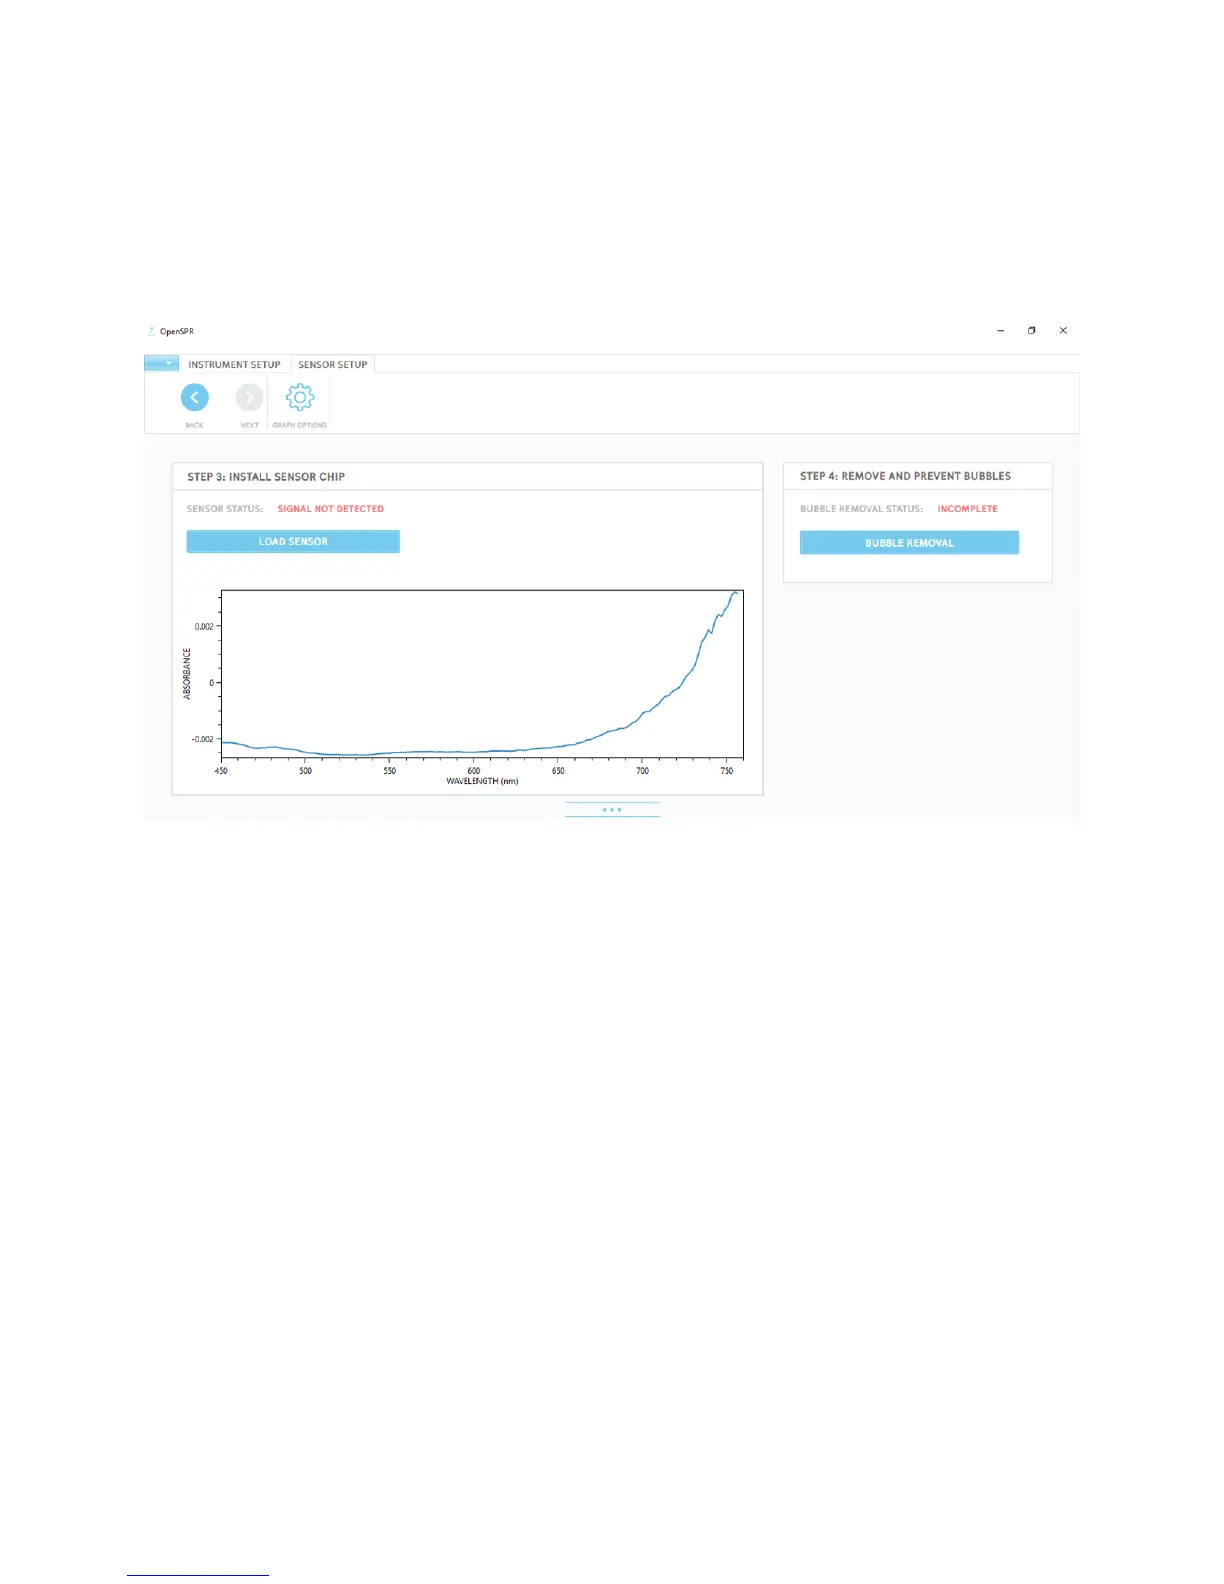
2.4 Sensor Setup
Once the priming and reference processes are complete (if needed), click “Next” in the navigator
located in the upper left of the menu bar. This will bring you to the Sensor Setup screen* [Figure
2.23]. This screen will bring you through the processes of loading a new sensor and removal and
prevention of bubbles within the fluidic path. Full details for each of these procedures are
provided in the sections below.
Figure 2.23 Sensor Setup screen.
* Note that the status of each of the processes shown and the plots of the absorbance graphs
will be different depending on the instrument state.
2.4.1 Step 3: Install Sensor Chip
To install a new sensor for your test, click the “Load Sensor” button [Figure 2.24].