32
Connections—Connecting to a Computer
Making the Connection: Connecting to Your Computer
Once you have installed Nikon View 5, you are ready to transfer photographs
and movies to your computer. Pictures can be transferred via a direct USB
connection between the camera and computer, or by removing the memory
card from the camera and inserting it in a card reader or PC card slot.
Direct Connection: Connecting Your Camera by Cable
If your computer has a built-in USB connection, you can transfer your pictures
using the supplied UC-E5 USB cable.
1
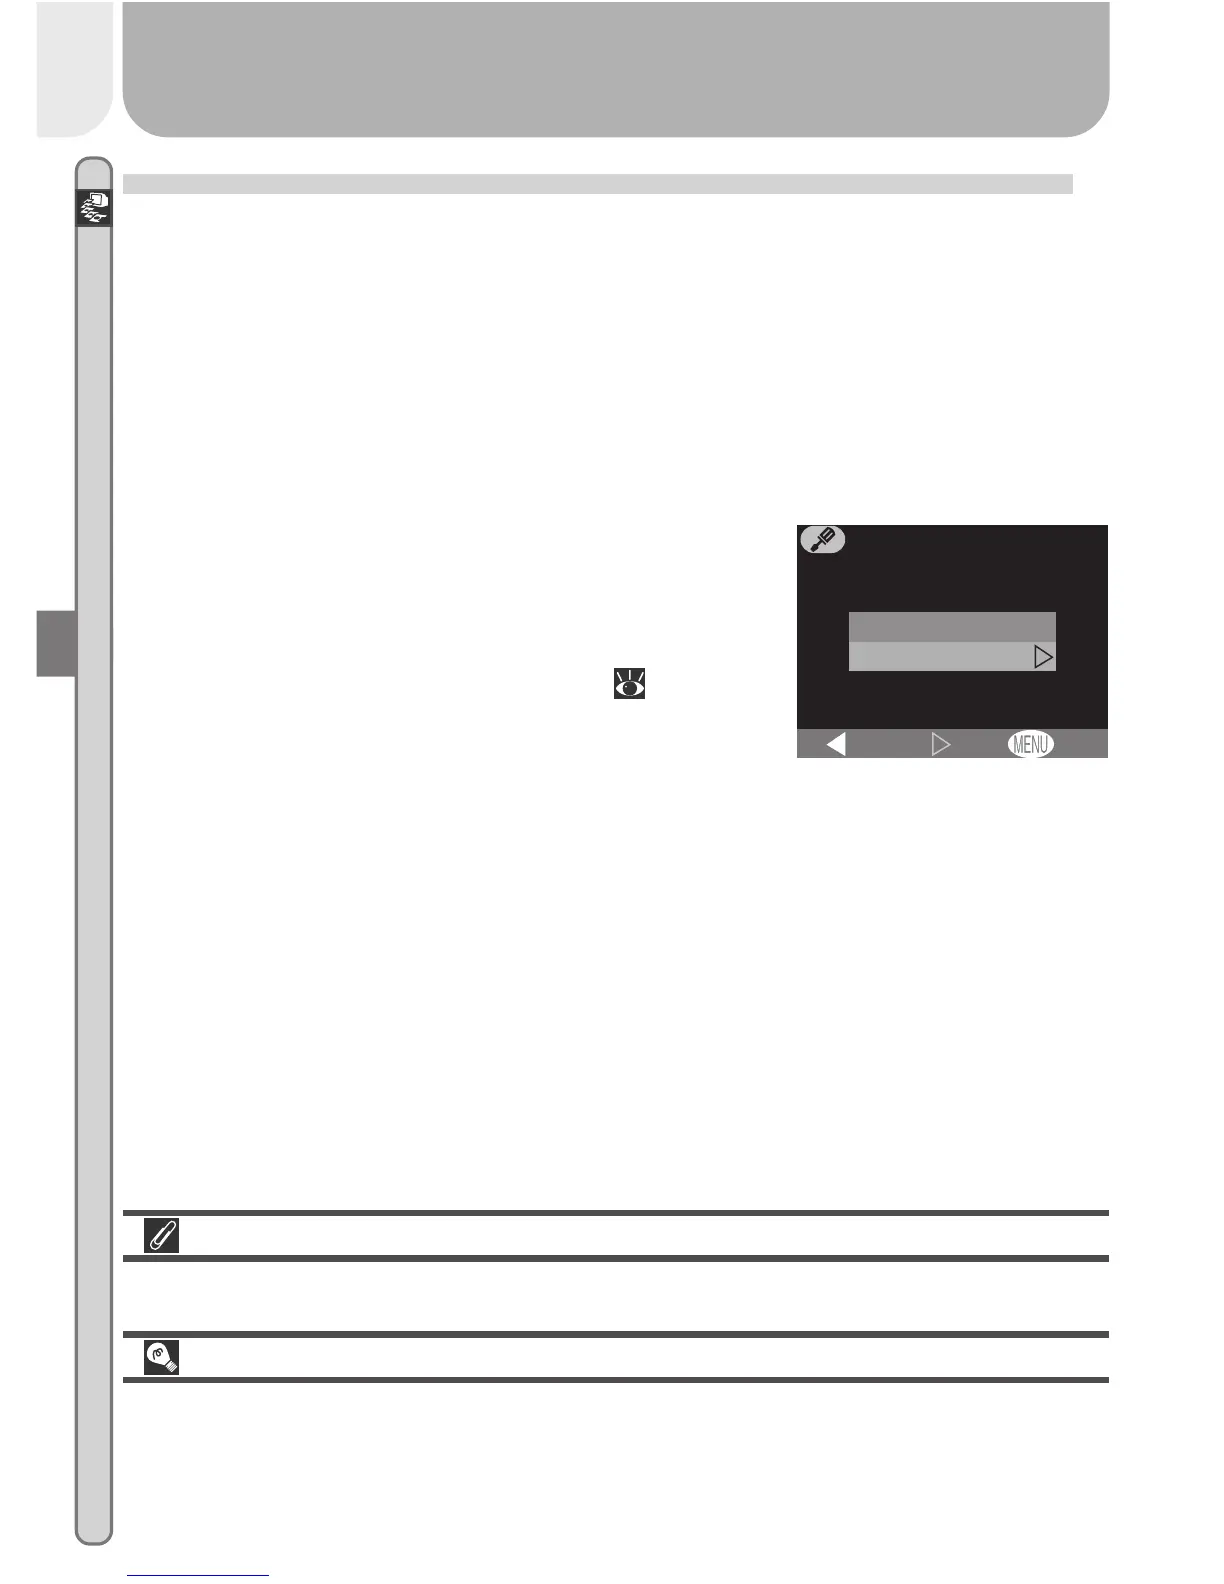
Choose a USB protocol
The COOLPIX 2000 supports two USB proto-
cols: Mass Storage (the default option) and Pic-
ture Transfer Protocol (PTP). Before connect-
ing the camera to a computer, select the USB
option in the camera setup menu ( 77) and
choose a USB protocol that matches that used
by your computer’s operating system. If you
are connecting the camera to a computer running Windows XP Home
Edition, Windows XP Professional, or Mac OS X (10.1.2 or later), choose
PTP. If you are connecting the camera to a computer running Windows
2000 Professional, Windows Millennium Edition (Me), Windows 98 Sec-
ond Edition (SE), or Mac OS 9 (9.0, 9.1, or 9.2) and have changed the USB
setting to PTP, return to the USB menu and select Mass Storage.
OFF
PTP
Mass Storage
Set
USB
BK
Install Nikon View 5
Be sure to install Nikon View 5 before connecting the camera.
Use a Reliable Power Source
When transferring data between the camera and the computer, be sure that
the battery is fully charged. If in doubt, recharge the battery before begin-
ning transfer or use the optional EH-53 AC adapter.