Chapter 4 Assembly
101
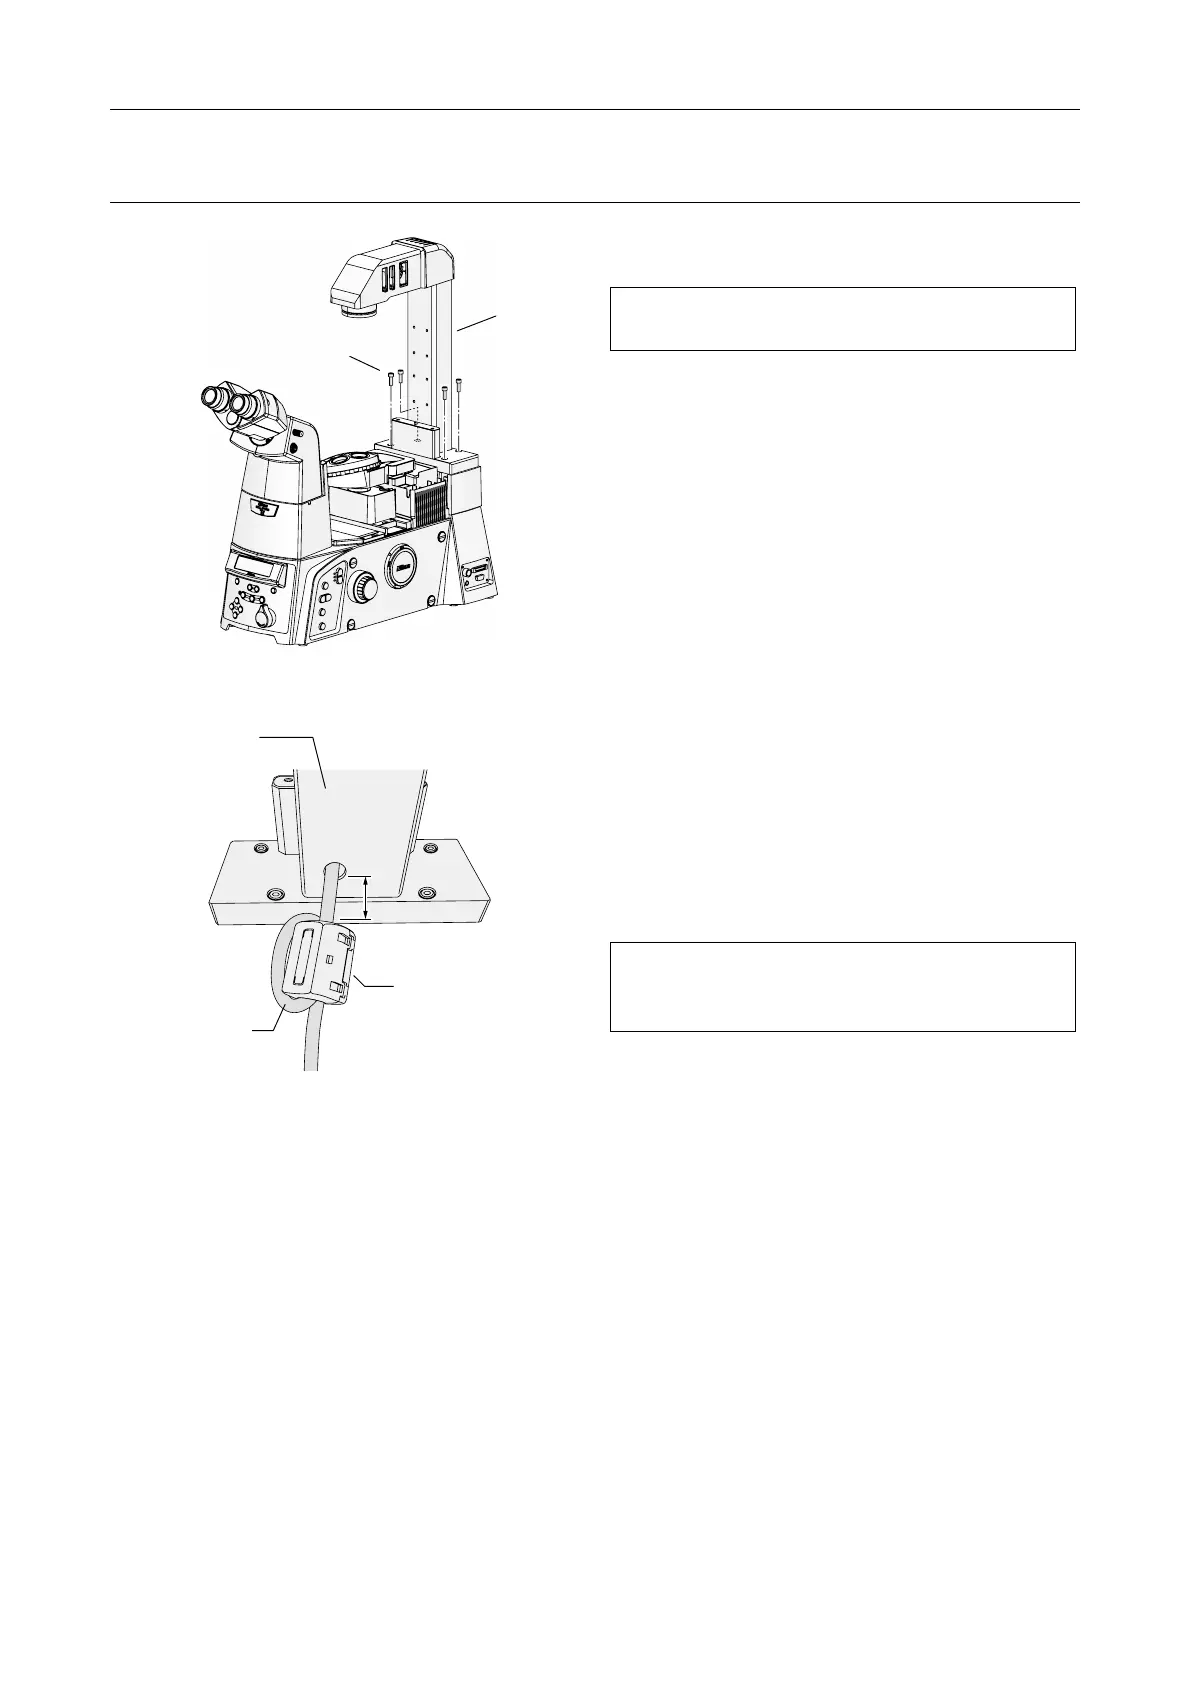
(2) Attaching the TI-DS Dia Pillar Illuminator 30W
Figure 4-23 Dia Pillar Illuminator 30W attachment
Figure 4-24 Ferrite core attachment
Attach TI-DS Dia Pillar Illuminator 30W to the
microscope base.
When working, hold the dia pillar illuminator to
prevent it from falling.
1. Mount the dia pillar illuminator onto the
microscope base.
A positioning pin is provided on the microscope
base. Align the pinhole on the dia pillar
illuminator to the positioning pin.
2. Using the 4 mm hex screwdriver, secure the
dia pillar illuminator by tightening the four M5
hex socket head screws provided with the dia
pillar illuminator.
3. Attach the provided ferrite core on the pillar
end of the lamp cable.
(1) Snap open the ferrite core.
(2) Wrap the lamp cable once around the ferrite
core, so that the cable passes through the
ferrite core twice.
Adjust the position of the ferrite core so that
it is approximately 20 to 30 mm from the
pillar.
(3) Close the ferrite core.
* For details on connecting the lamphouse, the
power supply device, and Ti-E or Ti-E/B, refer
to “13. Connecting the power supply device.”
Dia Pillar
Illuminator
30W
Hexagonal socket
head bolts (M5, x4)
20 to 30 mm
Back of Dia Pilla
Illuminator 30W
The lamp cable is
passed twice in
the ferrite core.
Ferrite core