Chapter 4 Assembly
116
(2) Registering the objective information
B
Coarse
Fine
ExFine
Epi Shutter
FL Block
Refocus
Escape
PFS
OFFSET
O
U
T
DICHR
O
IC
MIR
ROR
IN
L80
EYE
MEMORY
DISPLAY
ON
Z
-
RESET
1X
1.5X
B
RIGHTNESS
R100
L100
FOCUS
P
F
S
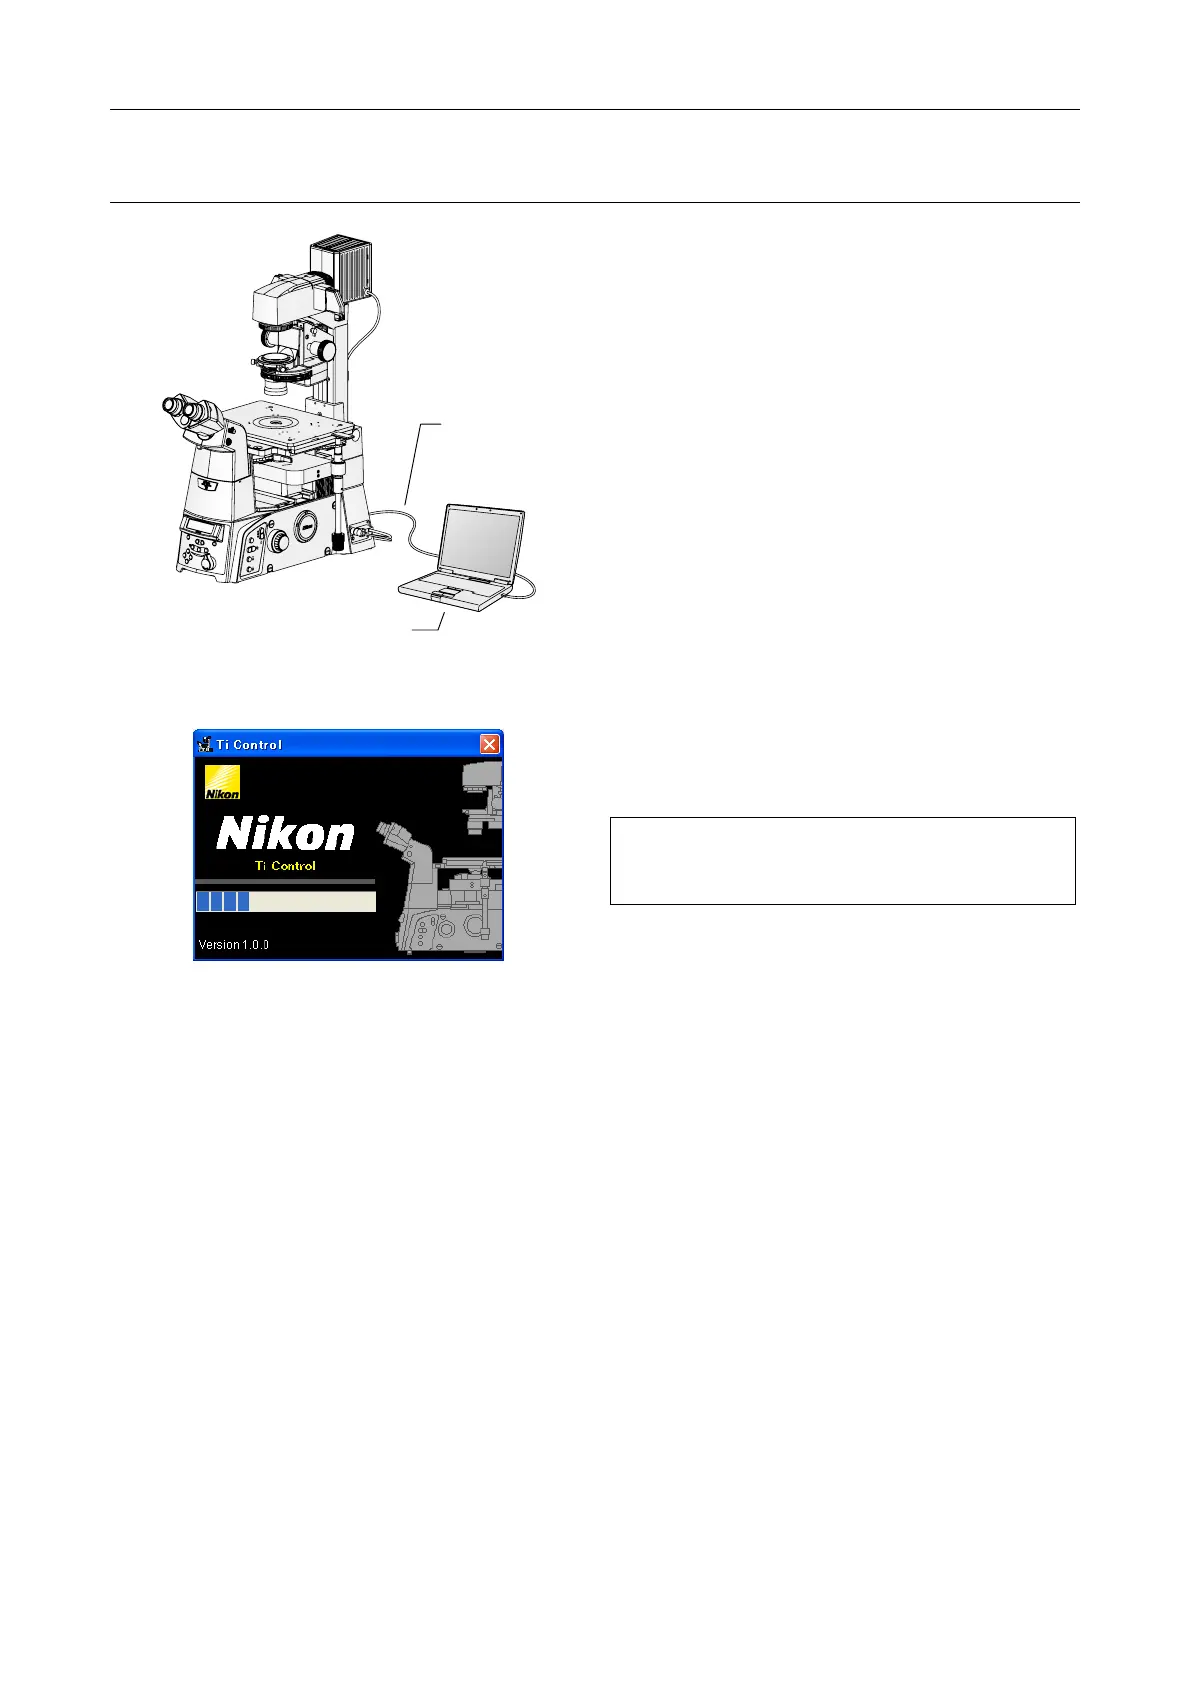
Figure 4-48 Connecting microscope and PC
(example)
Figure 4-49 “Ti Control” startup screen
1. Using a standard USB cable, connect the
USB connector on the microscope to the
USB connector on the PC.
2. Install the registration software onto the PC.
Install “Ti Control”. For the software installation
details, refer to the instruction manual of the
software.
3. Start the installed software, and register the
information for the objectives attached to the
PFS Motorized Nosepiece.
Information for PFS-compatible objectives is
pre-registered on the software. For each socket
on the nosepiece, specify the objective to be
used.
4. Save the registered information.
The settings are stored on the built-in memory of
the microscope.
5. Exit the software, and disconnect the USB
cable from the PC and the microscope.
A list of PFS-compatible objectives (as of October
2007) are provided on page 127. To register
future objectives with PFS support, contact Nikon.
USB cable
(Connect to USB
cable on back of
microscope.)
PC