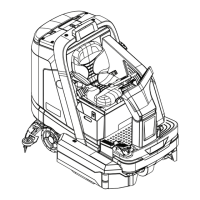
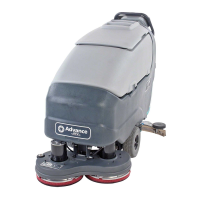
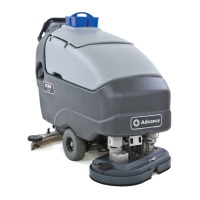
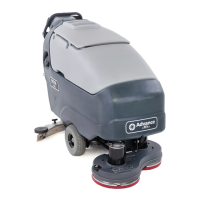
57Service Manual – SC6000 20 - Wheel System, Traction
Replacement
1. Clean and repack the bearing cones with axle grease.
2. Place the lower bearing back into the hub, and carefully install a new seal to hold the bearing in place.
While pressing the seal, take care to press it in straight.
3. If it wasn’t previously done, remove one of the masterlinks that holds the steering chain to the steering
disk. If necessary, tie the chain to the disk so it doesn’t get kinked as you are moving the motor.
4. Reinstall the steering sprocket (F) to the steering shaft. Make sure the woodruff key is in position.
CAUTION: Keep your hands and ngers clear of the machine while lowering it onto the drive
wheel. The weight of the machine could crush or sever your hands.
5. Align the steering spindle with the steering hub, and slowly lower the machine, making sure the spindle
is not getting hung up in the spindle.
6. Replace the upper bearing cone (E), spacer (D), and castle nut (C).
a. Torque the castle nut to 40±4 lb•in (4.5±.5 N•m).
b. Loosen the castle nut a minimum of 20 degrees and a maximum of 80 degrees, to align the rst
available cotter pin slot with the hole in the spindle.
c. Install a new cotter pin in the castle nut.
7. Press the dust cover (A) back on to the top of the hub.
8. Rotate the drive wheel so it is pointing directly forward, and rotate the steering wheel so that one of the
spokes is vertical.
9. Wrap the steering chain around the steering sprocket (F) and back to the steering disk.
10. Reinstall the masterlink to secure the chain to the disk. Note that the masterlink can be installed facing
up or facing down, which ever is easier to install.
11. As necessary, adjust the chain tension. The chain should be snug enough to deect 1/4” (5mm) in the
gap, but not taught.
a. Loosen the clamping screw (L).
b. Turn the adjustment and jam nuts (M) to adjust the tension.
c. Retighten the clamping screw.
 Loading...