© 2005-2016 Nira Control AB 94
2. At the top of the main window in NIRA rk is the online/offline status
bar. In order to go online, click on the little green flash icon in the top
left corner of the main window in NIRA rk. If the parameters in NIRA rk
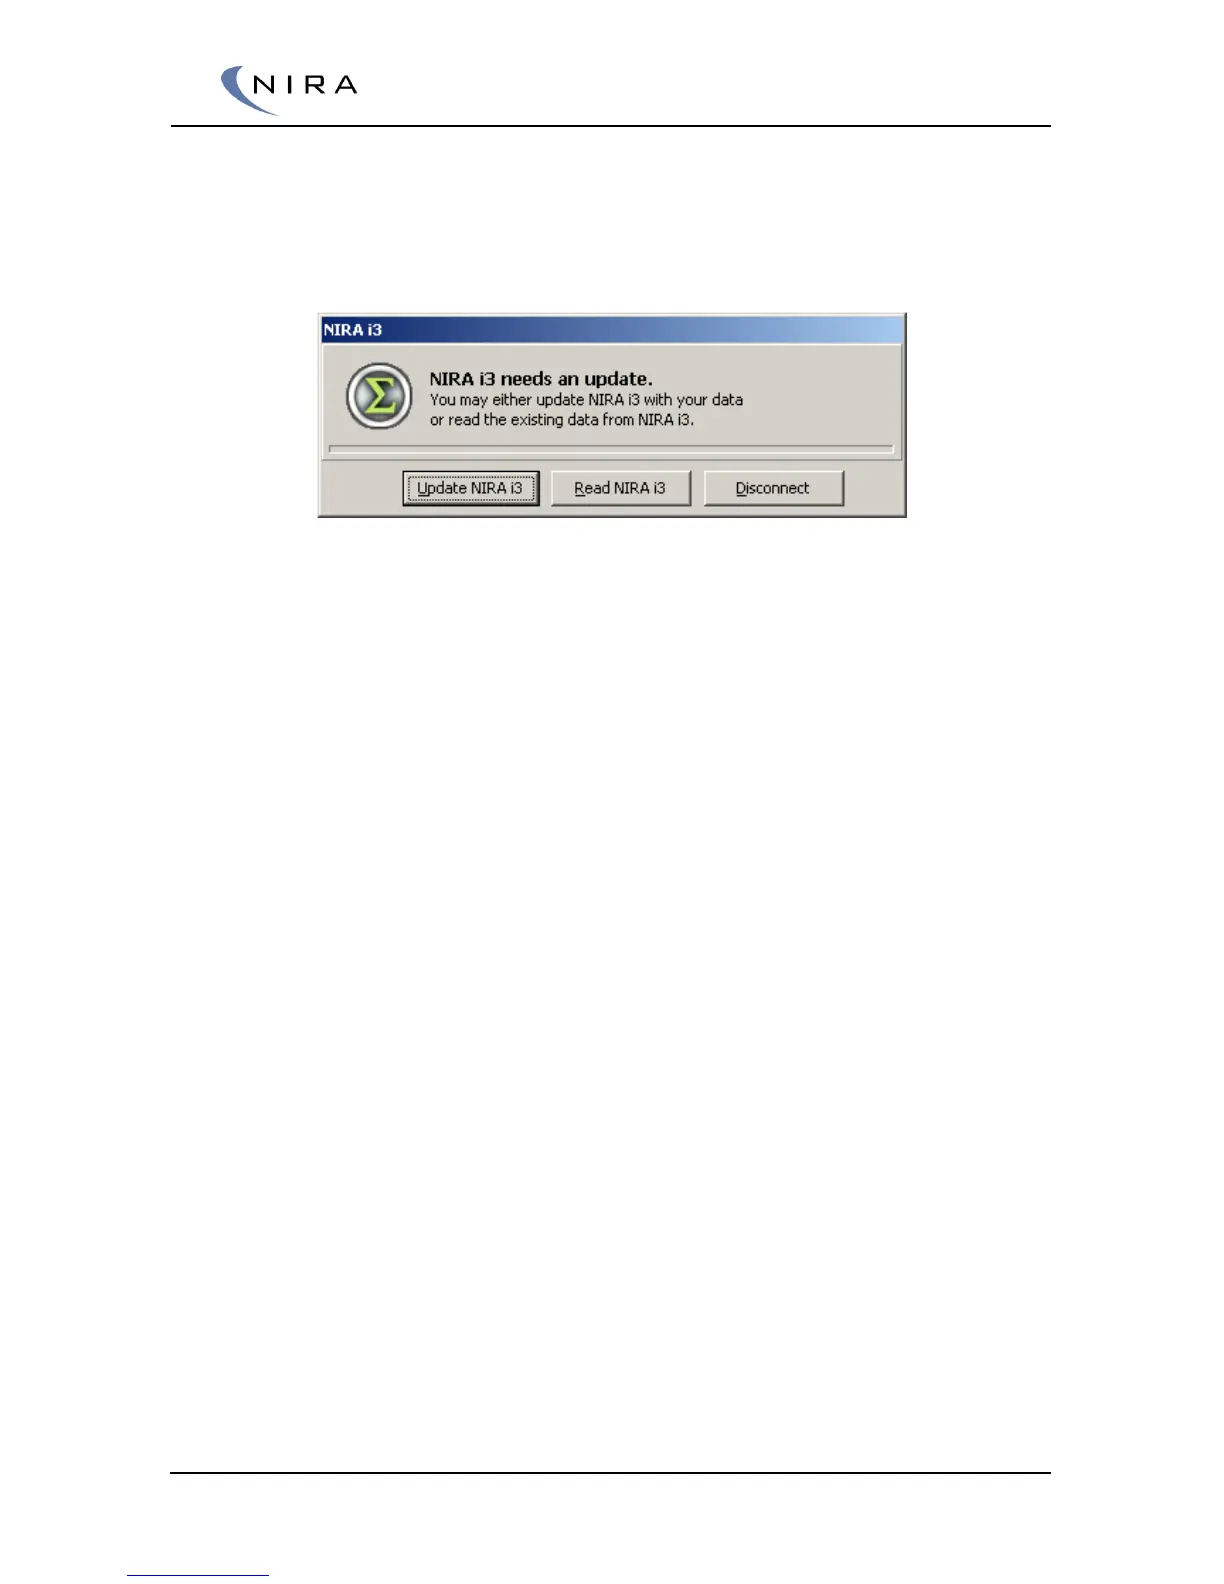
are different from the parameters previously uploaded to NIRA i7x,
you will see the following dialogbox:
3. Select Update NIRA i7x in order to upload all the data to NIRA i7x.
This may take as long as two minutes.
Later you can select Read NIRA i7x if you want to download all the
settings from NIRA i7x into NIRA rk so you can save them as an i3d
file. (This is very handy if, for some reason, your PC were to hang while
you’re in the middle of calibrating the engine since you can always go
back and download the most recently used calibration.)
4. Once you have uploaded the data to NIRA i7x, the system goes
online, the status bar changes colors to green and the text changes to
Online.
5. When the system is in the Online mode, it’s important to first go to the
Mappings tab and select the Monitor Output folder in the tree to the
left and then select Alarm. Doing this allows NIRA i7x to detect
different errors and set alarms. If it doesn’t say OK next to all
parameters then the values in Engine Setup are wrong or the
sensor/actuator installation is wrong. Any alarm that’s viewable via the
Alarm folder is also displayed as large icons above the main tabs.
These icons will disappear once the cause of the alarms has been
corrected.
 Loading...