5 Installing the machine and adjusting the level
62
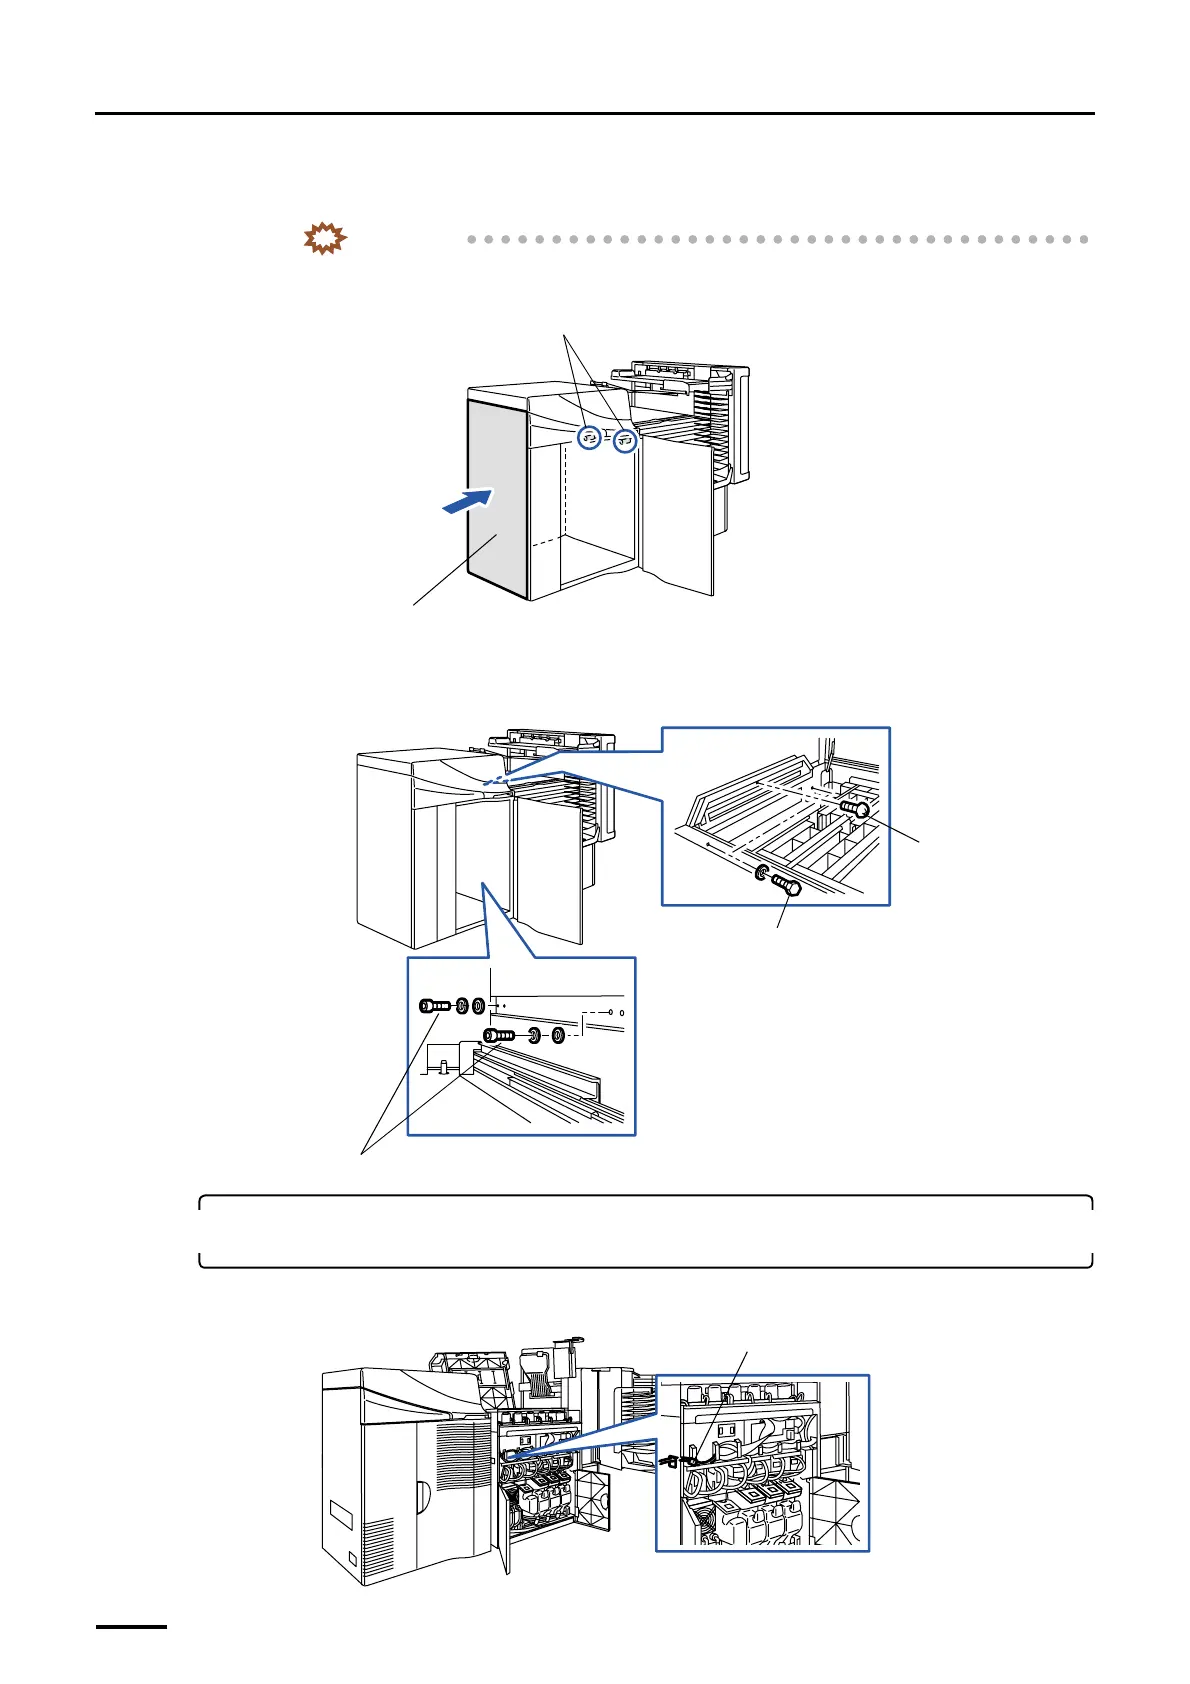
(3) Push the left side of the printer (gray part in the illustration) to insert two regulation pins into the paper
processor.
IMPORTANT
• Do not connect the printer to the paper processor while the cables are slack between them.
The cable may be pinched and broken.
(4) Connect the printer and processor temporarily.
From the processor, tighten the one screw, two hex. head bolts and two washers temporarily.
From the printer, tighten the two socket head bolts and four washers temporarily.
9. Connect the printer connection cable and the optical fiber cables to their counterparts in the
paper processor.
(1) Connect the printer connection cables.
Regulation pins
Left side
G070272
Socket head bolts and washers
Bolts and washers
Screw
G068950
J/P355
G072114
Distributed by: minilablaser.com
 Loading...