Installation and Setup
www.nvidia.com
NVIDIA DGX-1 DU-08033-001 _v13.1|11
2.
Collapse the yellow "Do not stack" cone, if included.
3.
Open the main DGX-1 box, then remove the accessory and rail kit boxes.
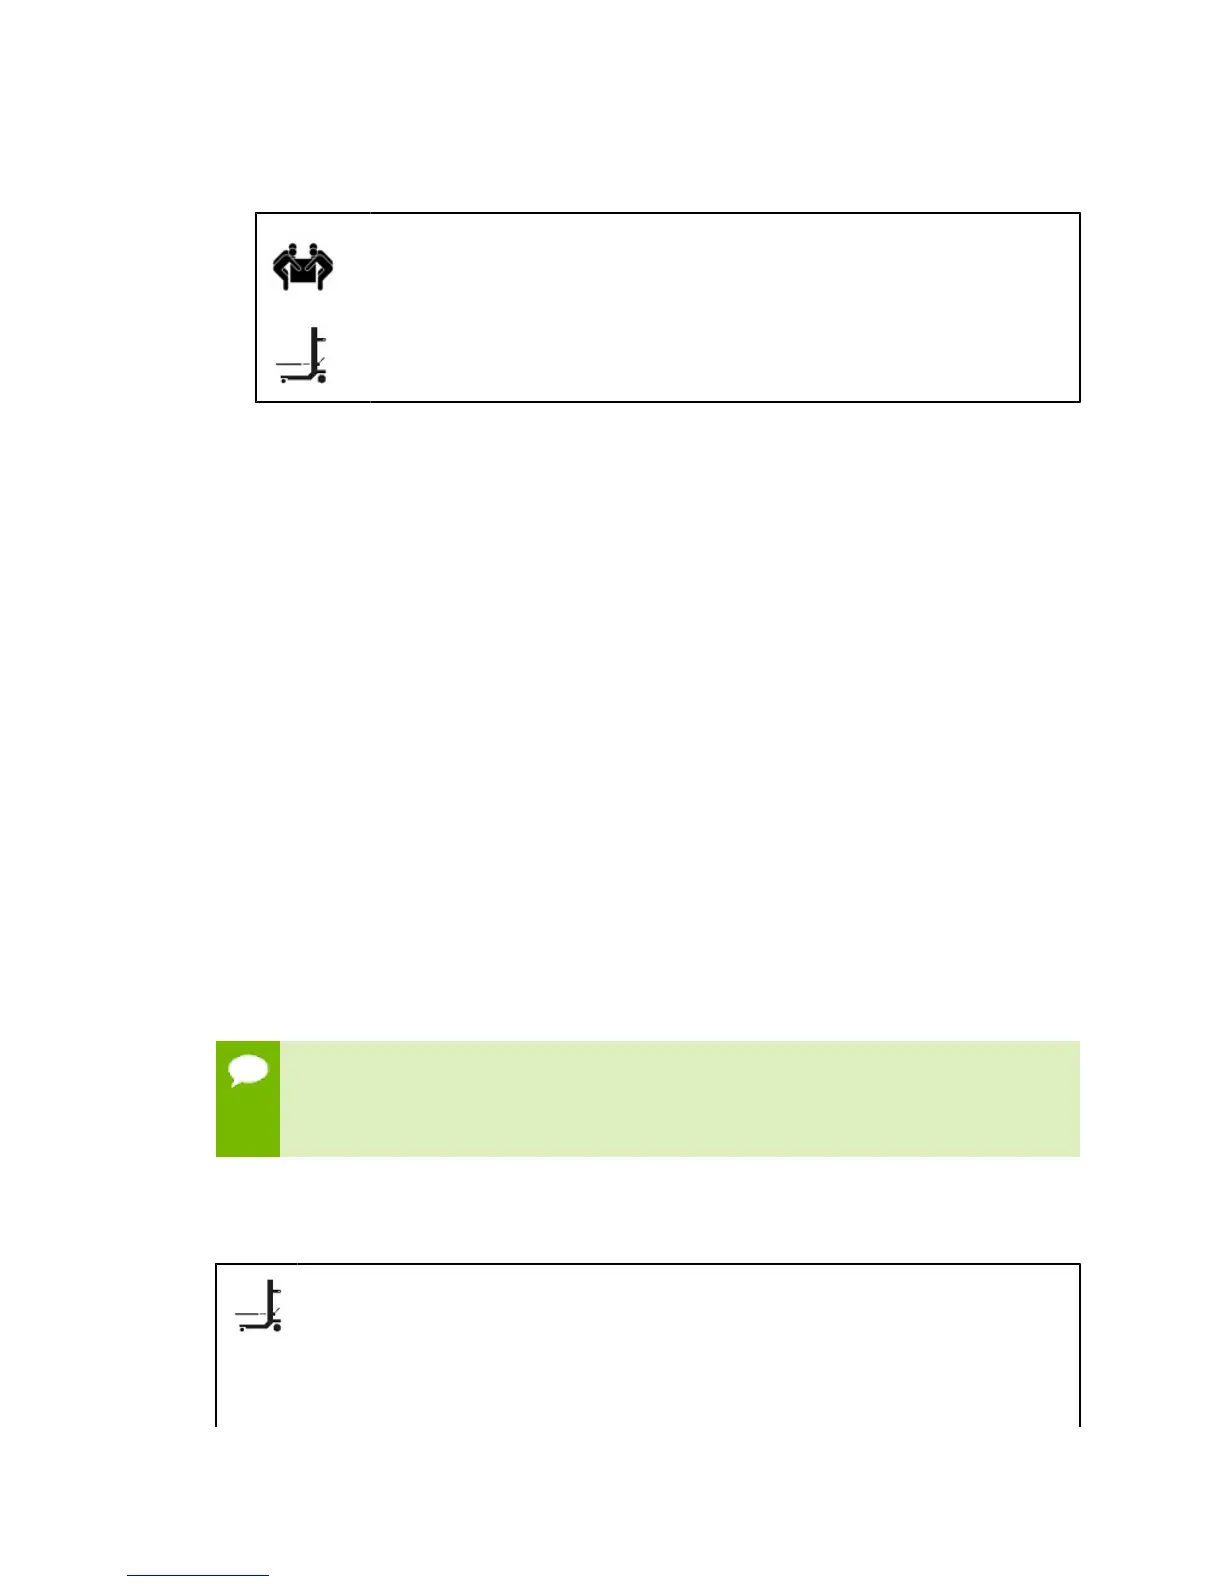
CAUTION: At least four people, or a mechanical assist, are required to remove
the DGX-1 from the box. To reduce the risk of personal injury or damage to the
equipment, always observe local occupational health and safety requirements and
guidelines for material handling.
DO NOT use the handles at the front of the DGX-1 to lift the unit. The handles are
designed for sliding the unit out of a rack, and not for carrying the full weight of the
DGX-1.
4.
Remove the protective plastic sheet from the top of the DGX-1.
5.
Preserve and retain packaging.
6.
Be sure to inspect each piece of equipment shipped in the packing box. If anything is
missing or damaged, contact your supplier.
2.5.What's In the Box
The NVIDIA DGX-1 shipping box includes the following:
‣
NVIDIA DGX-1
‣
Bezel
‣
Rail hardware kit
‣
Accessory Box
‣
AC Power Cables (qty 4 – IEC 60320 C13/14, compatible with data center PDUs)
IMPORTANT: Use only the supplied power cables and do not use the cables
with any other product or for any other purpose.
‣
Hard disk bay screws
‣
Toxic Substance Notice & Safety Instructions
‣
Quick Start Guide
‣
DVD containing source files for open source software
The four power cables included in the box are not optional. All power cables are
necessary and must be plugged into individual 10 A capable sockets for optimal DGX-1
operation. Failure to do so can result in a reduction in power redundancy, a reduction
in performance, or a complete system failure.
2.6.Installing the DGX-1 Into a Rack
CAUTION: To prevent bodily injury when mounting or servicing the DGX-1 in a rack, you must
take special precautions to ensure that the system remains stable. The following guidelines
are provided to ensure your safety.
• The DGX-1 should be mounted at the bottom of the rack if it is the only unit in the rack.
• When mounting the DGX-1 in a partially filled rack, load the rack from the bottom to the
top with the heaviest component at the bottom of the rack.