Maintaining and Servicing the NVIDIA DGX-1
www.nvidia.com
NVIDIA DGX-1 DU-08033-001 _v13.1|57
6.
Save the screws for the replacement.
7.
Mount the replacement SSD to the hot-swap tray using the four screws.
Make sure that the connector is on the open edge side of the tray.
8.
With the round button at the top, insert the assembly into the appropriate bay, then
push the assembly all the way in.
9.
Press the latch against the assembly to completely seat the assembly.
10.
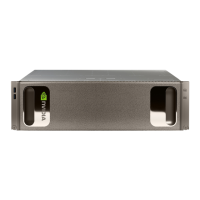
Reattach the bezel.
With the bezel positioned so that the NVIDIA logo is visible from the front and is on
the left-hand side, line up the pins near the corners of the DGX-1 with the holes in
back of the bezel, then gently press the bezel against the DGX-1. The bezel is held in
place magnetically.
CAUTION: Be careful not to accidentally press the power button that is on the
right edge of the DGX-1 when removing or installing the bezel.
5.5.3.Recreating the Virtual Drives
After you have replaced the OS SSD, with or without any of the cache SSDs, you need
to recreate the virtual drives and then re-image the system in order to recreate the
partitions on all the virtual drives.
The following is an overview of the process:
1.
Clear the drive group configuration
2.
Recreate the OS Virtual Drive
3.
Recreate the Cache Virtual Drive
4.
Re-image the System
These instructions apply only if you have replaced the OS SSD, with or without one or
more of the cache SSDs. If you have replaced only one or more of the cache SSDs, and
not the OS SSD, then follow the instructions in the section Recreating the RAID 0 Array
5.5.3.1.Access the BIOS Setup Utility
RAID configuration is accomplished through the BIOS setup utility.
1.
Connect a display (1024x768 or lower resolution) and keyboard to the DGX-1.
2.
Turn the DGX-1 on or reboot.

 Loading...