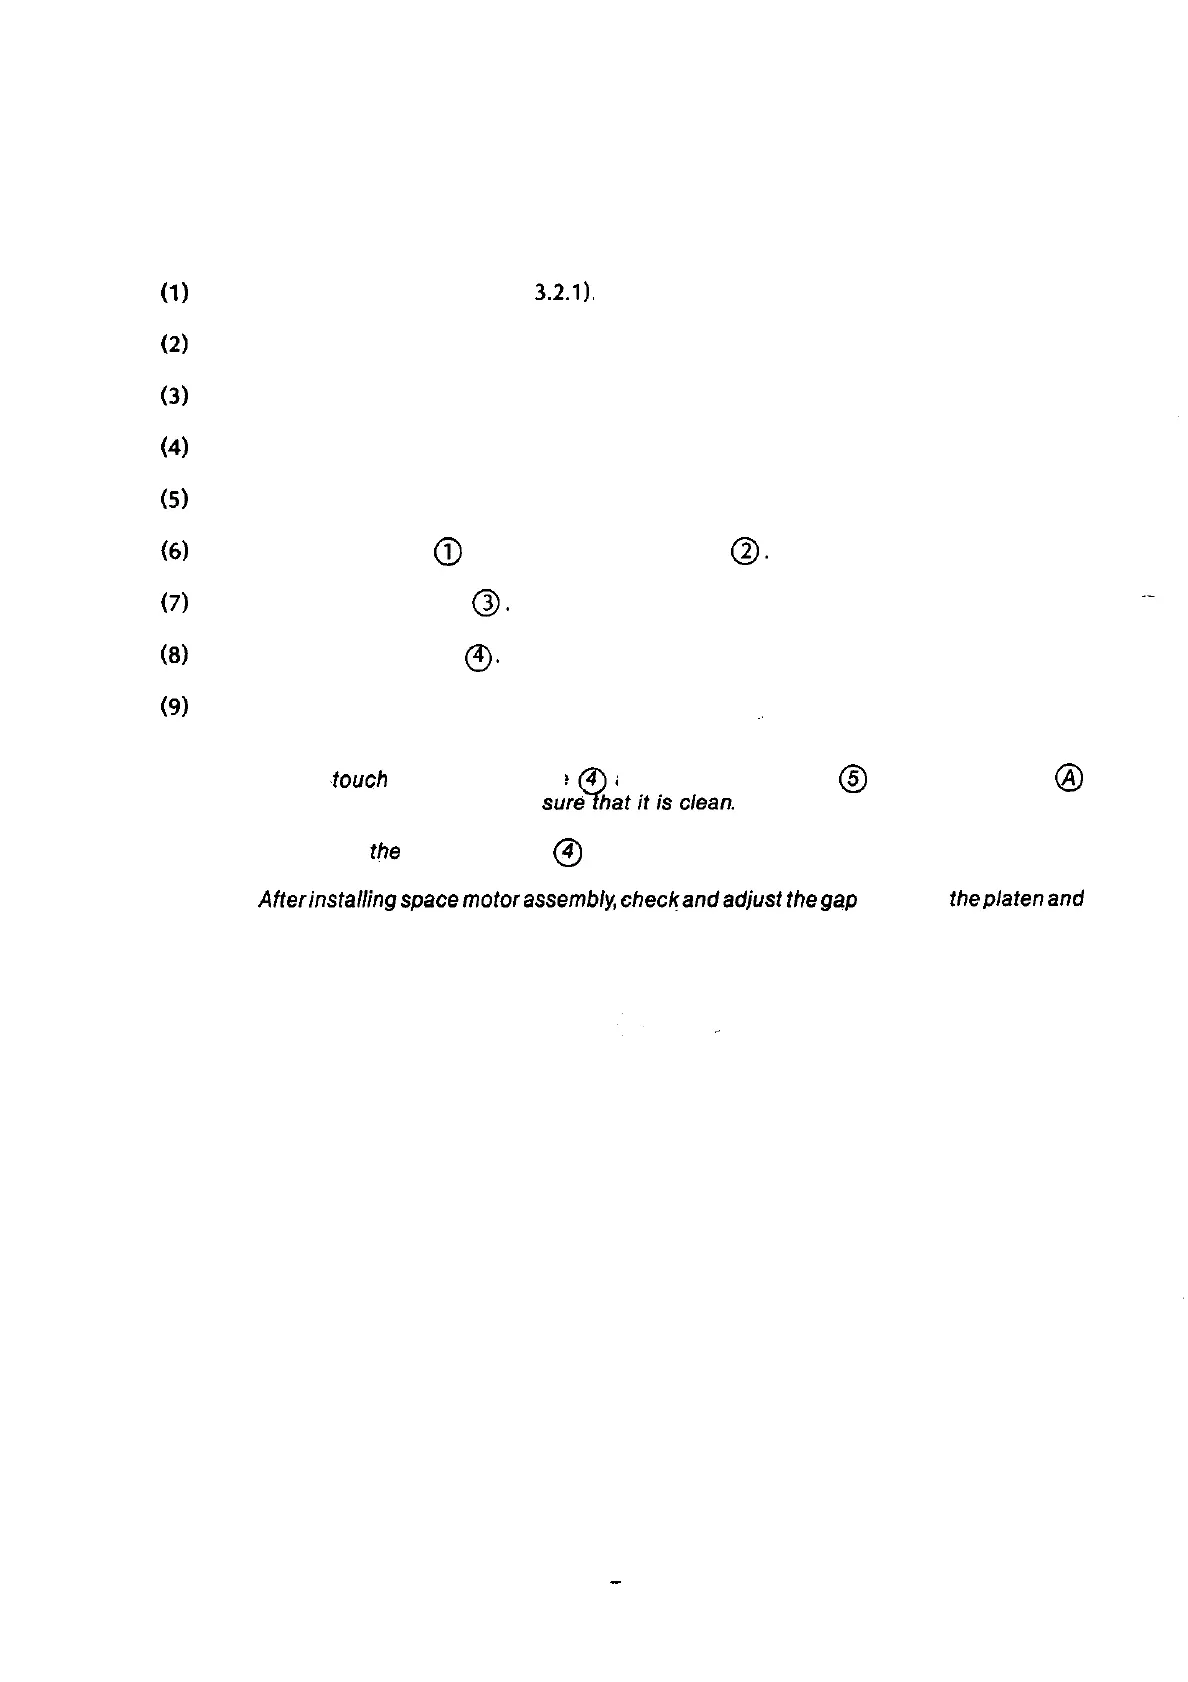
32.10 Carriage cable
(1)
(2)
(3)
(4)
(5)
(6)
(7)
(8)
(9)
Remove the upper cover (see
3.2.1).
Remove the print head (see 3.2.6).
Remove the ribbon feed gear assembly (see 3.2.7).
Remove the space motor assembly (see 3.2.8).
Remove the space rack (see 3.2.9).
Unlock the two tabs
@
and remove cord clamp
0.
Remove contact rubber
0.
Remove carriage cable
(ZJ.
For reassembly, reverse the disassembly procedure.
~,
1.
2.
3.
Notes:
Do not
,tooch
the carriage cable
direct/y with hand and make
and connection board
@
terminal (contact)
@
Make sure
the
carriage cab/e
@
is not folded.
AfterinstaNingspacemotorassembly,
checkandadjusf
thegap
between
theplatenand
print head (see section 5).
3
-
20