Paper handling > 23
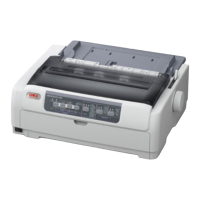
2. Check the position of the tear-off perforations (1) relative
to the paper cutter (2). (Paper Tray (3) is shown for
clarity.)
(a) To advance the forms, hold down the TEAR button and
press the FF/LOAD button.
(b) To retract the forms, hold down the TEAR button and
press the LF button.
Note
If a movement greater than +- 7/90 in is specified, the
QUIET indicator blinks and the above adjustment
cannot be made.
3. Release the buttons after the tear-off perforations have
been aligned with the paper cutter.
Removing continuous forms
1. Tear off the continuous forms. See “Tearing off continuous
forms” on page 22.
2. Press the SEL button to set the printer off-line and
reposition the continuous forms in the printer.
3. Press the PARK button to move the front edge of the
continuous forms backwards to the Pin Tractors.
Note
The ALARM indicator illuminates to indicate there is no
paper present.
If sprocket holes of the last page of the forms
1
2
3