25
T
RANSMISSION
AND
RECEPTION
OPERATIONS
T
O
SEND
A
DOCUMENT
WHAT DOCUMENTS MAY BE USED
Dimensions
Sizes:
• Breadth min. 148 mm - max. 216 mm
• Length min. 216 mm - max. 600 mm
Unit weight of sheet:
• 80 g/m
2
(max. 20 sheets)
• 60 - 90 g/m
2
(max. 10 sheets)
• 50 - 140 g/m
2
(1 sheet at a time)
For documents of different sizes from those specified above,
photocopy the original onto A4 sheets or another supported
format and send the copy.
NEVER USE
• curled paper
• excessively thin paper
• torn paper
• damp or set paper
• excessively small paper
• crumpled paper
• carbon paper
In addition, in order to avoid damaging your fax machine and
invalidating your guarantee, make sure that the documents
you are to use do not contain:
• staples
• paper clips
• adhesive tape
• correcting liquid or glue that has not yet dried.
In all these cases, photocopy the document and send the
copy.
TO PLACE THE DOCUMENT IN THE ADF
3. Once the document has been inserted in the automatic docu-
ment feeder (ADF), the display shows on the top line:
DOCUMENT READY
and on the bottom line, the default contrast value: "NORMAL".
TO ADJUST THE CONTRAST AND RESOLUTION
Before sending a document you can make some ad-
justments so as to optimize the printing quality.
TO ADJUST THE CONTRAST
1. Press the key:
The display shows:
MENU
RECEPT. SET-UP
2. Press the keys
until the display shows:
MENU
FAX SET-UP
3. Press the key:
The display shows:
FAX SET-UP
DATE AND TIME
4. Press the keys
until the display shows:
FAX SET-UP
VARIOUS SETT.
5. Press the key:
The display shows:
VARIOUS SETT.
ECM
6. Press the keys
until the display shows:
VARIOUS SETT.
CONTRAST
7. Press the key:
The display shows:
CONTRAST
NORMAL
8. To view the other available options, "CONTRAST -
DARK" and "CONTRAST - LIGHT", press the keys:
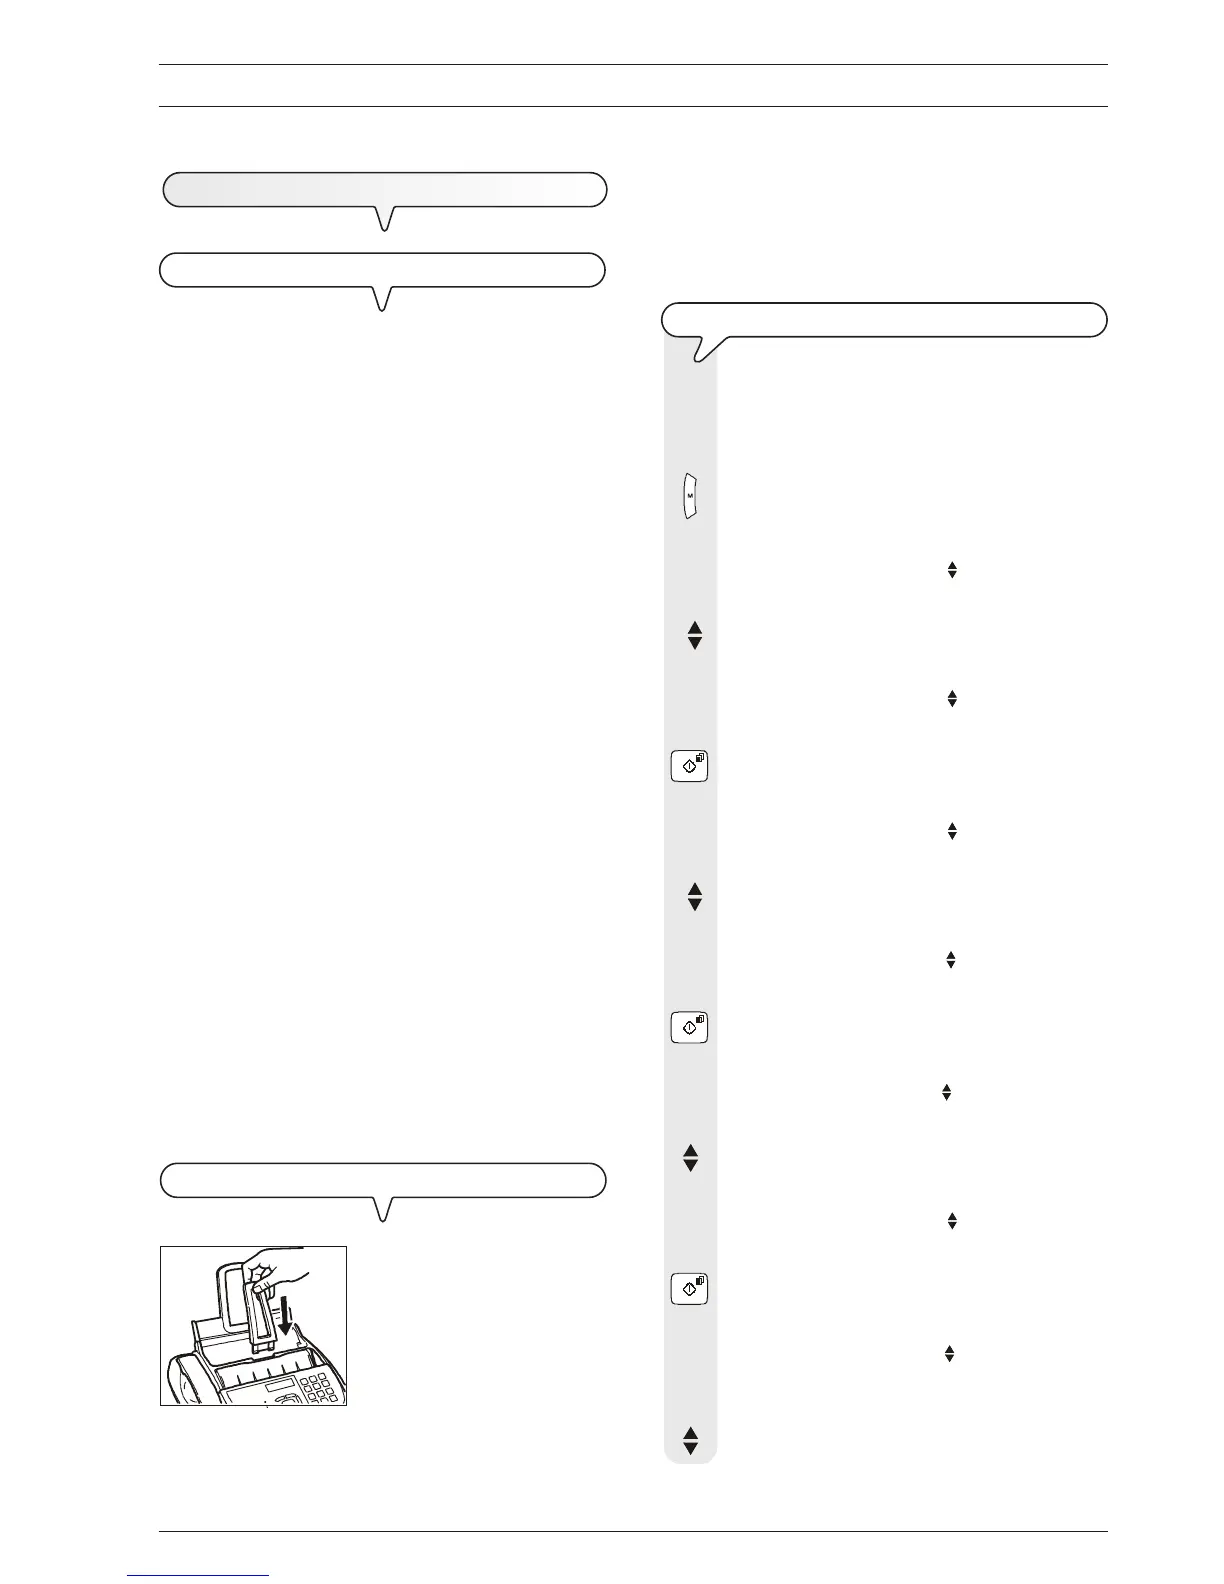
1. Push the document support into
the slot until it clicks into position.
2. Place the document with the side to be sent face up (automatic
document feed).
1