31
DP20
5
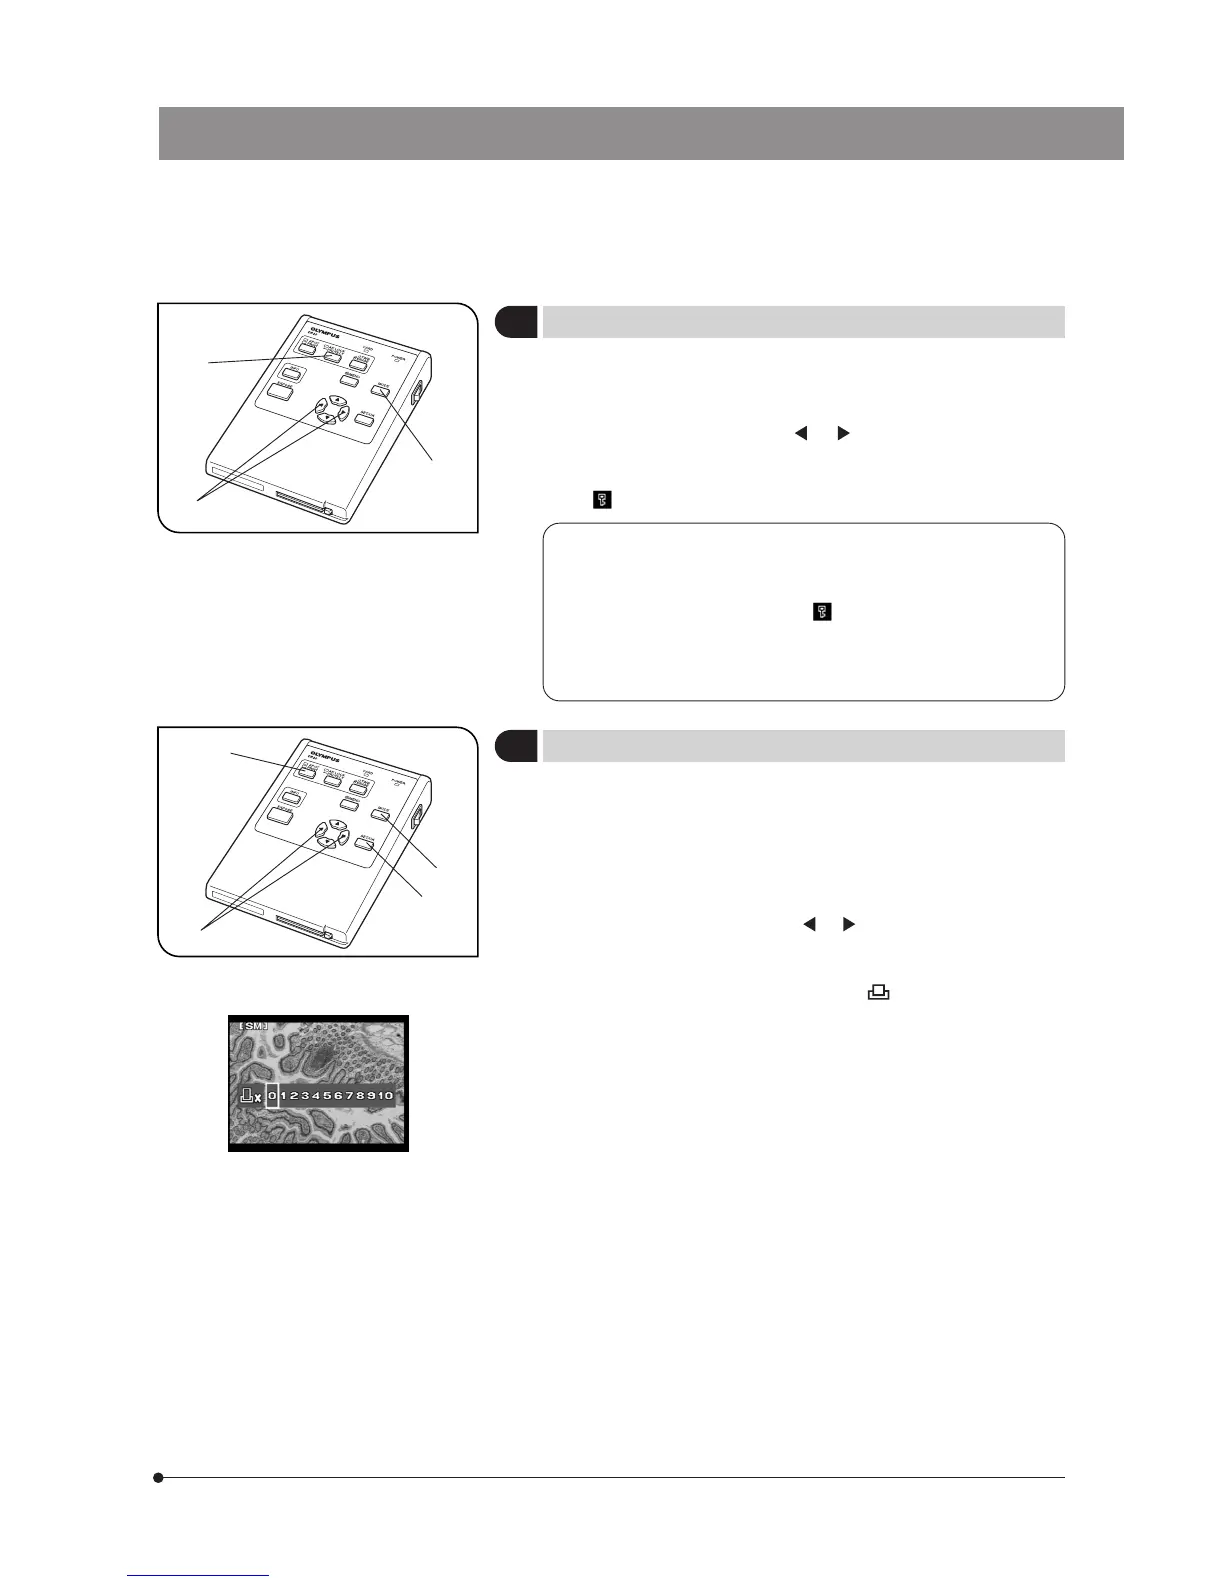
Protecting a Picture (PROTECT)
(Fig. 20)
}The following procedure is used to protect a recorded picture against
accidental erasure.
1. Press the MODE button @ to select PLAY.
2. Press either cross-cursor button or ² to select the picture to be
protected.
3. Press the PROTECT button ³. The picture being displayed is protected
and (protect marking) is shown in the INFO display.
· It is also possible to protect a picture in the index display. In this
case, move the green frame cursor on the index picture to be
protected.
· When the protected picture file ( ) is downloaded in a PC, the
downloaded file is given the read-only attribute.
· A protected picture can be unprotected by displaying it and pressing
the PROTECT button again.
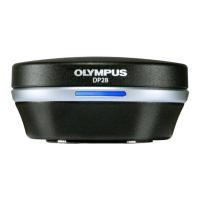
}Print reservation/cancellation of all picture frames, date printing and time
printing can be set by means of the menu (see pages 32 & 33).
1. Press the MODE button @ to select PLAY.
2. Display the picture to be subjected to print reservation, and then press
the PRINT reservation button ².
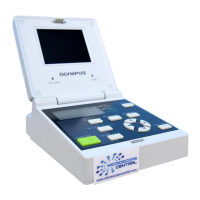
3. The display shows the display for specifying the number of printouts.
Press either cross-cursor button or ³ to place the green frame
cursor on the desired number of printouts and press the SET/OK
button |.
4. The printing of the picture is reserved and “ x <Number of printouts>”
is shown in the INFO display.
}To cancel a print reservation, set the number of printouts to 0.
Fig. 20
1
2
3
Fig. 21
1
2
3
4
6
Making a Print Reservation (PRINT)
(Fig. 21)